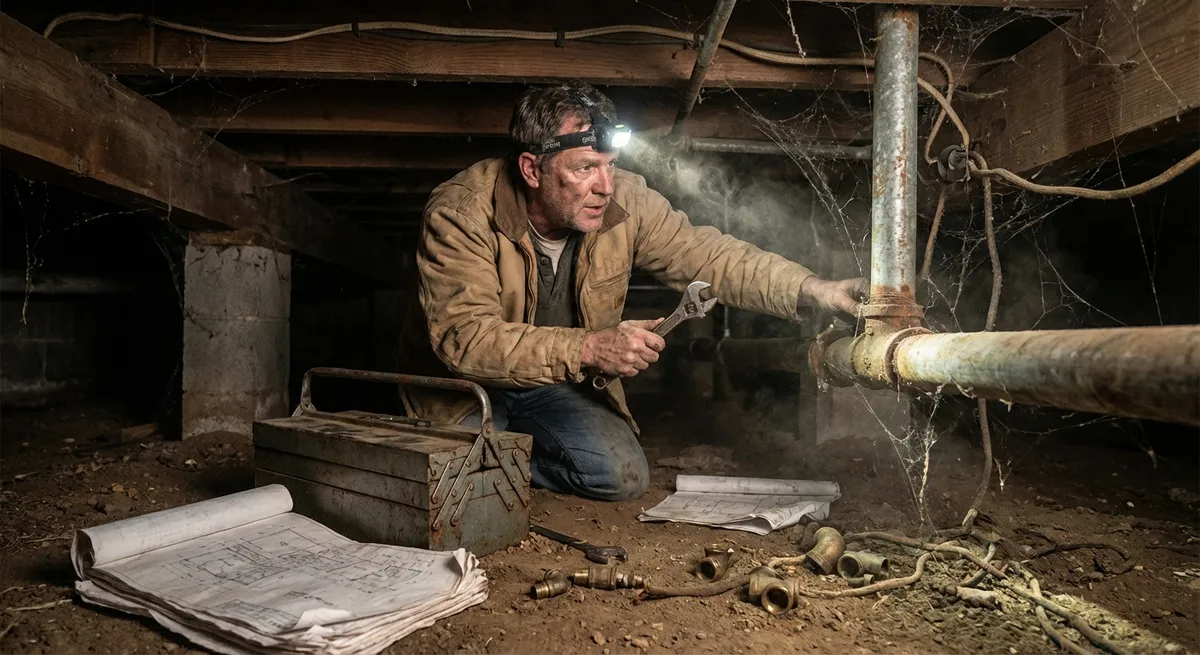
Read the Existing Assembly Before You Touch a Tool
The fastest way to ruin a repair is to assume you know what’s behind the surface. Before you start cutting, chipping, or grinding, treat the existing assembly like a jobsite you’ve never walked before. Identify substrates (concrete, CMU, brick, lightweight block, plaster, gypsum, wood, metal) using sound (tapping), pilot holes, and inspection openings rather than guessing. Look for expansion joints, control joints, and previous patch lines—these tell you where the structure expects to move.
Document everything you see: hairline vs. structural cracks, rust staining, efflorescence, flaking coatings, or “soft spots” under foot or hand pressure. Pay attention to transitions (slab-to-wall, brick-to-concrete, masonry-to-wood), because that’s where differential movement and moisture usually live. On exterior work, note sun exposure, wind direction, and any signs of trapped water (peeling paint, biological growth, freeze–thaw damage). The goal is to understand not just what failed, but how the assembly is supposed to move and dry—so your repair reinforces that behavior instead of fighting it.
Stabilize What’s Staying Before You Repair What’s Failing
Repairs often focus only on the obvious damage, but long-term performance depends on the condition of the surrounding materials. Before installing any new patch, coating, or hardware, stabilize the existing structure that’s going to remain. For masonry or concrete, that can mean removing all loose or “drummy” material until you reach solid, sound substrate—even if that means a larger patch than you planned. It’s better to enlarge the repair area once than watch edges debond in six months.
For structural elements, confirm that load paths are intact: check for crushed bearing areas, corroded reinforcement, cracked headers, or decayed framing. In wood assemblies, probe for rot, insect damage, and fastener pull-out; sister members or add blocking where needed before closing anything up. On metal, remove corrosion back to bright steel, then use proper primers or protective coatings before re-covering. Never anchor new work into questionable substrate—if you can’t get reliable embedment or hold, reinforce first with proper backing, repair mortars, or supplemental framing. The repair is only as strong as the surface it’s relying on.
Match Materials by Behavior, Not Just by Name
A patch that’s technically “compatible” on paper can still fail if it doesn’t behave like the surrounding material in the field. Instead of focusing only on label names (mortar, grout, patching compound), match materials by key performance traits: strength, stiffness, coefficient of thermal expansion, porosity, and vapor permeability. A repair mortar that’s much harder and less flexible than the existing masonry, for example, will transfer stress to the old brick or block, causing spalls or new cracks just outside the patch.
For concrete repairs, follow manufacturer recommendations on surface prep profile, bonding agents, and curing—but also verify that the compressive strength and modulus are aligned with the original concrete’s function (slab-on-grade vs. structural beam, interior vs. exterior, freeze–thaw exposure). In masonry repointing, use mortars that don’t exceed the hardness and density of the existing units, especially with older, softer brick. On building envelopes, respect vapor drive: don’t trap moisture behind a low-permeance coating applied over a previously breathable assembly. When in doubt, do a small mock-up or test patch and observe how it behaves through at least one weather cycle before committing to full-scale work.
Control Moisture First, Then Seal, Patch, or Coat
Most “mystery failures” in repairs are actually moisture problems with better camouflage. Before applying sealants, skim coats, or new finishes, track where water is coming from and how it exits. Start wide: check roof edges, flashings, gutters, and downspouts; verify that grading moves water away from the structure; inspect weep holes, control joints, and terminations. Inside, look for plumbing runs, condensate lines, and vapor drive from kitchens, baths, or mechanical rooms. Efflorescence, rust streaks, and silt lines almost always point to the path water is taking.
Once the source is understood and controlled, build your repair from “drainable” to “tight.” Use flashings, back dams, and sloped details to move bulk water out and away. Allow for drying paths with appropriate vents, weeps, or breathable materials where needed. Only then should you install sealants, tapes, or membranes—and always allow for movement with the right joint geometry, backer rods, and sealant type (elastic rather than rigid where movement is expected). Painting over damp or trapped assemblies is one of the most common ways to guarantee blistering, peeling, and hidden decay; don’t seal what can’t dry.
Test, Document, and Plan for the Next Person
A durable repair is one that can be understood, maintained, and expanded by whoever comes after you—including yourself in five years. Whenever possible, test your repair approach on a representative small area before scaling up. For leak repairs, use controlled water testing starting from low to high elements (sills up to head flashings, for instance). For bonding and patch work, sound or pull-test sample areas or follow manufacturer-recommended verification methods.
Document what you find and what you install: material types and brands, mix ratios, joint locations, fastener types, curing methods, and any deviations from standard practice. Include photos of hidden conditions before you close them up. This information becomes critical if future issues appear or adjacent work is modified. As you finalize a repair, think about how the assembly will age: where can future loads be attached safely, where can new penetrations be run, and what access should be preserved? Repairs that anticipate future work—removable panels, accessible cleanouts, clear joint lines—save time and reduce the chance that the next trade will accidentally undo what you just fixed.
Conclusion
Repairs that last don’t rely on tricks—they rely on disciplined observation, honest substrate preparation, and materials that behave like the assemblies they’re joining. By reading the existing work, stabilizing what stays, matching behavior instead of just names, controlling moisture before sealing, and documenting your approach, you turn unpredictable repair work into a repeatable process. Whether you’re running a crew or tackling a complex DIY project, these tactics help ensure your fixes don’t just look right on day one—they keep working quietly in the background for years.
Sources
- [U.S. General Services Administration – Historic Masonry: Cleaning and Repair](https://www.gsa.gov/real-estate/historic-preservation/historic-preservation-policy-tools/preservation-technical-documents/historic-building-tech-notes/historic-masonry-cleaning-and-repair) - Practical guidance on evaluating existing masonry and executing compatible repairs
- [Portland Cement Association – Concrete Repair](https://www.cement.org/learn/concrete-technology/durability/concrete-repair) - Technical background on concrete repair materials, surface prep, and durability concerns
- [National Park Service Preservation Brief 2: Repointing Mortar Joints in Historic Masonry Buildings](https://www.nps.gov/articles/preservation-brief-2.htm) - Authoritative discussion on matching mortar properties and behavior to existing masonry
- [Building Science Corporation – Drainage, Water Control, and Drying](https://buildingscience.com/documents/insights/bsi-013-brain-dead-water-management) - In-depth explanation of moisture sources, movement, and control strategies in building assemblies
- [American Concrete Institute (ACI) – Guide for Surface Preparation for the Repair of Deteriorated Concrete Resulting from Reinforcing Steel Corrosion (ACI 562 commentary excerpt)](https://www.concrete.org/tools/freetoolssignin.aspx?returnurl=/Portals/0/Files/PDF/Previews/562-19_preview.pdf) - Discussion of substrate condition, corrosion, and preparation requirements for durable concrete repairs