As those viral cat photos trend, it’s a good moment to look at the unglamorous side: how to keep a pet‑filled home structurally sound and easy to maintain. Whether you’re a contractor advising a client with multiple animals or a DIY homeowner trying to out‑repair your tabby, smart, durable fixes can save you thousands over the life of the house.
Below are five expert‑level, practical repair strategies to harden a home against everyday pet damage—without making it look like a kennel.
Reinforce High‑Traffic Floors Before They Fail
Pets create concentrated wear paths: doorways, feeding areas, and favorite “runways” between windows and sofas. Instead of repeatedly patching gouges or popping nails, reinforce these zones as a system:
- Identify the true wear pattern. For pros, a quick walkthrough with the owner—“show me where your pets eat, sleep, and sprint”—is as important as checking joists. DIYers can look for visible paw scuffs, dull finish tracks, and tiny claw marks in softwood.
- Lock down movement first. Squeaks and soft spots invite further damage. Re‑fasten subfloor with construction screws (not nails) every 6–8 inches along joists. Where movement is significant, add blocking between joists under doorways and hall openings.
- Upgrade surface durability strategically.
- On wood, sand and refinish with a high‑solids, waterborne 2‑part floor finish rated for commercial traffic. Satin sheens hide micro‑scratches better than gloss.
- In critical zones (under water bowls, litter boxes, and by exterior doors), inlay a strip of LVP (luxury vinyl plank) or ceramic tile instead of relying on mats that shift and trap moisture.
- Seal edge transitions. Use metal or PVC transition strips where flooring types meet, especially where pets jump or land. This prevents corners from catching and delaminating.
A relatively small reinforcement project in those known “runways” is far cheaper than a full refloor in a few years—and stands up much better to claws, spills, and zoomies.
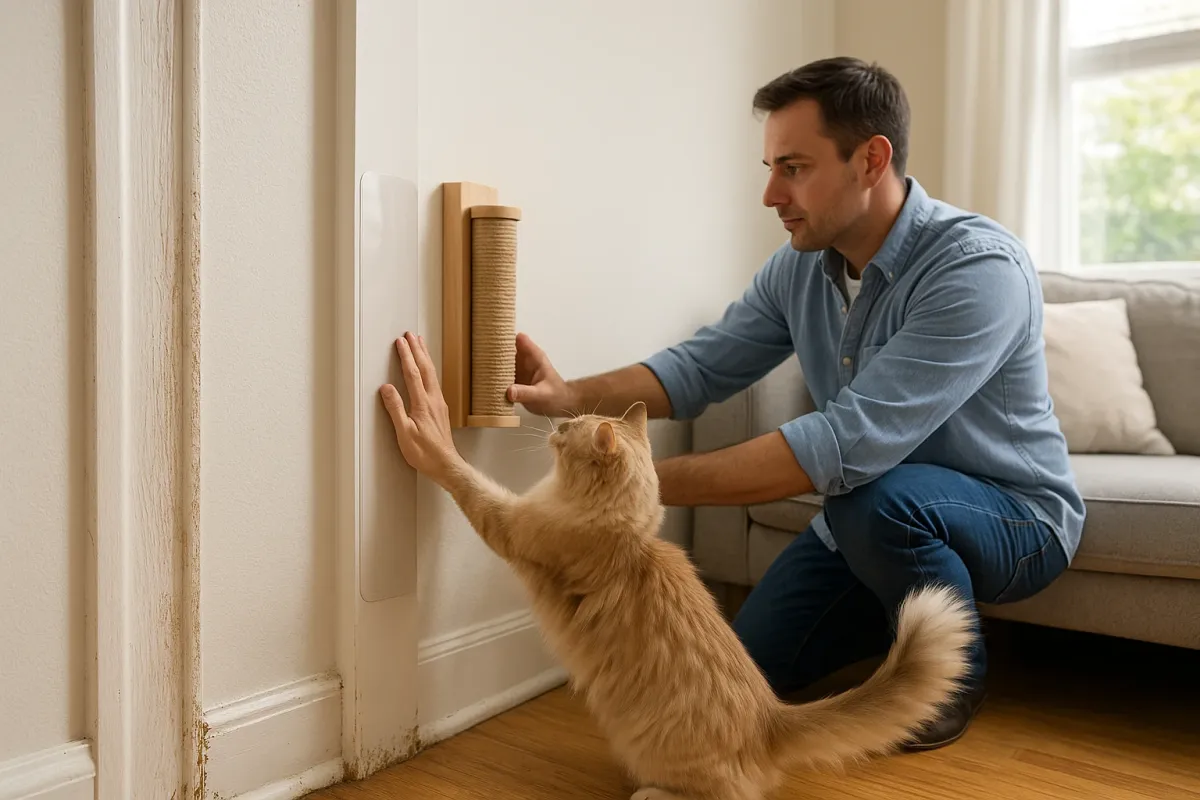
Protect Baseboards and Corners From Claws and Chewing
The “fluffiest cats ever” don’t show you the shredded outside corners behind the sofa. Dogs and cats will reliably target soft trim and drywall edges unless you deliberately harden them:
- Install true corner protection, not just caulk. For vulnerable outside corners (hallways, stairwells, near litter boxes), fit metal or PVC corner guards from floor to at least 30–36 inches. For a higher‑end look, use primed wood or MDF corner boards that you can paint to match trim.
- Switch to harder, denser trim in problem rooms. If you’re replacing chewed or scratched baseboard, upgrade from MDF to a hardwood profile (poplar or oak) and use a high‑build enamel paint. The added hardness significantly reduces surface gouging.
- Anchor trim with screws where possible. Standard brads can let heavily abused sections pull away from the wall. For long hallway runs, drive trim screws into studs, then fill and paint the heads. This keeps pieces from flexing when kicked—or when a large dog body‑checks the wall.
- Use a sacrificial layer in extreme zones. In laundry rooms, mudrooms, or cat rooms, consider adding a 24–36 inch band of PVC beadboard, FRP (fiberglass reinforced panels), or tile wainscoting. These materials shrug off claws and repeated cleaning with harsh chemicals.
- Detail the bottom edge correctly. Run a small bead of high‑quality paintable caulk along the bottom of trim in any area that sees pet water bowls or frequent mopping. This prevents moisture from wicking into the baseboard and swelling it.
Contractors can package this as a “pet‑proof trim upgrade,” and DIYers can tackle one or two rooms at a time—focusing first where damage is already visible.
Eliminate Pet‑Related Moisture Problems Before They Become Structural
The cutest photo online won’t show what’s happening under a leaking aquarium, a chronically damp litter area, or a dog bath corner in the basement. Moisture plus time equals subfloor rot, mold, and soft drywall. Treat these like mini wet rooms:
- Create water‑resistant “zones” under and around known moisture sources.
- Under litter boxes and water bowls, replace carpet or raw OSB with sheet LVT, tile, or sealed concrete extending well beyond the footprint.
- For aquariums or indoor plant walls, run a continuous waterproof membrane (peel‑and‑stick or liquid‑applied) under the finishing surface.
- Seal all penetrations. Where plumbing, hoses, or cables pass through walls or floors in pet areas, seal the gaps with polyurethane or silicone sealant, not just foam. This stops slow hidden leaks from disappearing into cavities.
- Slope and drain where practical. In basement pet wash stations or entry mudrooms, consider a slight floor slope toward a floor drain and use a cementitious waterproofing under tile. This converts a “splash zone” into a manageable wet area.
- Inspect under and behind at least annually. Pros should include under‑litter and pet water zones in annual maintenance walkthroughs; homeowners can lift mats and check for discoloration, softness, or a musty smell. Any give in the floor or crumbling OSB demands immediate repair, not cosmetic patching.
- Repair damaged subfloor correctly, not cosmetically. That means: cut back to dry, solid material; sister or add blocking to support new panels; use exterior‑grade plywood or an equivalent rated panel; and re‑tie into surrounding underlayment before restoring finish flooring.
Handled early, most pet‑related moisture problems are simple surface repairs. Ignored, they can become full‑scale structural jobs.
Upgrade Ventilation and Filtration Where Pets Live
The viral cat photo threads are a reminder: fur is everywhere. It doesn’t just collect on furniture—it clogs return grilles, coats coil fins, and accelerates wear on HVAC systems. Smart repairs around air systems add both comfort and longevity:
- Re‑seal and re‑size return grilles in high‑fur areas.
- Remove grilles, vacuum ducts, and clean surrounding surfaces.
- Use mastic or foil tape to seal gaps between duct and drywall.
- If grilles regularly clog with fur, consider going up one size and using a grille with deeper louvers to maintain airflow even as it collects debris.
- Add washable pre‑filters at strategic intakes. Installing washable filter screens behind high‑use return grilles (especially in rooms where pets sleep) can capture fur before it reaches the main filter. Make sure they don’t choke airflow—check static pressure if you’re a pro, or monitor system performance as a DIYer.
- Service and protect low units and floor registers.
- Floor registers are magnets for fur and toys, which reduce airflow and can scratch fins. Use heavy‑duty metal registers with tight mesh in pet zones.
- For ductless mini‑splits mounted low on walls, schedule filter cleaning more frequently in pet homes and consider anti‑microbial coil coatings where codes allow.
- Control microclimate in pet‑dedicated rooms. If a room houses multiple cats, large dogs, or small animal enclosures, consider adding a dedicated exhaust fan or balanced ventilation point. Tie this into a timer or humidity‑sensing switch to prevent stale, damp air that degrades finishes and encourages mold.
- Repair fur‑damaged seals and insulation. Pets often scratch at access panels, attic hatches, and utility closet doors, compromising air seals. When you see this, replace weatherstripping, repaint with a scrub‑resistant enamel, and, if needed, plate the lower section with a thin PVC panel.
These improvements are relatively low‑cost but can dramatically extend HVAC service intervals and keep dust and fur from grinding into finishes.
Build and Repair “Pet‑Compatible” Surfaces, Not Just Pretty Ones
Trending fluffy‑cat photos set expectations for immaculate interiors, but homes that actually contain animals need surfaces designed for wear, cleaning, and easy repair. When you’re fixing damage or planning upgrades, choose materials and details with pets in mind:
- Prefer repairable over disposable finishes.
- On walls, use high‑quality acrylic enamel in an eggshell or satin; it withstands scrubbing and spot touch‑ups better than flat.
- On wood surfaces, choose stains and clear coats that can be lightly sanded and recoated without stripping the entire area.
- Plan for replaceable panels in high‑abuse zones. In mudrooms, basement rec rooms, and garage conversion spaces, consider a lower band of removable panels (shiplap, plywood with a finished face, or PVC panels) fastened with screws. When scratching or staining becomes severe, you can swap out a single panel rather than resurfacing an entire wall.
- Use rounded profiles wherever possible. Bullnose corners, eased countertop edges, and radiused trim profiles are less likely to chip when a crate gets dragged or a large dog collides with them. When repairing chipped corners, consider replacing with rounded corner bead instead of recreating a sharp angle.
- Specify hardware and fixtures that survive pets.
- For doors in pet areas, use solid‑core slabs with robust hinges and strike plates; hollow‑core doors gouge and puncture easily.
- Consider lever handles that can be cleaned easily over ornate knobs that trap fur and grime.
- Where pets push doors, reinforce latch areas with metal plates to prevent repeated repairs.
- Standardize materials across the house where it makes sense. The more consistent your paints, flooring types, and trim profiles, the easier it is to make invisible spot repairs after localized pet damage. Pros can leave labeled touch‑up kits; homeowners should keep a simple materials log.
Thinking “pet‑compatible” at the repair stage reduces callbacks for professionals and frustration for DIYers. You’re not just fixing what broke—you’re upgrading the system so the same failure is less likely in the future.
Conclusion
The internet’s obsession with ultra‑fluffy cats is a fun distraction, but behind every photo‑ready pet is a home quietly absorbing claws, moisture, fur, and impact. For construction professionals and serious DIYers, that reality should drive how you assess damage and plan repairs.
By reinforcing known traffic paths, hardening trim, preventing moisture intrusion, improving ventilation, and choosing truly pet‑compatible materials, you transform quick fixes into long‑term solutions. The result is a home that not only photographs well today, but still looks—and functions—solid years from now, no matter how many four‑legged residents it has.