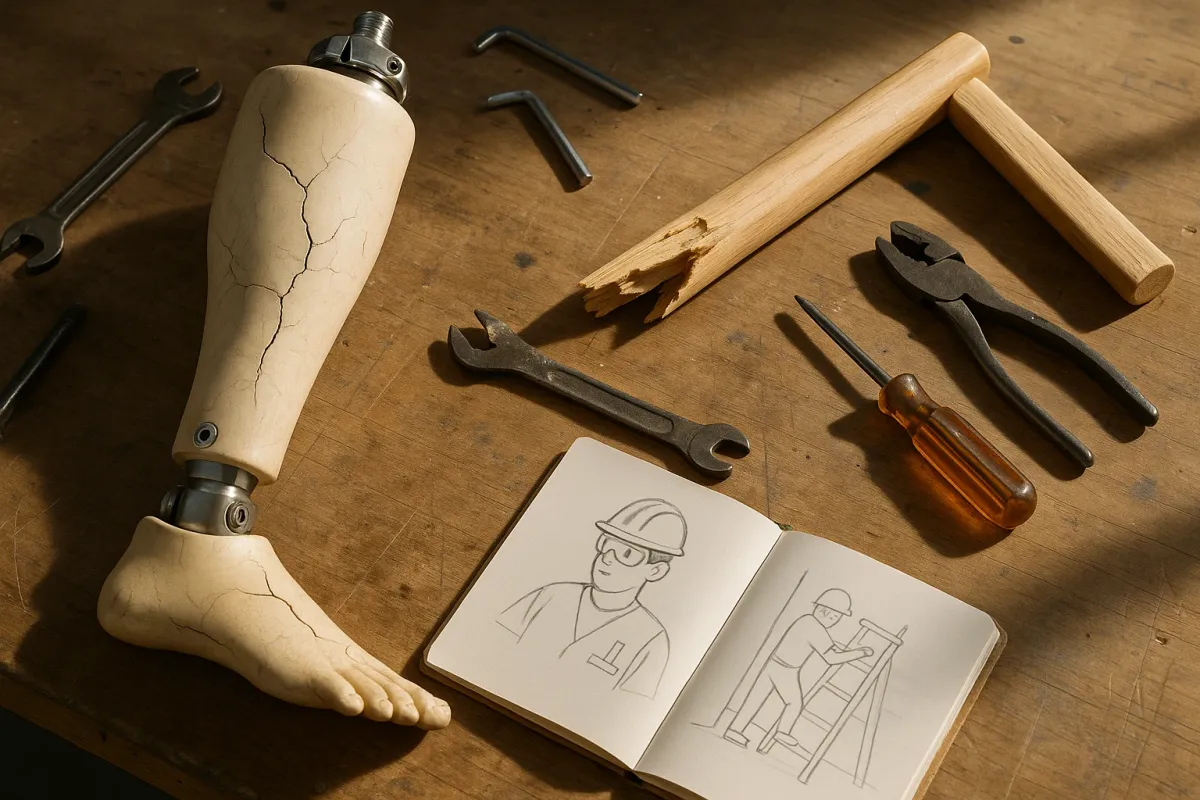
In the Bored Panda feature “Man Demands Cousin Pay For His Cruel Prank, Gets Shocked By Aunt’s Reaction,” a thoughtless stunt and a critical mobility device collided—with predictable, preventable damage. Swap out “prosthetic leg” for “support post” or “stair stringer,” and the parallel is obvious. When something is engineered to carry weight, joking around with it, overloading it, or “just testing it” is not harmless. It’s a repair waiting to happen.
Below are five expert, practical tips to keep your structures, fixtures, and fittings from becoming the next costly “prank gone wrong.” These are written for both construction professionals and serious DIYers who want to avoid preventable failures—and the arguments that follow them.
1. Treat Every Load‑Bearing Element Like Specialized Equipment
A prosthetic leg is a precision device with specific load ratings, alignment, and maintenance requirements. In a home or jobsite, your “prosthetics” are beams, posts, joists, anchors, and brackets. They may look rugged, but they’re designed with assumptions about how they’ll be used.
How to apply this mindset in repairs:
- Identify load paths before you touch anything.
Before removing a wall section, cutting a notch in a joist, or relocating a post, sketch how the load moves from roof/floor → framing → foundation. If you’re unsure, treat the component as structural until a professional confirms otherwise.
- Never “test” strength with stunts.
Jumping on a newly repaired stair, hanging multiple adults from a handrail, or swinging from a ceiling-mounted hook to “prove it’s solid” adds far more dynamic load than most residential assemblies are designed for.
- Use rated hardware only.
Just as prosthetic components are certified, make sure joist hangers, anchors, and bolts are stamped and rated for structural use. Avoid generic, unmarked brackets for anything that carries real weight.
- Follow manufacturer specs to the letter.
Whether you’re installing a ledger board, a grab bar, or a heavy wall-mounted cabinet, use the fasteners, spacing, and substrates specified. Substituting “whatever screws you have” is where many failures start.
2. Inspect High‑Risk “Everyday” Structures Before They Fail
The prosthetic in the news story didn’t fail in a lab; it failed in daily life. The same is true for decks, stairs, and railings—they usually break under normal use, often after years of minor neglect or rough treatment.
Priority areas for thorough inspection and repair:
- Exterior decks and balconies
- Check ledger boards for rot, separation, or undersized/incorrect lag screws.
- Look for rusted joist hangers, pulled nails, split joists at bearing points.
- Probe posts at grade level for rot using an awl or screwdriver. Soft wood means urgent repair.
- Stairs and handrails
- Wiggle every rail and baluster; any movement is a red flag.
- Inspect stringers for cracks near notches and at bearing points.
- Verify handrail attachments are into framing or blocking, not just drywall.
- Bathrooms and accessibility fixtures
- Grab bars, shower seats, and toilet frames should be periodically checked for movement.
- If they were surface-mounted with hollow‑wall anchors only, plan an upgrade to blocking and proper anchors as soon as possible.
- Garage and workshop storage
- Evaluate ceiling racks, bike hooks, and heavy shelving. Check for sagging, loose fasteners, and overloaded spans.
Repair rule of thumb:
If a component moves, cracks, or squeaks under normal use, assume it is under‑supported or deteriorating. Fix the cause, not just the symptom (e.g., add blocking or new fasteners, don’t just tighten old screws into compromised material).
3. Upgrade Anchors and Fasteners Where Human Safety Depends On Them
Just as prosthetic sockets and joints rely on precise, purpose‑built connectors, any assembly that holds a person (or could injure someone if it fails) deserves upgraded hardware—especially during repairs.
Best practices for safer, more durable attachments:
- Use structural screws instead of generic lag bolts.
Modern structural screws (from brands like Simpson Strong‑Tie, GRK, etc.) provide higher shear and tensile strength, pre-drill better, and are designed for structural use. Follow the manufacturer’s tables for size and spacing.
- Choose anchors for the specific substrate.
- Concrete: Use wedge anchors, sleeve anchors, or epoxy‑set threaded rod.
- Solid masonry: Use sleeve anchors or properly sized expansion anchors, not plastic plugs.
- Hollow block or brick veneer: Use toggle‑style anchors rated for the load or add through‑bolting with backing plates whenever possible.
- Back it up with blocking.
Where you’re mounting grab bars, wall‑hung vanities, barn doors, or TV mounts, open the wall if needed and add solid wood blocking between studs. Screwing into drywall or plaster alone is never sufficient for safety‑critical fixtures.
- Avoid mixed‑metal corrosion.
When repairing exterior elements, match fastener material to hardware and environment (e.g., stainless or hot‑dipped galvanized for treated lumber and coastal conditions). Hidden corrosion can quietly weaken connections.
- Document what you’ve done.
For pros, note anchor types, sizes, and locations; for DIYers, keep a simple sketch in your home records. Next time a repair or upgrade is needed, you’ll know exactly what you’re building on.
4. Design Repairs for Real‑World Abuse, Not Ideal Use
The prank that destroyed the prosthetic leg was, in technical terms, misuse. In reality, misuse is normal: kids hang on railings, guests lean on balcony edges, and tools get dropped on tile. Good repairs anticipate “worst reasonable behavior,” not perfect occupants.
How to build practical resilience into your fixes:
- Assume impact and lateral loads.
- Handrails should resist people falling into them, not just calmly gripping them.
- Wall corners in busy corridors should be protected with corner guards or high‑durability finishes.
- Overbuild high‑touch areas.
- Use thicker treads (or steel angles beneath) on stairs in workshops, basements, or rentals.
- On frequently used doors, upgrade to heavy‑duty hinges and strike plates with 3" screws into framing.
- Shield vulnerable materials.
- Protect wood at grade with proper flashing, post bases, and drainage; avoid burying posts directly in soil where possible.
- In damp locations, choose moisture‑resistant materials and seal cut ends of treated lumber.
- Plan for easy inspection and maintenance.
- When repairing a deck or porch, leave access hatches to view critical connections.
- Enclose structural elements with removable covers where possible, rather than permanently sealing them behind finishes.
By designing your repair as if someone will inevitably push the limits—because they will—you dramatically reduce the chance of catastrophic failure.
5. Set Clear “Use Rules” Around Repaired or Vulnerable Areas
The family in the viral story is now arguing over who pays for a damaged prosthetic. On a jobsite or in a home, similar arguments happen when someone stands on a just‑patched roof, overloads a fresh shelf, or leans against a not‑yet‑cured railing. Clear communication is part of good repair work.
Practical steps to protect your repairs (and your budget):
- Mark off curing and drying times.
- For concrete, mortar, adhesives, and epoxies, post a simple note: “Do not load/use until [date/time].”
- Explain that early loading can cut strength drastically, even if it looks “dry.”
- Explain limitations in plain language.
- Tell occupants or clients: “This grab bar is rated for assisting standing, not for supporting full body weight during a fall.”
- For DIY builds (like loft beds or ceiling‑mounted storage), state realistic weight limits and how they were determined.
- Discourage “pranks” and rough use.
- On family properties or rentals, be explicit: no riding on garage doors, swinging on handrails, or jumping from elevated surfaces.
- For pros, include “intended use” and “prohibited use” in your handover documentation.
- Schedule periodic check‑ups.
- After major structural or safety‑critical repairs, plan a 6‑ to 12‑month re‑inspection. Tighten fasteners, look for movement or cracking, and re‑educate occupants if needed.
Clear expectations won’t stop every bad decision, but they greatly reduce the gray area when something fails—and they protect the investment you’ve made in a proper repair.
Conclusion
The story of a broken prosthetic leg caused by a careless prank is a reminder that anything designed to carry weight—whether it’s a mobility device, a stair, a deck, or a grab bar—deserves respect and informed handling. For construction professionals and serious DIYers, that respect is shown through careful inspection, correct hardware choices, realistic design assumptions, and straightforward communication about how structures should (and shouldn’t) be used.
In a world where one impulsive moment can turn into a costly repair and a family dispute, thoughtful, well‑executed repairs are more than craftsmanship—they’re risk management. Treat your load‑bearing elements with the same seriousness a prosthetist brings to a leg fitting, and you’ll dramatically reduce both failures and conflicts in the spaces you build and maintain.