That’s exactly where practical DIY comes in. Instead of just unboxing a toy and hoping it keeps your kid’s attention, you can build simple, durable enhancements around those budget finds—storage, play stations, and upgrades that make $20 toys feel like they belong in a $200 playroom. Below is a professional, step‑by‑step guide to turning this season’s affordable toy haul into a smarter, longer‑lasting play setup at home.
Build a Modular Toy Storage Wall That Actually Gets Used
With “under $20” toys trending, clutter is a real side effect—small sets, cars, figures, craft kits, all multiplying fast. A modular storage wall solves two problems: it keeps things visible so kids use what they own, and it protects delicate or multi‑piece toys from getting lost or stepped on.
For a sturdy, DIY‑friendly system, start with a simple French cleat rail made from a ripped 1x4 board (cut at a 45° angle lengthwise). Anchor the rail into wall studs using 3" wood screws; this gives you a load‑bearing spine without committing to permanent shelves. Then build or adapt small plywood or pine boxes (even repurposed IKEA crates) with a matching 45° cleat on the back. Each box becomes a removable “toy module” for a category: building blocks, toy cars, craft supplies, STEM kits, or figures from those budget toy lists. Label clearly with printed labels or a label maker so kids can identify and return items independently.
Finish the boxes with a kid‑safe water‑based polyurethane or a hardwax oil to resist grime and markers. Keep the bottom row low (12"–18" off the floor) for toddlers, and use higher rails for older kids’ or breakable items. This is a professional‑grade storage solution: fully adjustable, repairable, and strong enough to grow with your toy collection and your child’s interests.
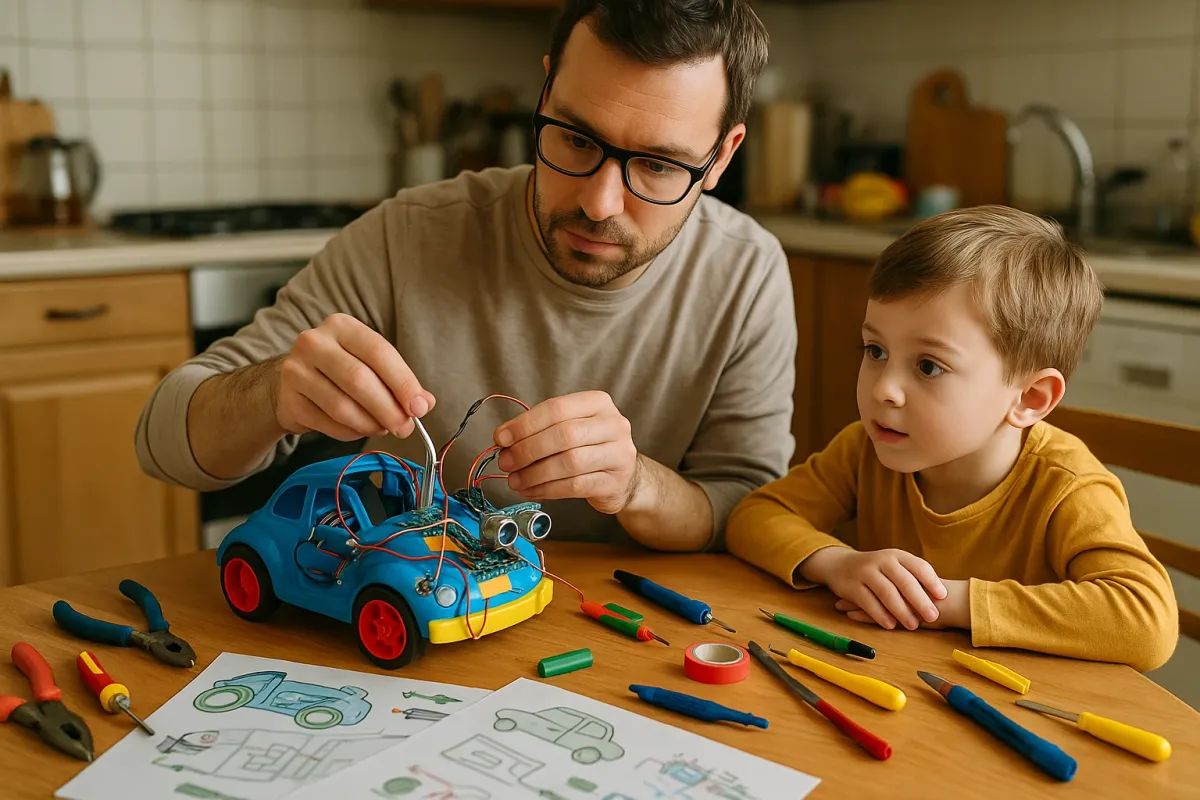
Create a “Toy Lab” Workbench for STEM and Craft Kits
Many of the most popular affordable toys right now are STEM kits, mini tool sets, or craft projects that come in flimsy cardboard packaging. Once opened, they migrate across the dining table and never go back. A dedicated “toy lab” workbench turns those under‑$20 kits into reusable learning tools and keeps your main living spaces clear.
Build a compact bench from 2x4 lumber and a 3/4" plywood top, sized to your space—something like 24" deep and 36"–48" wide works in most rooms. Aim for a work surface height of about 26"–30" for younger kids, 32"–34" for older children. Add a 4" backsplash strip at the rear of the bench top and screw on a perforated pegboard panel or slatwall above it. Pegboard hooks can hold low‑cost tools, goggles, tape, and frequently used pieces from kits (like gears, wheels, or connectors).
Underneath, install one full‑width shelf for larger toys and a row of shallow bins or drawer units for small parts. Use clear plastic containers with compartment inserts for electronic bits, LEGO elements, or craft components. Mount an LED shop light or under‑cabinet strip under the pegboard for excellent task lighting. This small‑scale bench borrows best practices from professional shops: defined work zone, vertical storage, clear separation between tools and materials, and rugged surfaces that can take glue, paint, and accidental hammer blows.
Reinforce Flimsy Plastic Toys with Simple Structural Upgrades
Low‑cost toys often look impressive but fail at the stress points—axles snap, joints loosen, and thin plastic bends. With a few construction‑grade techniques and materials, you can greatly extend their life and avoid buying replacements a month after the holidays.
Start by identifying high‑load zones: wheels and axles on ride‑on toys, hinges on fold‑out playsets, joints where long arms or ramps attach. Where plastic flexes, back it with a rigid “splint”: a trimmed craft stick, thin plywood strip, or aluminum flat bar attached using epoxy or small machine screws and washers. For axles that wobble or bend, replace hollow plastic rods with solid wooden dowels or metal rods sized to fit existing wheels. Drill carefully using a drill press or a clamped hand drill guide to maintain alignment.
If a toy uses thin plastic pins as pivots, upgrade them to 1/8"–1/4" bolts with locking nuts; this is the same principle as upgrading from brad nails to structural screws in framing. For moving parts, add nylon washers between components to reduce friction and wear. Finally, seal any exposed reinforcement with a quick sand and a bead of clear epoxy or kid‑safe paint to eliminate sharp edges and keep small hardware secure. These targeted reinforcements use standard DIY skills—measuring, drilling, fastening—to turn fragile toys into robust, long‑term fixtures.
Design a Convertible Play Surface That Adapts to Different Toys
Because trending toy lists change constantly—from cars and tracks this year to magnetic tiles or mini figures next year—it’s more efficient to build one high‑quality, convertible play surface than a series of single‑purpose setups. Think of it as a multipurpose “stage” for whatever the latest under‑$20 find happens to be.
Construct a solid tabletop from 3/4" plywood or MDF with hardwood or 1x3 pine edging to resist chipping. A common size is 30"×48" or 36"×60", depending on room. Instead of permanently installing a train set or road layout, create interchangeable tops: thin MDF or hardboard panels cut to fit within the table edging. Paint or vinyl‑wrap each panel differently—one as a road and city grid, another as a grassy field, another with a neutral grid for building blocks or STEM structures.
To make the system professional‑grade, embed a grid of threaded inserts (like 1/4"-20) in the table edges or underside. Use bolts and low‑profile knobs to lock each panel in place from below, preventing sliding during rough play but still allowing fast swaps. Add a 1" lip around the perimeter to keep small toys from rolling off, borrowing the same containment logic used on shop assembly tables. Underneath, build in storage cubbies designed to accept standard bins or crates labeled by “panel” or toy type. As interests change, you can repaint or recover panels rather than rebuilding the table—maximizing the utility of your one solid carpentry project.
Build Rugged, Safe Display Racks for Collections and “Special” Toys
Many of the highly rated sub‑$20 toys are collectible lines—small figures, cars, aircraft, or fantasy characters. Left loose, they clutter surfaces and get damaged; kept in boxes, they’re never seen. A well‑designed display rack works like shelving in a professional shop: visible, accessible, and protective.
Construct narrow, wall‑mounted shelves with a slight upward lip. For die‑cast cars or small figures, rip 1x3 boards into 2"‑deep shelves and glue/screw on a 1/2" front strip as a guard rail. Space shelves 4"–5" apart vertically. Use a level and a stud finder, then anchor each shelf with at least two screws into studs or heavy‑duty wall anchors rated for the load. For extra safety in kids’ rooms, add concealed steel brackets or French cleats so the rack can’t be knocked off.
If you want a more finished, “gallery” look, route a shallow groove along each shelf to cradle wheels or figure bases. Finish the wood with a durable, low‑VOC clear coat. To prevent overloading, design the rack with capacity in mind—count how many items your child owns and size accordingly, just as you would calculate shelf loading for materials in a workshop. Integrating this type of rack into your toy plan elevates inexpensive collectibles, teaches kids to respect and curate their things, and keeps fragile items out from underfoot while still accessible.
Conclusion
This year’s surge in “toys under $20” coverage highlights a real opportunity: instead of chasing higher price tags, focus on building better infrastructure around the toys you already bring home. With a few targeted, construction‑inspired projects—modular storage, a dedicated toy workbench, structural upgrades, convertible play surfaces, and safe display racks—you can make budget‑friendly toys more durable, more engaging, and far less chaotic to live with.
Treat your child’s play area the way a professional treats a jobsite: planned, organized, and built to last. The toys may be inexpensive, but with smart DIY, the play environment around them doesn’t have to be.