Start With Evidence, Not Assumptions
Most failed repairs can be traced back to one issue: the wrong problem was “fixed.” Before opening a bucket of patching compound or ordering new hardware, invest time in a small, structured investigation.
- Document first, disturb later. Take wide and close-up photos, measure cracks or deflection, and note time of day, weather, and moisture conditions. For recurring issues (like leaks), track when they appear.
- Map symptoms, not just the worst spot. Water staining, efflorescence, hairline cracks, and rust marks often point to the true failure path. Use a marker or painter’s tape to outline affected areas before you start dismantling.
- Check structural vs. cosmetic. Cracks near supports, load-bearing walls, or beams deserve more scrutiny than isolated surface defects. If there’s noticeable movement, sagging, or aligned cracking across multiple components, consult a licensed engineer rather than “patch and hope.”
- Use simple diagnostic tools. A $20 moisture meter, a level, a plumb line, or feeler gauges can tell you whether the issue is movement, moisture, or material failure.
- Review past work in the same zone. If an area has been patched, re-caulked, or painted repeatedly, you’re looking at a symptom, not the cause. Expect to open up more than one layer.
The goal is to leave the “repair decision” phase with a written or sketched problem statement: what failed, where, under what conditions, and likely why. That clarity drives every material and method choice that follows.
Respect the Substrate: Cleaning and Profiling Done Right
Good products fail routinely when they’re placed on poorly prepared surfaces. Substrate preparation is not a step to speed through—it’s where durable adhesion and load transfer are earned.
- Remove everything loose or weak. Chip or grind away delaminated concrete, crumbling mortar, flaking coatings, and soft wood fibers. A repair is only as sound as the layer it’s bonded to.
- Clean beyond “looks okay.” Use a stiff brush, vacuum, and, where appropriate, detergent and water to remove dust, oils, curing compounds, and efflorescence. For masonry and concrete, pressure washing is effective but only when followed by proper drying time.
- Establish the right surface profile. Many cementitious and epoxy repair materials require a roughened, mechanically profiled surface for proper bond (often described as ICRI CSP profiles). Light grinding, shot blasting, or sandblasting may be justified for critical work.
- Control moisture conditions. Some products demand a saturated surface-dry (SSD) substrate; others require fully dry conditions. Read the technical data sheet (TDS) and check substrate moisture, especially on slabs and exterior walls.
- Protect adjacent assemblies. Tape, masking, and temporary covers prevent overspray, staining, or accidental damage to finishes that don’t need repair.
Treat substrate prep like a separate mini-project with clear start and finish criteria. You’re building a foundation for the repair, not “getting ready to start the real work.”
Match Materials to Movement, Load, and Exposure
A repair material that looks similar to the original doesn’t necessarily behave the same way under real-world conditions. Matching the product to the stresses it will see is where professionals consistently outperform casual fixes.
Consider three key factors:
Movement:
- For static or low-movement cracks in concrete or masonry, rigid materials (epoxy injections, cementitious repair mortars) may be appropriate. - For joints, interfaces between dissimilar materials, or areas with thermal or vibration movement, use flexible solutions (elastomeric sealants, flexible flashing, or movement joints) instead of hard fillers.
Load and function:
- Structural elements (beams, load-bearing walls, anchorage points) require products with verified structural performance—often with documentation like ASTM or ACI references. - Non-structural components (trim, non-load-bearing partitions, aesthetic elements) can often be repaired with lighter-duty materials, as long as they don’t create hidden load paths.
Environmental exposure:
- Exterior repairs must handle UV, freeze–thaw cycles, wet–dry cycling, and temperature extremes. Verify freeze–thaw resistance, flexibility, and service temperature ranges. - Chemical exposure (de-icing salts, industrial chemicals, pool environments) demands products specifically tested for those conditions.
Practical habits:
- Always read the TDS and installation instructions. Focus on minimum/maximum thickness, temperature range, open time, and cure time before load or coating.
- Stay with systems when possible. If a manufacturer offers a compatible primer, patch, and coating as a system, use it. Mixed-brand “Frankenstein” assemblies often fail at interfaces.
- Avoid over-strength repairs. A patch that’s much stronger and stiffer than the host concrete can cause new cracks at the interface. Aim for compatible—not just “stronger”—materials.
Control Time, Temperature, and Moisture While You Work
Even the right materials on a well-prepared surface can fail if working conditions are ignored. Many field problems show up not because of bad products, but because of rushed or poorly timed installation.
- Check ambient and substrate temperature. Most cementitious and resin-based products have a recommended temperature range (often 50–90°F / 10–32°C). Below or above that, cure times, strength gain, and bond can suffer.
- Plan around weather windows. For exterior work, look at rain forecasts, wind, and temperature swings. A perfect patch can be ruined by a surprise storm or rapid freeze overnight.
- Mix precisely, not “by eye.” Measure water, resin, or hardener volumes per manufacturer guidelines. Inconsistent mixing leads to soft, chalky, or brittle repairs.
- Respect pot life and open time. Once mixed, many repair products have a limited window before they begin to set or lose workability. Mix smaller batches if you’re working solo or on complex details.
- Protect the repair during early cure. Shield from direct sun, rapid drying winds, traffic, vibration, and early loading. Temporary barriers, warning tape, or simple covers reduce accidental damage.
- Follow cure-before-service times. Full strength may take days or even weeks. Resist the urge to “test” early by loading or impacting the repaired area.
Treat environmental control like formwork: it doesn’t show in the finished product, but it’s often the difference between a repair that lasts a season and one that lasts a decade.
Build Inspection and Maintenance Into Every Repair
A repair is not finished when the material has set; it’s finished when you’ve proven it’s performing and you have a plan for monitoring it. Professionals bake verification into their process so they can catch issues early and avoid repeat failures.
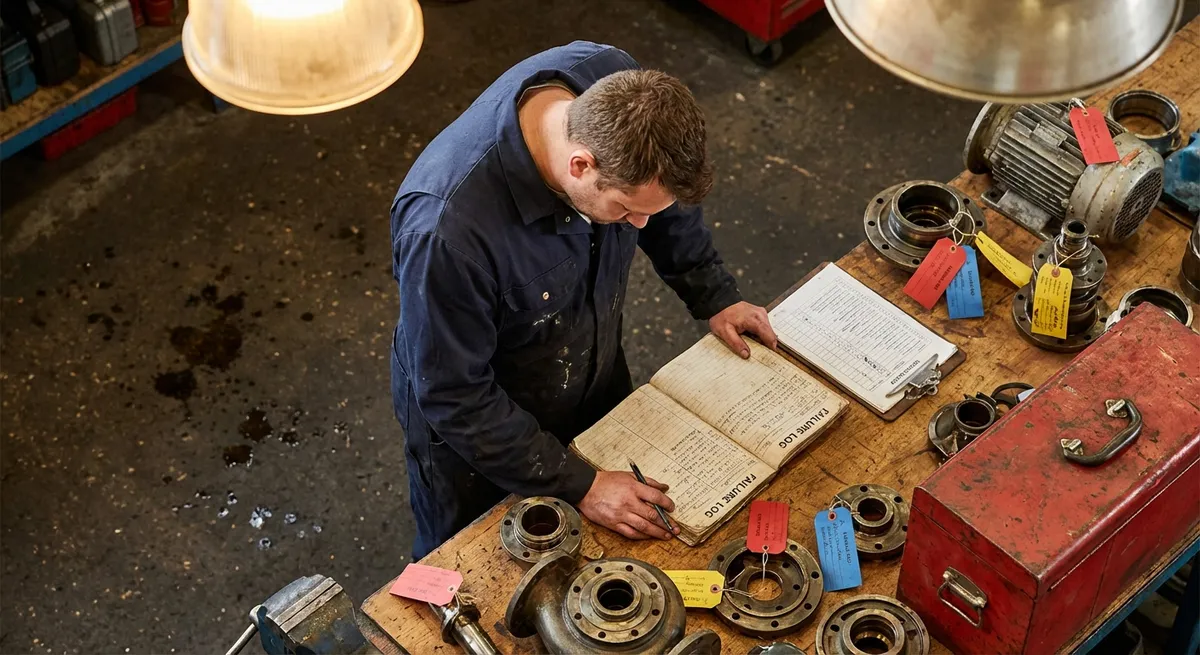
- Create a simple repair log. Note the date, location, materials used, batch/lot numbers, weather conditions, and photos before/after. For commercial work, this becomes part of the project record; for DIY, it’s your future reference.
- Schedule follow-up checkpoints. For critical or previously problematic areas, plan inspections at one week, one month, and after a season change (freeze–thaw or rainy season). Confirm there’s no new cracking, debonding, leaks, or staining.
- Use tell-tales or gauges when movement is suspected. Simple crack monitors or even pencil marks across a joint can reveal whether movement is ongoing after repair.
- Educate the owner or occupants. Clarify what’s normal (minor hairline shrinkage cracks in large patches) vs. what’s a red flag (recurrent leaks, spalling, rust marks). Provide clear instructions on what to watch for and when to call for help.
- Plan preventive maintenance. Some repairs are part of a broader maintenance cycle—sealant joints, coatings, and exposed steel all need periodic renewal. Tie the repair into a more comprehensive schedule instead of waiting for visible failure.
By treating repairs as part of a long-term performance plan, not a one-time event, you reduce surprises and protect both your budget and the building’s integrity.
Conclusion
Reliable repairs are built on habits, not heroics. When you investigate the real cause, prepare the substrate correctly, match materials to real-world demands, control working conditions, and verify performance over time, you dramatically cut down on callbacks and rework. Whether you’re a contractor defending your reputation or a serious DIYer investing your weekends, these field-tested habits shift repairs from “patch it again later” to “close the book on that problem.”
Sources
- [American Concrete Institute (ACI) – Concrete Repair Guides](https://www.concrete.org/topicsinconcrete/topicdetail/concreterepair.aspx) - Technical guidance on evaluating and repairing concrete, including substrate prep and material selection
- [Portland Cement Association – Concrete Repair and Maintenance](https://www.cement.org/learn/concrete-technology/durability/concrete-repair) - Practical information on concrete deterioration mechanisms and durable repair strategies
- [Simpson Strong-Tie – Concrete Repair and Protection Systems](https://www.strongtie.com/solutions/concrete-repair) - Manufacturer resources on matching repair materials to structural demands and exposure conditions
- [U.S. General Services Administration – Building Envelope Design Guide](https://www.gsa.gov/technical-documents/building-envelope-design-guide) - Covers water management, joints, sealants, and maintenance strategies for durable building envelopes
- [National Institute of Standards and Technology (NIST) – Service Life of Repaired Concrete Structures](https://www.nist.gov/publications/service-life-repaired-concrete-structures) - Research on factors that influence long-term performance of concrete repairs