Diagnose the Failure Before You Touch a Tool
Any repair that starts with a guess is likely to come back as a callback.
Before you cut, chip, or demo, spend focused time understanding why the failure happened. For water problems, use a flashlight and a level to trace the path of moisture—look above, behind, and around the obvious damage. In masonry or concrete, tap surrounding material with a hammer or screwdriver and listen for hollow sounds that indicate delamination beyond the visible crack. For settling issues, check adjacent doors, windows, and trim for racking or binding; that often reveals movement patterns you can’t see in the wall or slab alone.
Take photos from multiple angles and, if possible, document conditions over a few days (especially for leaks or seasonal cracks). On job sites, log these findings so everyone understands the cause before proposing a fix. This diagnostic step may add 30–60 minutes up front, but it prevents the classic mistake of patching a symptom while the original problem—like poor drainage, missing flashing, or undersized footings—remains untouched.
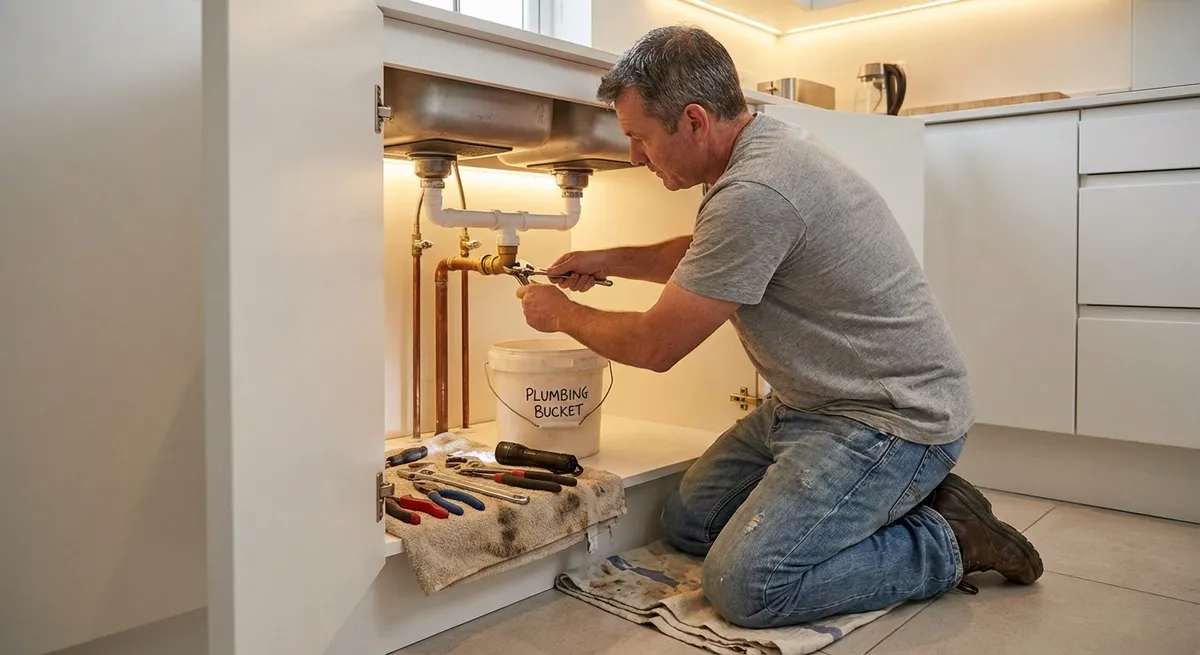
Control Moisture First, Then Repair the Damage
Most recurring repair failures have a moisture story behind them.
Before you commit to any permanent repair, get the area stable and dry. For exterior work, confirm that gutters, downspouts, and grading are moving water away from the building—downspouts should discharge at least several feet from foundations, and soil should slope away, not toward, structures. Inside, use a moisture meter on suspect areas to confirm you’re not sealing damp framing, masonry, or subfloors under new finishes. Temporary fans and dehumidifiers are often worth the rental fee to get moisture content down to an acceptable level before repairs.
If you’re dealing with masonry or concrete, understand whether the issue is bulk water (leaks), vapor, or capillary rise; each requires a different strategy. For example, brushing on a sealer over a damp, unvented basement wall may drive moisture further into the wall instead of out. On roofs and exterior walls, never rely on caulk alone as the primary defense—repair or add flashing, drip edges, and properly lapped weather barriers so that water is directed away by gravity, not trapped behind your patch.
Match Materials and Methods to the Original Structure
“Close enough” materials are one of the fastest ways to shorten the life of a repair.
When patching concrete, mortar, plaster, or structural components, compatibility matters: stiffness, expansion rates, and bond characteristics all affect performance. For concrete repairs, use products designed for patching that are compatible with the existing strength and exposure conditions; a high-strength, dense patch on weak, weathered concrete can create stress concentrations at the joint. With masonry, identify whether the original mortar was harder (modern Portland cement–based) or softer (lime-rich); using a mortar that’s too hard can cause surrounding brick or stone to crack instead of the joint.
Follow the manufacturer’s prep and mixing instructions precisely—water ratios, mixing time, and pot life aren’t suggestions. For anchors, fasteners, and epoxies, verify load ratings and curing times, especially in structural applications or where code compliance matters. On older homes and buildings, consider consulting local codes or preservation guidance before using modern materials that may trap moisture or alter how the assembly behaves under temperature and humidity changes.
Spend More Time on Surface Prep Than on the Visible Repair
A good-looking repair can still fail if the substrate wasn’t prepared correctly.
The core principle: nothing bonds well to weak, dirty, or unstable surfaces. Chip away all loose, crumbly, or delaminated material until you reach sound substrate—if it feels questionable under your tool, it’s not ready. Clean the area thoroughly: remove dust, oils, efflorescence, loose paint, and biological growth. In masonry and concrete, a combination of mechanical cleaning (wire brush, grinder with appropriate dust control) and washing (where suitable) gives better results than either alone.
For bonding new to old, use the correct primers or bonding agents specified for the material system you’re using. Lightly dampen (but don’t saturate) many mineral surfaces before applying repair mortars or patches; this helps avoid premature drying at the contact point. On metal, remove rust to bright metal where possible and use compatible primers before applying fillers or coatings. Mask adjacent areas you don’t want to contaminate—clean edges and controlled work typically mean better adhesion and easier inspection later.
Build Inspection and Maintenance Into the Repair Plan
Even the best repair needs a follow-up strategy.
Instead of treating the job as “done” when you pack up, define how and when it should be checked. For professionals, this can mean scheduling a brief return visit (or requesting client photos) after a full season of weather to confirm that cracks haven’t reopened, joints are still tight, and there are no new signs of movement or moisture. For DIY owners, keep a simple log: what was done, when, with what products, and where to look for early warning signs.
Design repairs so they’re inspectable: leave access panels where you’ve fixed plumbing or wiring, avoid burying critical joints behind permanent finishes, and keep transitions visible when possible. Use contrasting sealant colors at key joints so it’s easier to see gaps or deterioration. Set a reminder to walk the property—inside and out—at least twice a year, looking specifically at past repair zones. Catching small changes early gives you a chance to adjust drainage, add sealant, or relieve stress before the repair fails and you’re back to square one.
Conclusion
Reliable repairs come from a repeatable mindset, not just a better product on the shelf. When you start by diagnosing the real cause, manage moisture, match materials correctly, prepare surfaces with discipline, and plan for inspections, you turn one-time fixes into long-term solutions. These habits take a bit more effort up front, but they buy you fewer callbacks, fewer surprises, and a building that holds up to the use—and abuse—of real life.
Sources
- [U.S. Department of Housing and Urban Development – Residential Rehabilitation Inspection Guide](https://www.hud.gov/program_offices/public_indian_housing/programs/ph/capfund/guidebooks/inspect) - Practical guidance on diagnosing building problems before repairs
- [Portland Cement Association – Concrete Repair Basics](https://www.cement.org/learn/cement-concrete-applications/paving/concrete-repair) - Technical overview of proper concrete repair materials and methods
- [National Park Service Preservation Briefs](https://www.nps.gov/orgs/1739/preservation-briefs.htm) - Detailed bulletins on compatible repair strategies for masonry and historic materials
- [U.S. Environmental Protection Agency – Moisture Control Guidance for Building Design, Construction and Maintenance](https://www.epa.gov/indoor-air-quality-iaq/moisture-control-guidance-building-design-construction-and-maintenance) - In-depth resource on controlling moisture to prevent recurring damage
- [International Association of Certified Home Inspectors – Common Building Defects](https://www.nachi.org/gallery/failures.htm) - Photo-based examples of failures and underlying causes that inform better repair practices