This guide focuses on five expert practices that construction professionals rely on and that serious DIYers can adopt immediately. The goal isn’t perfection; it’s predictable, repeatable results you can trust.
Build a Simple Scope Sheet Before You Buy Anything
On professional jobs, no one starts with a trip to the store; they start with scope. A small, written scope sheet keeps your project controlled, your budget in check, and your weekend realistic.
First, define the outcome in one or two clear sentences: for example, “Install a weather-tight, prehung exterior door in existing opening with proper flashing.” This anchors every decision that follows. Next, break the work into phases: prep, layout, rough work, finish work, and cleanup. Under each phase, list tasks in the order they should happen. You don’t need fancy software—a notebook or a simple spreadsheet is enough.
Then, estimate time for each phase and mark what absolutely must be finished in your available window. This forces trade-offs before you open a paint can. Only after the task list is clear should you create your material and tool list. Group items by where you’ll buy them (lumberyard, big-box, online). This reduces forgotten items and mid-project “emergency” runs that burn time and attention. Before you finalize the list, ask: “What could stall this job?” and add contingency materials (extra fasteners, one more piece of trim, an extra blade). Pros plan for waste and mistakes; your scope sheet should, too.
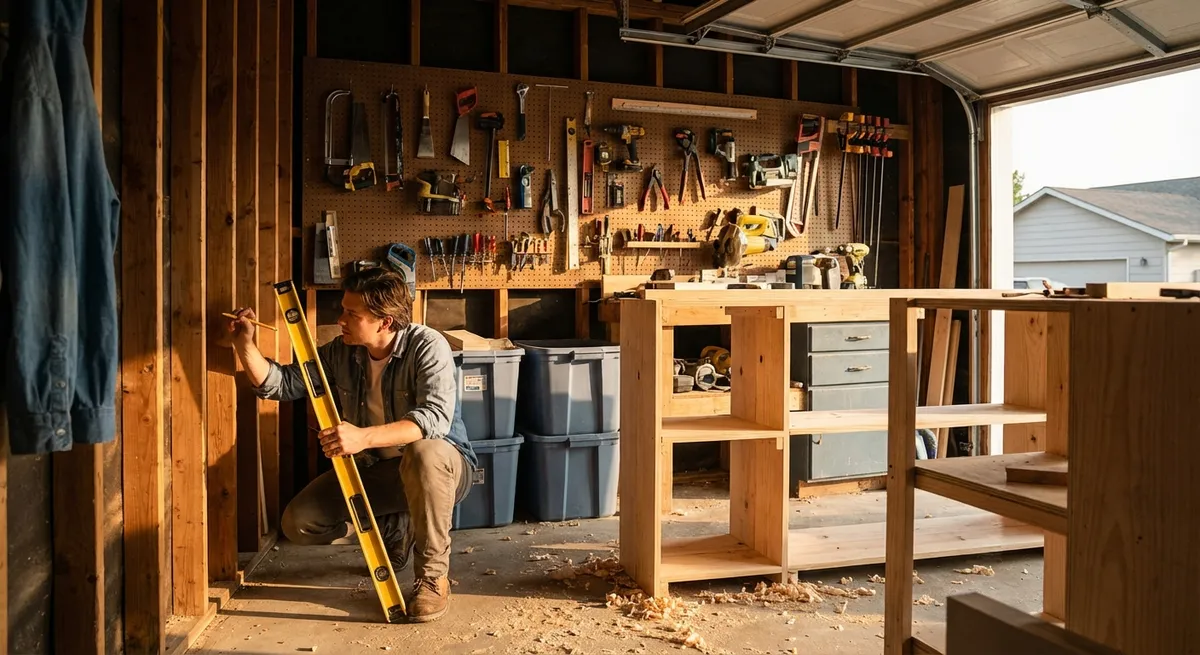
Treat Measurement and Layout Like a Separate Job
Professionals don’t treat layout as “the first five minutes”; it’s a full phase of work with its own standards. The more permanent the project, the more attention layout deserves.
Start by committing to a single tape measure for critical dimensions. Different tapes can vary by a couple of millimeters, which compounds over long runs. Snap chalk lines for reference wherever possible instead of working only from edges or eyeballing. For projects involving level or plumb (deck posts, door installations, wall framing), use the best level you have access to—preferably a longer box level or a verified plumb laser for anything structural.
When transferring measurements, always mark with a sharp pencil or fine-tip marker, and indicate which side of the line is “keep.” For repeat cuts, make a story stick—a scrap marked with all your key dimensions—and use that instead of re-measuring every time. This is how trim carpenters maintain consistency across a room. Before committing to cuts that are hard or expensive to redo (Joist lengths, custom scribing, door hardware locations), take a pause and perform what many pros call a “quiet check”: confirm the measurement, confirm the orientation, then cut.
Finally, record critical dimensions in your notebook or phone photos (e.g., framing locations before drywall, conduit routes, stud layout). Professionals document hidden conditions; this habit saves DIYers from guesswork during future upgrades.
Use the Right Fastener Strategy, Not Just “Whatever Screws Are Around”
Pros think in terms of fastening systems, not just “nails vs. screws.” Using the right fastener type, length, and corrosion resistance dramatically affects strength, safety, and durability.
Begin by identifying what you’re fastening and what it’s attached to: wood-to-wood, wood-to-concrete, masonry-to-metal, etc. For structural work (deck framing, ledger boards, stair stringers, load-bearing framing), defer to engineered fasteners and manufacturer guidance. Using drywall screws for structural applications is a common DIY error; they’re brittle and not designed for shear loads. Exterior projects should default to hot-dipped galvanized or stainless fasteners, especially around pressure-treated lumber, which can corrode unprotected metal over time.
Pay attention to shank type and head style. For decking, for example, consider screws designed to reduce splitting and mushrooming; for framing, collated nails that match your nailer’s requirements help maintain code-compliant shear values. Pre-drilling is not a sign of inexperience—it’s a professional tactic for hardwoods, near end-grain, or when working close to edges where splitting is likely.
Finally, learn to read and follow fastener spacing and pattern recommendations on product data sheets (for anchors, hangers, and masonry fasteners). Layout and spacing contribute as much to performance as fastener strength. It’s a small shift in mindset—from “attach it so it doesn’t move” to “attach it so it performs as designed”—and it’s exactly how pros think.
Prioritize Substrate Prep Instead of Relying on “Heavy-Duty” Products
In construction, almost everything is only as good as what it’s attached to. Professionals know that surface and substrate preparation determines whether adhesives, finishes, and coatings perform as advertised.
Start by identifying your substrate: old concrete, new concrete, painted drywall, bare wood, masonry block, or metal each have different prep needs. For concrete repair or adhesive anchoring, remove dust, loose material, and contaminants with mechanical methods (wire brush, vacuum, light grinding) rather than just sweeping. For painting or finishing, clean surfaces thoroughly to remove oils, mildew, and chalking; then scuff or sand to create a mechanical key. Many high-performance products underperform simply because the surface is too smooth, too dusty, or still damp.
Check moisture conditions where it matters. For flooring installations, tile setting, concrete overlays, or exterior finishing, read the manufacturer’s requirements for moisture content or cure time. Use a moisture meter on wood, or follow recommended cure times and simple plastic-sheet tests for concrete when applicable. Pros rarely skip this step on jobs that can be expensive to redo.
Select primers and bonding agents that are compatible with both your substrate and your topcoat. Don’t guess—product data sheets from reputable manufacturers clearly state what surfaces are acceptable and what prep is required. Make it a rule: if the product label or data sheet emphasizes prep, treat that section as mandatory, not optional. This is the cheapest “insurance” you can buy for long-term performance.
Build a Personal Quality Checklist and Use It Every Time
Professionals deliver consistency because they work from standards, not memory. A simple, personal quality checklist is one of the most effective tools a DIYer can steal from the trades.
Start by defining a short set of “must-pass” checks for the kind of projects you do most—framing, concrete, tile, door installs, or cabinetry. For example, a door installation checklist might include: verify rough opening size; confirm sill is level; check hinge screws are long enough to engage framing; test swing, latch, and weatherstripping with the door fully latched; and confirm there’s even reveal around the slab. Each step is something you can physically check, not just a feeling that it looks right.
Create similar lists for layout (verify square, level, plumb, and critical dimensions), structural connections (correct fastener type and pattern, all connectors filled), and finishes (no bare spots, proper film build, clean edges, and caulk joints tooled and intact). Keep these lists printed, laminated, or saved on your phone where you can pull them up quickly on-site.
Use the checklist twice: once before you declare the project “done,” and again a few weeks or months later, if possible. Note what held up well and what didn’t. Pros treat callbacks and punch lists as feedback on their methods; you can use your follow-up visit as a learning loop. Over time, your quality checklist becomes a record of what actually works in your home, with your tools, in your climate—exactly the kind of grounded expertise that makes professional work look effortless.
Conclusion
The gap between casual DIY and professional-level results isn’t mysterious—it's methodical. Clear scope, disciplined layout, intentional fastening, serious substrate prep, and repeatable quality checks are habits any motivated homeowner can adopt.
Use this article as a starting framework, not a rigid rulebook. Adapt each practice to your tools, your projects, and your pace. With each job, refine your notes, tighten your process, and treat your home like a small but demanding jobsite. That’s how confidence gets built—one well-executed step at a time.
Sources
- [U.S. Department of Housing and Urban Development – Residential Rehabilitation Inspection Guide](https://www.hud.gov/program_offices/public_indian_housing/programs/ph/phguide) - Provides professional inspection standards and checklists that inform quality and safety considerations for residential work
- [Simpson Strong-Tie – Fastening Systems and Code Reports](https://www.strongtie.com/products/connectors) - Manufacturer data on structural fasteners, connectors, spacing, and installation best practices used by construction professionals
- [Portland Cement Association – Concrete Basics](https://www.cement.org/learn/concrete-technology/concrete-basics) - Technical guidance on concrete behavior, curing, and substrate issues relevant to DIY structural and repair work
- [Fine Homebuilding Magazine](https://www.finehomebuilding.com/) - Trade-focused articles on layout, fastening, and installation techniques widely used by professionals and advanced DIYers
- [Occupational Safety and Health Administration (OSHA) – Construction Industry Standards](https://www.osha.gov/laws-regs/regulations/standardnumber/1926) - Authoritative reference for safety practices and requirements on construction sites, many of which can be adapted for serious DIY projects