This guide focuses on practical, field-ready habits that help you understand what your masonry is telling you—and what to do about it—before it turns into a structural or water-intrusion problem.
Understanding How Masonry Actually Carries Load
If you don’t understand how masonry carries weight, it’s almost impossible to judge which cracks matter and which are just cosmetic.
Masonry is strong in compression and weak in tension. That means bricks, blocks, and stone are excellent at being squeezed but poor at handling stretching or bending without help. The mortar joints distribute loads between units and help accommodate small movements, but they’re not glue; they’re part of a unified system that includes the foundation, reinforcement, and sometimes the framing behind the wall.
When you see a crack, your first diagnostic question should be: “What is this wall trying to do here—carry vertical load, resist lateral pressure, or simply enclose space?” Load-bearing walls behave differently from non-load-bearing infill or veneer. For example, a vertical hairline crack in a non-load-bearing veneer panel near a window might be thermal movement; a stepped crack through mortar joints on a solid brick bearing wall beneath a beam could signal settlement or overloading.
Professionals take note of wall type, thickness, and support points (lintels, beams, columns, footings) before judging any defect. Adopting the same habit dramatically improves your ability to decide whether a problem is urgent, routine, or just aesthetic.
Expert Tip 1: Use Crack Patterns as a Map, Not Just a Warning Sign
Cracks are often treated as the problem when they’re better understood as a map of how the wall has been moving.
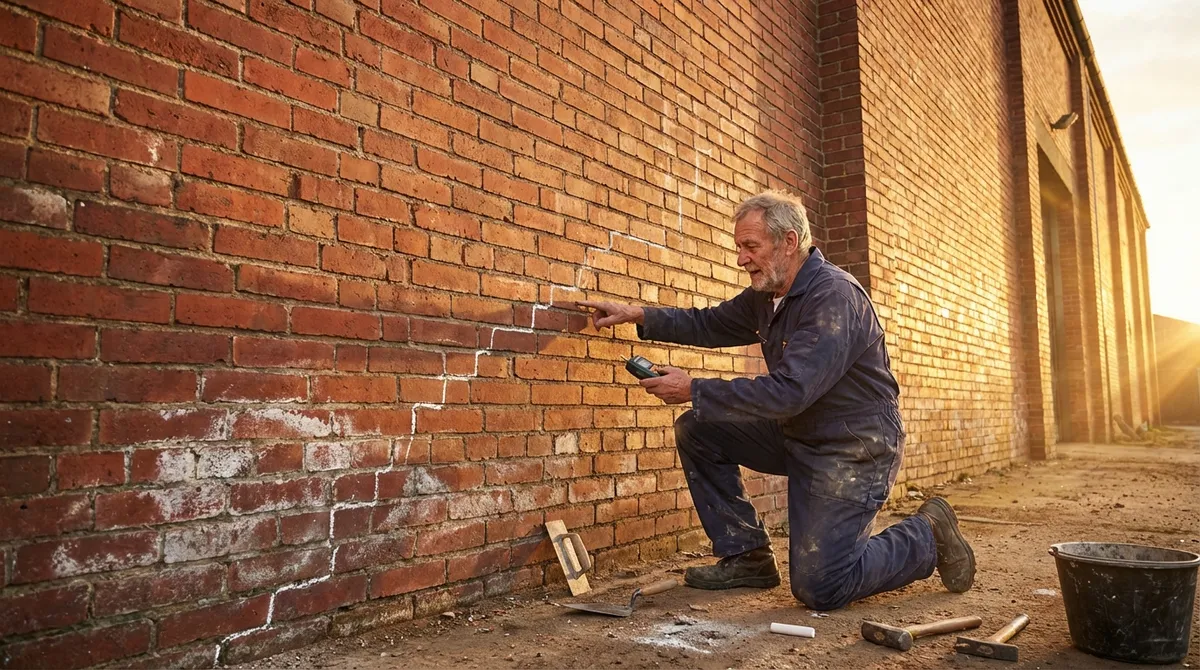
Start by documenting the crack: location, length, width, direction, and whether it follows mortar joints (stepped) or cuts through units (shear). Stepped cracks along mortar joints, especially in a zig-zag pattern through brick or block, typically point to settlement or differential movement between supports. Vertical cracks that run fairly straight and narrow may be tied to shrinkage, thermal cycles, or minor foundation movement. Horizontal cracks in the middle third of a wall can indicate lateral pressure from backfill or inadequate restraint.
Take photos and mark the ends of the crack with a pencil and date. For very small cracks (under about 1/16 inch), periodic monitoring is often more informative than immediate repair. A crack that stabilizes over a year suggests a past movement that has settled; one that grows or opens seasonally could indicate ongoing structural or moisture-related issues.
For more precise tracking, pros sometimes use crack monitors or simple “tell-tale” gauges epoxied across the crack. For DIYers, consistent photos from the same vantage point, along with simple measurements using feeler gauges or shim stock, can still provide usable data. The core mindset: don’t just patch; observe, interpret, then repair based on the cause.
Expert Tip 2: Treat Water as Your Primary Enemy, Not an Afterthought
Most masonry distress has a moisture component somewhere in its chain of causes. Even structurally adequate walls will fail prematurely if water isn’t managed smartly.
Start by working from the top down. Check coping caps, parapets, and flashing at roof-to-wall junctions. Failed or missing metal flashing, open lap joints, or deteriorated sealants allow water to enter the wall system and travel downward, often emerging far from the entry point as efflorescence, spalling, or interior staining.
Next, scrutinize horizontal surfaces: sills, ledges, and the tops of chimneys. These must be sloped away from the building and properly flashed or sealed so water can’t sit or wick into the core of the wall. On veneer systems, verify that weep holes are present, open, and not painted or caulked shut; they’re critical for draining the cavity behind the face brick.
Moisture meters, borescopes, and infrared imaging are common professional tools, but you don’t need them to start thinking like a moisture diagnostician. Look for consistent patterns: white, powdery salt deposits (efflorescence), darker damp patches, blistering paint, or frost damage near grade. On the exterior, confirm that grading directs water away from foundations and that gutters and downspouts discharge clear of the wall base.
Effective repairs usually combine three steps: stop water entry (flashings, sealants, caps), give trapped moisture a path out (weep holes, vents, breathable materials), and only then repair surface damage (repointing, patching, sealing). Doing them out of order often guarantees recurring problems.
Expert Tip 3: Match Mortar to the Wall—Avoid “Stronger Is Better” Thinking
Many masonry repairs fail because the wrong mortar is used, not because the workmanship is terrible. Using a high-strength mortar on softer historic brick, for example, can cause the brick—not the joint—to crack and spall.
Mortar strength and flexibility are defined by mix proportions (cement, lime, sand) and identified by types (M, S, N, O, K). Type M is strongest and stiffest; Type N and O are softer and more forgiving. Modern structural block walls and foundations may call for Types M or S, while many residential veneers and interior partitions use Type N. Historic solid brick often requires lime-rich, lower-strength mortars closer to Type O or custom mixes, especially when the brick itself is relatively soft and porous.
Before repointing or patching, evaluate what you’re working with. If it’s an older structure (pre-1950s, especially), don’t assume modern bagged mortar is appropriate. Conduct a simple hardness comparison: if the existing mortar can be scratched or crumbled with a screwdriver more easily than the brick, it’s likely a softer, lime-heavy mix. When in doubt on older or architecturally significant work, consult local guidelines or preservation resources.
When mixing repair mortar, aim to match not only strength but also color, texture, and joint profile. Professionals often create small test panels to confirm appearance and tooling results once the mortar has cured. The goal is functional compatibility first, visual integration second—but both are important for long-lasting, unobtrusive repairs.
Expert Tip 4: Verify Movement Joints and Restraints Before Blaming “Bad Brick”
Not all cracks are a sign that the masonry or foundation is defective; sometimes the movement joints or restraints were never properly designed or installed.
Masonry expands and contracts with temperature and moisture changes. Long, uninterrupted stretches of wall—especially in clay brick—require properly spaced expansion joints to absorb this movement. If joints are missing, too far apart, or poorly filled, the wall may create its own “joint” by cracking at weak points like window corners or changes in wall thickness.
On the flip side, some walls are over-restrained: the masonry is rigidly tied to structural framing or cast-in-place concrete without allowing for differential movement. As different materials expand and contract at different rates, stress concentrates at connections, leading to shearing cracks or separated joints.
When assessing a cracked wall, scan for existing vertical joints filled with sealant and backing, particularly at corners, long runs, and around large openings. Are they present at regular intervals? Are they functioning (flexible, bonded, not filled with rigid mortar)? On veneers, check metal ties or anchors: are they correctly spaced, not corroded, and embedded in mortar rather than loose in joints?
If you find that movement accommodation is inadequate, part of the repair strategy may involve adding or re-establishing joints, not just closing cracks. For new work or substantial renovations, study manufacturer recommendations and relevant codes for joint spacing and anchor details. Correctly designed movement joints are invisible when they work—and conspicuously absent when they don’t.
Expert Tip 5: Use Non-Destructive Checks Before Committing to Invasive Repairs
Professionals rarely jump straight to cutting, removing, or rebuilding masonry without first collecting as much non-destructive information as possible. Adopting this mindset can prevent you from solving the wrong problem—or creating a new one.
Start with a methodical visual survey. Use a flashlight, straightedge, and level. Sight along walls to detect bulges or bows. Check plumb and level at window and door openings. Tap gently with a hammer or metal tool and listen: solid masonry will sound dense and consistent, while delaminated or hollow spots often have a duller, more resonant sound.
Moisture-sensitive areas—chimneys, parapets, retaining walls, and foundation walls in contact with soil—deserve extra attention. Look for rust staining around embedded steel (lintels, anchors, rebar), which can indicate corrosion and expansive forces inside the wall. On chimneys, examine the crown, flue liner condition, and flashing transitions before assuming the brick is at fault.
If conditions are unclear or the stakes are high (structural walls, multi-story buildings, heavily loaded retaining walls), consider professional testing: borescope inspections in cavity walls, limited test cuts at strategic points, or structural evaluation by an engineer. Even for serious DIYers, one well-timed consultation can reset a project approach and avoid unnecessary demolition or undersized repairs.
The working principle is simple: gather evidence first, then choose the least invasive repair method that addresses the actual cause, not just the visible symptom.
Conclusion
Walls, chimneys, and retaining structures rarely fail without warning. To anyone willing to look closely, masonry surfaces provide steady, readable clues: the direction of a crack, the pattern of dampness, the way a joint deteriorates, or the absence of joints altogether.
By understanding how masonry carries load, treating water control as fundamental, matching mortar to the original construction, verifying movement joints and restraints, and relying on non-destructive checks before major intervention, both professionals and serious DIY practitioners can dramatically improve repair outcomes.
Instead of reacting to dramatic failures, you can read and respond to smaller signals early—extending the life of your masonry and reducing the likelihood of costly, disruptive rebuilds. Over time, that habit is what separates routine maintenance from crisis management on any masonry project.
Sources
- [The Masonry Society – Evaluation and Repair of Masonry Structures](https://masonrysociety.org) - Technical resources and best practices for assessing and repairing masonry systems
- [Brick Industry Association – Technical Notes on Brick Construction](https://www.gobrick.com/technicalnotes) - Guidance on brick movement, expansion joints, moisture control, and detailing
- [U.S. National Park Service – Preservation Briefs for Historic Masonry](https://www.nps.gov/tps/how-to-preserve/briefs.htm) - Authoritative recommendations on mortar selection, repointing, and moisture management for existing and historic masonry
- [Portland Cement Association – Concrete Masonry Basics](https://www.cement.org/learn/concrete-technology/concrete-construction/concrete-masonry) - Background on structural behavior, wall types, and performance considerations for concrete masonry
- [International Code Council – Building Codes (IBC Reference)](https://codes.iccsafe.org/codes/i-codes) - Applicable code requirements for masonry design, movement joints, and structural detailing