Stabilize Before You Touch the Damage
The fastest way to turn a simple repair into a major project is to start cutting, chipping, or demoing before the area is stable. Professionals treat stabilization as Phase Zero: nothing moves, nothing flexes, and nothing shifts while you’re working.
First, identify which elements are load-bearing or structurally important. For structural members (joists, beams, bearing walls, lintels), add temporary shoring or bracing before removing any material. Use adjustable steel columns or properly built wood shoring towers under beams or joists, making sure loads transfer down to firm support—not just subfloor sheathing.
For masonry, assess whether removing damaged brick, stone, or block will undermine what’s above. If it will, install a temporary support such as a needle beam or strongback system before cutting mortar joints. On framed walls, screw temporary plywood or OSB “splints” across cracked or compromised studs to limit movement while you open up the area.
Finally, lock in what you’re keeping: secure nearby trim, loose tiles, adjacent boards, and any fixtures or hardware that could rattle or shift. The goal is a repair zone that behaves like a single solid unit, so your tools and materials don’t transmit movement into areas you don’t intend to touch.
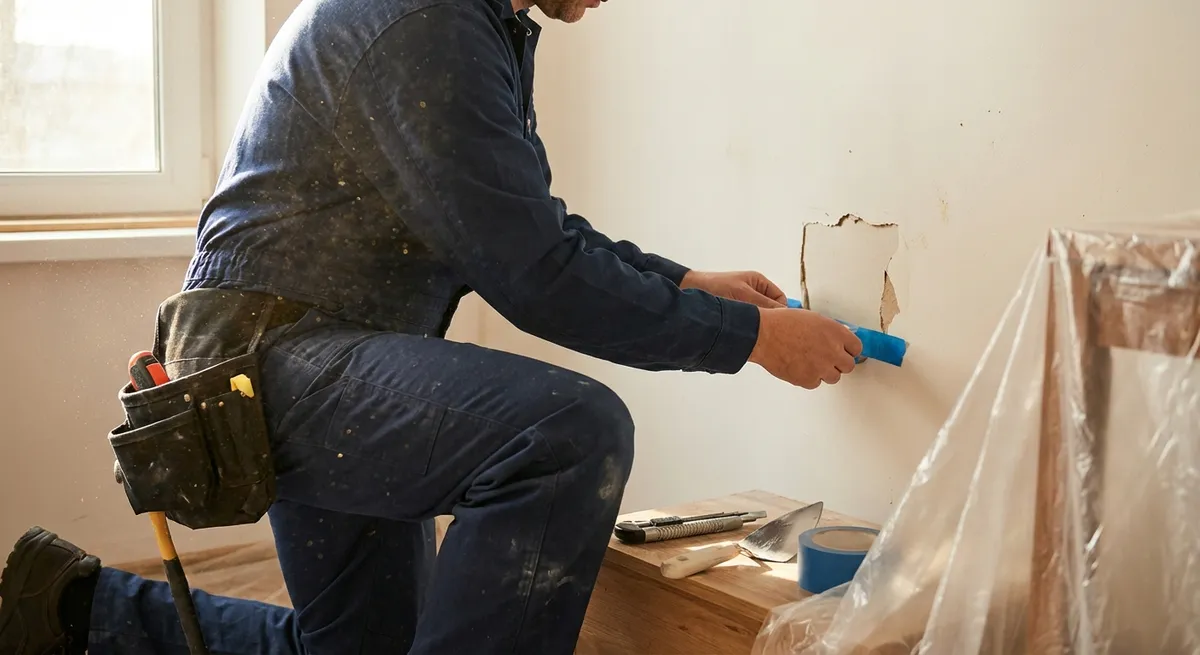
Control Dust, Debris, and Moisture Like They’re Materials
Experienced pros treat dust, debris, and water the same way they treat concrete, fasteners, and sealants: as factors that can make or break a repair. Uncontrolled dust and moisture don’t just make a mess—they ruin adhesion, corrode metal, and contaminate finishes.
Before cutting or grinding, set up dust containment. Use plastic sheeting to create a work “bubble” and tape seams carefully. Attach a HEPA vacuum to saws and grinders when possible. On smaller jobs, position a shop vacuum nozzle inches from your cut line and use low-speed passes instead of aggressive, high-RPM cuts that throw dust everywhere.
For moisture-sensitive repairs (patching concrete, installing backer board, replacing subfloor, or repairing framing), verify actual moisture levels. Use a moisture meter on wood and concrete rather than guessing based on appearance. If you’re repairing water damage, track the source and confirm it’s fixed before closing anything up—temporary patches over active leaks will fail quickly and often cause hidden mold or rot.
Clean the repair area thoroughly just before installing new materials: vacuum fine dust, wipe nonporous surfaces with a damp cloth and allow them to dry, and use a tack cloth or compressed air on sensitive surfaces. Assume that any dust or debris left behind becomes a weak layer between your repair and the original work.
Blend Materials and Profiles, Not Just Colors
The repair that truly “disappears” isn’t the one with the best paint match—it’s the one where the underlying material, profile, and texture are tuned to the original. Professionals start by matching physical characteristics before they worry about appearance.
For masonry repairs, examine the existing mortar or concrete: color, sand size, aggregate type, and hardness. Where durability matters, consult the existing specification or use a mortar classification (e.g., Type N vs. Type S) that matches the original’s strength and flexibility rather than just picking what’s on sale. On older brick, a repair that’s too hard can cause the brick to crack; a well-matched, softer mortar allows the wall to move without damage.
For wood repairs, match species, grain direction, and density, not just nominal dimensions. A patch in oak next to existing pine will move, stain, and dent differently. When splicing structural members, use proper scarf or lap joints with sufficient overlap, and match the cross-section so loads transfer smoothly without creating stress points.
For finishes, replicate profiles with templates and gauges. If you’re repairing trim, scribe a profile gauge to the existing molding, then pick or mill a replacement that matches the profile rather than approximating by eye. For textured surfaces (stucco, skim coats, textured ceilings), practice on scrap or test boards to get the tool motion and material consistency right before touching the actual repair. Once the physical match is close, final color-matching with paint or stain becomes straightforward instead of a desperate cover-up.
Build Access That Lets You Work Cleanly and Safely
Many “mysterious” callbacks and premature failures are simply the result of poor access. If you can’t see, can’t reach, or can’t control your tool, your repair will be compromised. Pros routinely spend extra time on access because clean access produces clean work.
Plan access as a step in the repair, not an afterthought. For overhead work, build stable platforms with properly set scaffolding or sturdy work platforms instead of stretching from a ladder. On exterior repairs, secure planks, guardrails, and tie-offs where required. You should be able to reach the entire repair zone comfortably with both hands and maintain control of your tools.
When working in tight or concealed spaces (inside wall cavities, under decks, in crawlspaces), remove enough material to actually see what you’re doing. A slightly larger, well-planned opening that you can patch cleanly is far better than a tiny hole that forces you to work by feel and guess at fastener placement or sealant coverage.
Run temporary lighting and extension cords so they don’t create trip hazards or snag tools. Clip or tape cords along safe paths, and use bright, diffused lighting that reveals surface defects without harsh glare. If you can’t clearly see the interface between old and new material, you can’t verify good contact, coverage, or alignment—and that’s exactly where repairs fail.
Document and Stress-Test Your Repair Before Calling It Done
On professional jobs, documentation and testing are standard. Bringing that mindset to your own work dramatically improves reliability and makes future troubleshooting much easier.
Before closing up or painting, inspect the repair aggressively. For mechanical connections, verify fastener type, spacing, and embedment. Check that structural members bear fully on supports without gaps. For sealants and flashing, confirm continuous coverage, proper laps, and correct slopes for drainage. Photograph these conditions before they’re concealed; you or another pro will be grateful later if anything needs to be revisited.
Apply realistic stress to the repair. For structural or framing fixes, add load gradually—walk or bounce lightly on new subfloor, apply hand pressure to railing repairs, or load shelves progressively. For plumbing repairs, pressurize the system and run water long enough to expose slow leaks. For building envelope work (roof, flashing, exterior sealants), use a controlled hose test to check for water intrusion before reinstating finishes.
Finally, label and log what you did: materials used, locations, and any key observations. A simple notebook entry or digital note with photos creates a mini “as-built” record. On multi-trade jobs or rentals, share this with owners or other trades. A repair backed by clear documentation and a passed stress test is far more likely to hold up—and much easier to defend if questions arise later.
Conclusion
Reliable repairs don’t come from miracle products or shortcuts; they come from a disciplined process that respects the existing structure. By stabilizing before you touch the damage, controlling dust and moisture, matching materials and profiles, building proper access, and testing your work, you turn one-off fixes into long-term solutions. Whether you’re maintaining your own property or delivering work for clients, these habits protect the rest of the job and keep your repairs from becoming the weak link in an otherwise solid build.
Sources
- [OSHA Construction Industry Standards](https://www.osha.gov/laws-regs/regulations/standardnumber/1926) - Official U.S. guidelines for safe construction practices, including temporary supports and access systems
- [Portland Cement Association – Concrete Repair Fundamentals](https://www.cement.org/learn/concrete-technology/concrete-construction/concrete-repair) - Technical guidance on assessing and executing durable concrete repairs
- [National Park Service – Preservation Brief 2: Repointing Mortar Joints in Historic Masonry Buildings](https://www.nps.gov/orgs/1739/preservation-briefs-2.htm) - Authoritative information on matching mortar type, strength, and appearance in masonry repairs
- [University of Massachusetts Amherst – Building and Construction Technology: Moisture Problems in Buildings](https://bct.eco.umass.edu/publications/by-topic/moisture-control/moisture-problems-in-buildings/) - Explains how moisture affects building materials and why control is critical in repair work
- [Centers for Disease Control and Prevention – NIOSH Dust Control Handbook for Industrial Minerals Mining and Processing](https://www.cdc.gov/niosh/mining/works/coversheet1835.html) - Detailed dust control strategies; principles applicable to construction and repair environments