This guide focuses on five expert‑level, practical habits that both professionals and serious DIY builders can apply immediately. Each one is less about “tricks” and more about tightening your process so your masonry is cleaner, stronger, and more predictable.
Tip 1: Control Your Base and Layout Before You Touch a Trowel
The most common masonry failures start under your feet, not in your hands. A wall that’s dead‑straight on day one but sitting on a sloppy base will move, settle, and crack.
Focus on three non‑negotiables before you lay the first unit:
Subgrade and compaction
- Excavate to stable soil, removing organic material and loose fill. - Compact in lifts (typically 4–8 inches) with a plate compactor or rammer where access is tight. - For retaining walls, follow the block manufacturer’s structural and geogrid requirements; don’t guess.
Base material and level
- Use a crushed stone or aggregate base (not round gravel) so it locks together. - Screed and compact your base to a consistent thickness, checking with a long level, laser, or transit. - For short garden or non‑structural walls, a concrete footing may be overkill; for structural or code‑governed work, follow prescriptive footing sizes in your local building code.
Layout lines and reference points
- Pull control lines tight using mason’s line and line blocks or line pins. - Mark key control points (corners, door/window openings, pilasters) and snap chalk lines on the footing or slab. - Check corner-to-corner diagonals to square the layout; if the diagonals don’t match, your wall will fight you every course.
The time spent here pays off in faster laying, less cutting, and fewer “make it work” joints as you climb.
Tip 2: Match Your Mortar to the Job—and Then Mix It Consistently
Even good masonry can be weakened by the wrong mortar or an inconsistent mix. Stronger is not always better; the goal is compatible, not simply hard.
Choose the right mortar type
For most conventional work in North America, ASTM C270 mortar types are the standard:
- Type N (medium strength): General above‑grade walls, brick veneer, chimneys in mild climates. Flexible and good for many residential jobs.
- Type S (higher strength): Below‑grade walls, retaining walls, patios, and applications with higher lateral or wind loads.
- Type O (low strength): Historic restoration and softer, older brick that can’t tolerate very hard mortar.
- Type M (very high strength): Heavy loads, foundations, and some retaining conditions when specified—can be too stiff and brittle for many veneers.
Use what your structural drawings or local codes specify. When in doubt for a typical new above‑grade veneer, Type N is often appropriate; for below‑grade or retaining, Type S is frequently called out.
Mix for workability, not just stiffness
- Measure materials instead of “shovel counts” when possible—consistent ratios lead to consistent joints and strength.
- Add water gradually; aim for a mortar that holds on a trowel when tipped but slumps slightly when shaken. Too wet weakens the bond; too dry is hard to spread and doesn’t key well into units.
- Mix time matters: Typically 3–5 minutes in a mechanical mixer after all water and dry ingredients are in. Under‑mixing leaves pockets of unhydrated cement; over‑mixing can entrain too much air.
- Watch your retemper window: Mortar that’s started to set and is repeatedly retempered (water added later) can lose strength. Follow manufacturer time limits—often around 2–2.5 hours from initial mixing, but check the bag or spec sheet.
Consistent mortar means consistent bond strength, similar color, and predictable tooling and cleanup.
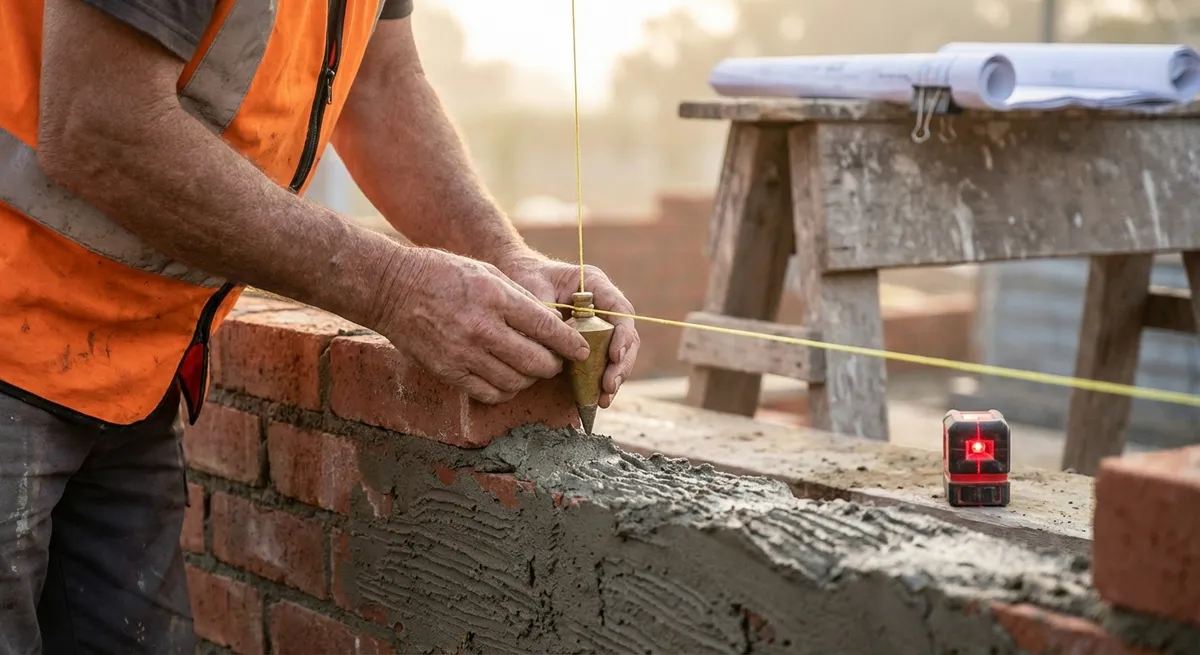
Tip 3: Use Layout Tools Like a Pro: Leads, Lines, and Joint Control
A mason’s real “finish” is visible long before the final tooling. Straight lines, even joints, and plumb faces don’t happen by accident.
Build strong, true leads
“Leads” are the corners or ends of your wall built up several courses ahead. They:
- Let you stretch a line between solid reference points.
- Control both vertical (plumb) and horizontal (level) accuracy for the rest of the run.
- Give you a place to work from without constantly stopping to recheck.
Use a 4‑foot level (or longer) and check both faces and the top of each course as you build leads. Any error here will multiply across the wall.
Stretch your line properly
- Keep the line tight but not bowing; excessive tension can pull corners inward.
- Use line blocks or pins so the line sits just proud of the face—units should “kiss” the line without pushing it out.
- Raise the line every course; never lay more than one course without resetting and rechecking.
Control joint thickness and pattern
- Standard brick joints are often 3/8 inch; block joints are commonly 3/8–1/2 inch, but always follow plans/specs.
- Use a story pole or mark your level with course heights, especially around openings, to avoid odd sliver cuts above windows or doors.
- Maintain running bond or specified patterns carefully; a broken bond pattern is obvious from across the street and difficult to fix later.
Good layout habits separate work that looks “okay from a distance” from work that still looks right when you’re standing three feet away.
Tip 4: Manage Moisture from Day One, Not Years Later
Water is masonry’s slowest but most reliable enemy. You can’t make a wall completely waterproof, but you can make it drain and dry—if you plan for it before you lay the first unit.
At the foundation and base
- Use capillary breaks: Sill seal, damp‑proofing membranes, or a bond break between concrete and masonry where required.
- For retaining walls, include proper drainage stone behind the wall and a perforated drain pipe daylighted to a safe outlet or sump.
- Avoid burying walls deeper than specified without adjusting drainage—extra soil height means extra water pressure.
In the wall assembly
- For veneers, install flashing and weep systems at the base, above openings, and at shelf angles per code and manufacturer guidance.
- Keep weep holes clear during construction; avoid packing them with mortar droppings. Use mesh or proprietary weep devices where specified.
- Maintain joint quality—poorly filled bed or head joints are common water entry points.
At the surface
- Avoid sealing new masonry until it has cured and dried per product recommendations (often 28 days or more).
- Use breathable, vapor‑permeable sealers or water repellents when needed; non‑breathable coatings can trap moisture and accelerate freeze‑thaw damage.
- Detail copings, caps, and sills with positive slope away from the wall and proper drips to shed water, not direct it back into the work.
The more you think like water—“Where will it want to go?”—the longer your masonry will last with minimal maintenance.
Tip 5: Finish and Protect the Work While It Cures
Many otherwise good walls are compromised in the last 10% of the job: rushed finishing, weak joints, or unprotected curing. Cement‑based materials gain strength over time, and those first few days matter most.
Tooling timing and technique
- Tool joints when the mortar is “thumbprint hard”—firm enough to resist smearing but still plastically workable.
- Use a concave or “V” jointer for exterior work; these profiles compress the surface and shed water better than raked or flush joints.
- Tool consistently in the same direction for a uniform appearance and better compaction.
Curing and protection
- Protect fresh work from rapid drying (hot, windy, or low‑humidity conditions) with light misting or damp burlap, following best practices for mortar and grout.
- Shield new masonry from direct rain that can wash out joints in the first 24 hours. Use tarps or temporary shelters that still allow airflow.
- In cold weather, follow cold‑weather masonry procedures:
- Use heated, non‑frozen materials.
- Prevent mortar from freezing until it has reached adequate strength.
- Enclose and heat work areas when necessary and follow temperature limits from standards or product data sheets.
Cleanup without damage
- Remove mortar smears early, before they fully cure, using a stiff brush and clean water.
- Only use masonry cleaners or mild acids where appropriate and after the mortar has cured; always test on a small, inconspicuous area first.
- Avoid aggressive power washing on fresh joints—it can erode the surface and open micro‑paths for water.
Treat the curing phase as part of construction, not an afterthought. The joints you protect today are the call‑backs you avoid tomorrow.
Conclusion
High‑quality masonry isn’t about secret shortcuts—it’s about disciplined control of the fundamentals: a stable base, the right mortar mixed well, precise layout, managed moisture, and careful finishing and curing.
For professionals, tightening these five areas can reduce rework, callbacks, and warranty issues while boosting the perceived quality of every job you complete. For serious DIY builders, adopting these habits moves your work closer to trade‑level standards and makes each project a more reliable investment.
Every wall you build is telling on how much you respected the details you couldn’t see once it’s finished. Get those right, and the visible work will take care of itself.
Sources
- [ASTM C270: Standard Specification for Mortar for Unit Masonry](https://www.astm.org/c0270-19.html) - Defines mortar types, proportions, and performance requirements widely referenced in masonry design and practice.
- [The Masonry Society – Masonry FAQs](https://masonrysociety.org/faqs/) - Technical resources and common questions on design, construction, and maintenance of masonry structures.
- [NCMA (National Concrete Masonry Association) – TEK Resources](https://ncma.org/resources/tek-solutions-center/) - Detailed technical notes on concrete masonry units, retaining walls, drainage, and construction details.
- [International Code Council – International Building Code (IBC) Overview](https://www.iccsafe.org/products-and-services/i-codes/2018-i-codes/ibc/) - Provides the structural and material requirements that govern masonry construction in many jurisdictions.
- [Portland Cement Association – Concrete and Masonry Construction Practices](https://www.cement.org/learn/concrete-technology/concrete-construction) - Guidance on mixing, placing, and curing cement-based materials, including field practices relevant to masonry.