This approach is what separates “it works” projects from work that feels intentional, solid, and professional. Below are five expert-level habits that help both construction pros and serious DIYers deliver a finish they’re proud to live with, not just look at.
Visualize the Final Surface Before You Touch a Tool
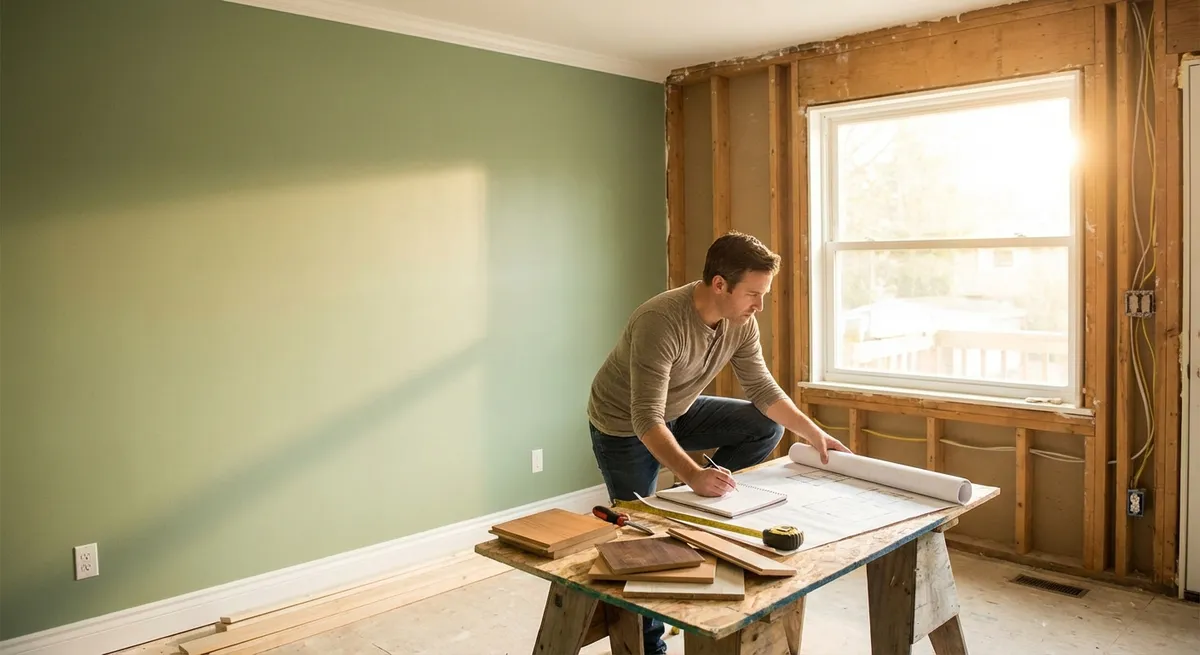
Professionals spend a surprising amount of time just looking at the space before they build anything. That’s not indecision—it’s quality control happening early, when changes are cheap.
Stand in the room and imagine every visible surface when the project is done: where your eye is drawn, what sits at eye level, and what seams or transitions might be obvious. For example, in a tile project, decide where you want full tiles to land—often centered on a focal point or starting at a highly visible edge—and work the layout from there instead of starting in a random corner.
Do the same with trim, outlets, and fixtures. Visualize how baseboards will meet door casings, whether outlets end up cut into tile edges, or if a light fixture will look centered after cabinets or mirrors are installed. Mark these critical visual lines on the walls or floor with painter’s tape or a pencil.
This visualization step informs everything: where you start layout lines, how you adjust framing, whether you shim walls or re-plane a high spot in the subfloor. When you know the finish you want, your early choices become deliberate instead of reactive.
Use Reference Lines and Control Points Like a Pro
Once you know how you want the finished surfaces to look, lock that vision into the space with precise reference lines. Pros treat these as “control points” that every other measurement takes its cue from.
Snap chalk lines for tile, decks, partition walls, or cabinetry, using the straightest, most reliable reference you have—often an exterior wall or verified square corner. Check those corners with the 3-4-5 rule (or any 6-8-10 multiple) to verify they’re truly square. If they’re not, you’ll know how much you’re compensating for and where to hide any adjustments.
On walls and ceilings, use a laser level whenever possible. Set a benchmark line around the room at a known height (for example, 48" from the floor) and use it to track irregularities in floor or ceiling heights. For cabinets or built-ins, align everything to your level reference line, not to an out-of-level floor.
Treat these lines as law: cuts, fasteners, and framing may bend to meet them, but the lines themselves don’t move casually. This discipline ensures that even in imperfect houses, your finished work looks straight, intentional, and aligned.
Build Substrates and Structure for the Finish, Not the Demo
Durable finishes rely on what’s underneath more than what you can see. Pros obsess over substrates because they know paint, tile, flooring, and hardware can only perform as well as the structure holding them.
For tile, check the subfloor thickness, stiffness, and flatness before laying a single sheet of backer board. Many tile manufacturers specify maximum deflection and substrate requirements; ignoring these leads to cracked grout or tiles even if your layout is perfect. Plane high spots, fill low areas with appropriate patching compound, and fasten underlayment according to manufacturer instructions.
For drywall and trim, long walls can bow or wave, making it nearly impossible to get tight seams and clean lines. Use long straightedges to find humps and dips in studs. Shave or plane high studs and shim low ones before hanging board. This extra hour can save days of frustrating taping, mudding, and sanding.
For exterior projects like decks or garden walls, consider not just initial strength but also drainage, frost movement, and load paths. Proper footings, compacted gravel bases, and corrosion-resistant fasteners all serve the same purpose: giving your visible finish a stable, predictable platform.
Control Tolerances Instead of Trusting “Close Enough”
Professionals rarely chase perfection, but they are ruthless about tolerances—the acceptable amount something can be off while still functioning and looking right. Defining your own tolerances before you start can dramatically improve your DIY outcomes.
Decide what’s critical: door reveals, cabinet gaps, tile joints, stair riser heights, and countertop seams all have much tighter tolerances than, say, a shed wall that’s hidden behind cladding. For example, door gaps are often targeted at roughly 1/8" around, with variations kept very small to avoid obvious inconsistencies.
Use story poles (marked boards) for consistent layout of repeated features like balusters, siding, or tile rows. They reduce the chance of cumulative measurement errors. When setting fasteners or hardware, template jigs and spacing blocks keep tolerances tight without measuring every single piece.
When something drifts out of tolerance, resist the urge to “make it up later.” Early corrections—planing a door edge, resetting a tile, or recutting a board—nearly always save time and deliver a better result than trying to disguise a mistake several steps downstream.
Finish in Layers: Rough, Fair, Then Fine
Professionals think in passes, not in single steps. They know you don’t go from rough framing to paint-ready in one move; you bring surfaces into tolerance through a sequence of increasingly refined steps.
On walls, that often means: screw and fasten correctly, tape joints, apply a heavier first coat of mud to fill, a second to flatten and blend, and a final skim only where necessary. Sand with progressively finer abrasives and inspect with raking light to catch defects early. Trying to get a flawless wall in one coat usually leads to more sanding and patching than a predictable three-coat approach.
In woodworking or trim, start with rough fitting to confirm lengths and angles, then refine miters and joints to close gaps before nailing off. After install, fill nail holes and gaps, sand lightly, then prime. Primer reveals small flaws you missed; correcting them here leads to a more professional finished coat.
For concrete, patios, or repair mortars, think similarly: form and place for basic shape and strength, then screed and bull float for plane, and only then use finishing tools or light steel troweling once bleed water has evaporated. Each step has a defined role; skipping or compressing steps is what creates waves, cracks, and weak surfaces.
By intentionally layering your work from rough to fine, you reduce rework and give yourself clear checkpoints to catch and correct issues before they become part of the finished surface.
Conclusion
Starting from the finished look and working backward turns DIY projects into deliberate builds rather than experiments. Visualizing final surfaces, defining reference lines, building substrates for performance, controlling tolerances, and finishing in layers are all habits that professionals rely on to make complex work predictable.
Adopting these habits doesn’t require bigger budgets or specialized tools—just a shift in mindset. When every step serves the final surface, your projects start to look and feel like they were done by someone who builds for a living, not just for the weekend.
Sources
- [U.S. Department of Housing and Urban Development – Residential Rehabilitation Inspection Guide](https://www.hud.gov/program_offices/administration/hudclips/guidebooks/7485.1) - Covers professional inspection standards, substrate conditions, and structural considerations that inform quality DIY work.
- [Tile Council of North America (TCNA) Handbook](https://www.tcnatile.com/technical-services/publications/TCNA-Handbook.html) - Provides industry standards for tile substrates, deflection limits, and installation methods.
- [Fine Homebuilding – Layout and Framing Techniques](https://www.finehomebuilding.com/project-guides/framing) - Articles and guides on reference lines, tolerances, and pro-level framing practices.
- [The American Institute of Architects – Basics of Building Enclosure Performance](https://www.aia.org/resources/220156-building-envelope-performance) - Explains why substrates, moisture management, and tolerances matter for long-term durability.
- [University of Missouri Extension – Concrete for Homeowners](https://extension.missouri.edu/publications/gn360) - Practical guidance on concrete placement, finishing in stages, and substrate preparation.