This article walks through five expert-level practices that professionals rely on every day. Apply them to decks, patios, built-ins, fences, sheds, and any project where materials, tools, and time all have to cooperate.
Build Backward from the Finished Result
Professionals rarely start with, “What materials do I have?” They start with, “What should this look like and do in five years?” That long view guides every decision.
Begin with a clear functional brief. Write down what the project must handle: weight (people, furniture, stored items), weather (sun, rain, freeze–thaw), use patterns (daily traffic vs occasional use), and maintenance expectations. A deck meant for occasional grilling is built differently from one that supports a hot tub.
Next, capture the finished look before you buy anything. Use a simple sketch, inspiration photos, or free online tools to define rough dimensions, style (modern, traditional, rustic), and surface finishes. Include small details: edge profiles, trim thickness, fastener visibility.
Then, validate that vision against reality. Check local building codes and HOA rules before you commit to a design. Pay special attention to structural elements (posts, beams, footings), guardrail requirements, and height limits. Many professional disasters begin with ignoring a small line in a local code book.
By working backward from the final, compliant result, you avoid mid-project redesigns, rushed material swaps, and expensive tear-outs.
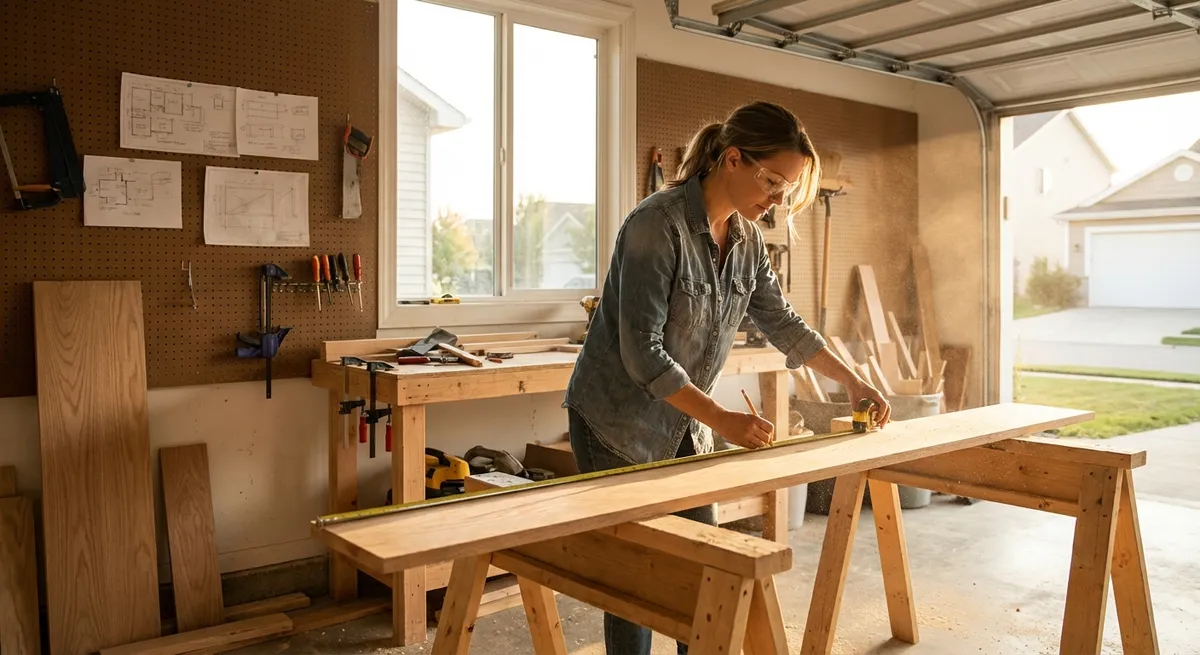
Treat Measurements Like a Safety System, Not a Chore
On a jobsite, measuring isn’t about perfectionism—it’s about preventing expensive mistakes and unsafe structures. DIY projects benefit from the same discipline.
Use one measuring “language” throughout the project. Stay in either inches or millimeters; don’t bounce between systems. Write all critical measurements down in a notebook or on a temporary whiteboard in the work area. Pros do this to prevent “close enough” estimates from creeping in when they get tired.
Lock in three reference lines before any cutting or digging:
- A baseline (for example, the house wall or property line, once verified)
- A perpendicular line (using the 3–4–5 triangle method or a square)
- A height reference (like a laser level line or string line)
Confirm these references multiple times, especially if you’ve disturbed the ground or moved your layout lines. Small errors at the start compound into visible misalignment in finished work—crooked pavers, leaning posts, or cabinets that don’t sit flush.
For repetitive cuts (deck boards, fence pickets, framing members), set up physical stops rather than re-measuring every piece. A simple clamped block at the correct length on a miter saw station is faster and produces more consistent results than relying on a tape for each cut.
Finally, treat your level like a critical tool, not an optional extra. Check:
- Horizontal lines for slope where needed (like drainage away from the house)
- Vertical lines for plumb (posts, door frames, corner trim)
- Flat planes for twist (long countertops, decks, benches)
When a pro says, “It looks right,” they usually mean, “I verified it with tools already.”
Choose Fastening Methods as Carefully as Materials
Many DIY builds fail not because the lumber, bricks, or pavers were wrong, but because they were held together poorly. Pros spend almost as much time deciding how things connect as they do choosing what they’re made of.
Start with environment and load. Ask:
- Will this connection be exposed to rain, snow, or salt?
- Is it structural (supporting weight) or cosmetic (trim, cladding)?
- Is there movement to accommodate (wood expansion, soil shift, wind)?
- Exterior wood structures: Use corrosion-resistant screws or bolts rated for outdoor and treated lumber. Avoid generic interior screws—coatings and steel grades matter.
- Masonry and concrete: Use anchors specifically rated for base material (solid concrete vs hollow block vs brick) and expected loads. Drill proper pilot holes and follow depth specifications.
- Mixed materials (wood-to-masonry, metal-to-wood): Use the correct combination of anchors, washers, and isolation where needed to avoid corrosion and loosening.
Match fasteners to materials and conditions:
Plan fastening patterns before you start. For example, decking boards require spacing for drainage and fastening patterns that control cupping and movement. Brick or block work benefits from consistent joint spacing and tie-ins at regular intervals. A simple sketch of screw or anchor positions on critical parts helps you avoid guesswork under pressure.
Finally, respect manufacturer instructions. Pros read them because:
- Fastener spacing affects the load rating of brackets and hangers
- Over-tightening can crush wood fibers or strip masonry
- Incompatible hardware can void product warranties and reduce lifespan
Thinking about “how it connects” with the same seriousness as “what it’s made of” dramatically improves durability and safety.
Stage the Jobsite Like a Small Construction Project
Professional results depend on how the work area is set up long before the first cut. A controlled, organized site cuts down errors, damage, and fatigue—especially on multi-day projects.
Define zones:
- Clean layout zone for measuring and planning (keep tools and debris out)
- Cutting and noisy-work zone set away from neighbors, doors, and windows
- Materials zone off the ground and protected from moisture, ideally sorted by length and type
- Waste zone with a clear path for removal (trash bags, buckets, or a small dumpster)
- Protect doors, windows, and siding adjacent to the project with cardboard or sheeting
- Cover lawn or landscaping where debris or materials will be staged
- Lay down drop cloths or rosin paper on interior floors when moving materials through the house
Set up temporary protection before work begins:
Plan tool access and power. Run extension cords where they won’t be trip hazards or cutting risks. Use cord management (hooks, tape, or temporary clips) around work surfaces. If using dust-producing tools, think through ventilation and containment in advance—especially for indoor or garage-based work.
At the end of each day, perform a “pro close-out”:
- Clear paths and walkways
- Stack and cover materials
- Secure tools and small hardware (fasteners, bits, blades)
- Sweep or vacuum major dust and debris
This 15–20 minute habit prevents lost parts, accidental damage, and next-day confusion. It also makes it easier to pause a project without the rest of your life turning into a construction zone.
Build in Inspection Points Before You Cover Anything
Pros know that the worst problems are the ones you discover after the tile, drywall, decking, or trim is already in place. Their solution is to create built-in inspection moments—formal pauses to verify critical elements before hiding them.
Identify “no-go” stages before you start. These are points where:
- Structural elements become hidden (post bases, joist hangers, anchor bolts)
- Utilities are enclosed (wiring runs, plumbing, drainage)
- Level and slope are locked in (subfloor, deck framing, patio base)
At each of these stages:
- Stop work intentionally.
- Check all connections against your plan and, where applicable, code requirements.
- Verify level, plumb, or intentional slope with a reliable tool.
- Document with photos from multiple angles.
If local rules require inspections (for decks, electrical, or structural changes), schedule them around these same points. Even when no formal inspection is required, treating these moments as “do not proceed until checked” will save you from hidden failures.
Resist the urge to push through just to see visible progress. Pros get paid to make invisible details correct because those are the details that determine how the project performs over time. DIY work that mimics this discipline will hold up more like professional construction.
Conclusion
DIY projects run smoother—and look more professional—when you borrow the underlying systems that pros use daily. Working backward from the finished result, treating measurements as a protection tool, choosing fasteners with intent, staging the jobsite, and enforcing inspection points transform a weekend experiment into a durable, predictable build.
You don’t need commercial equipment or a crew to apply these habits. You only need to slow down at the right moments, make deliberate choices, and treat your project as if a future inspector—or future you—is going to look under every board and behind every wall.
Sources
- [U.S. Consumer Product Safety Commission – Home Maintenance and Safety Tips](https://www.cpsc.gov/Safety-Education/Safety-Guides/home) - Offers guidance on safe practices around the home, useful for planning and executing DIY projects safely.
- [International Code Council – Building Safety Resources](https://www.iccsafe.org/building-safety-journal/) - Provides articles and insights related to building codes and safe construction practices that inform proper planning and inspection points.
- [U.S. Department of Energy – Moisture Control for Buildings](https://www.energy.gov/energysaver/moisture-control-new-home) - Explains moisture and durability considerations relevant to outdoor and structural DIY projects.
- [Oregon State University Extension – Deck, Porch, and Stair Construction Guidelines](https://extension.oregonstate.edu/home-lawn-garden/structures/deck-porch-stair-construction-guides) - Offers practical design and construction advice that aligns with professional deck-building practices.
- [The Family Handyman – Essential Fasteners for Outdoor Projects](https://www.familyhandyman.com/list/essential-fasteners-for-outdoor-projects/) - Discusses fastener types, coatings, and best uses, supporting informed fastening decisions in DIY builds.