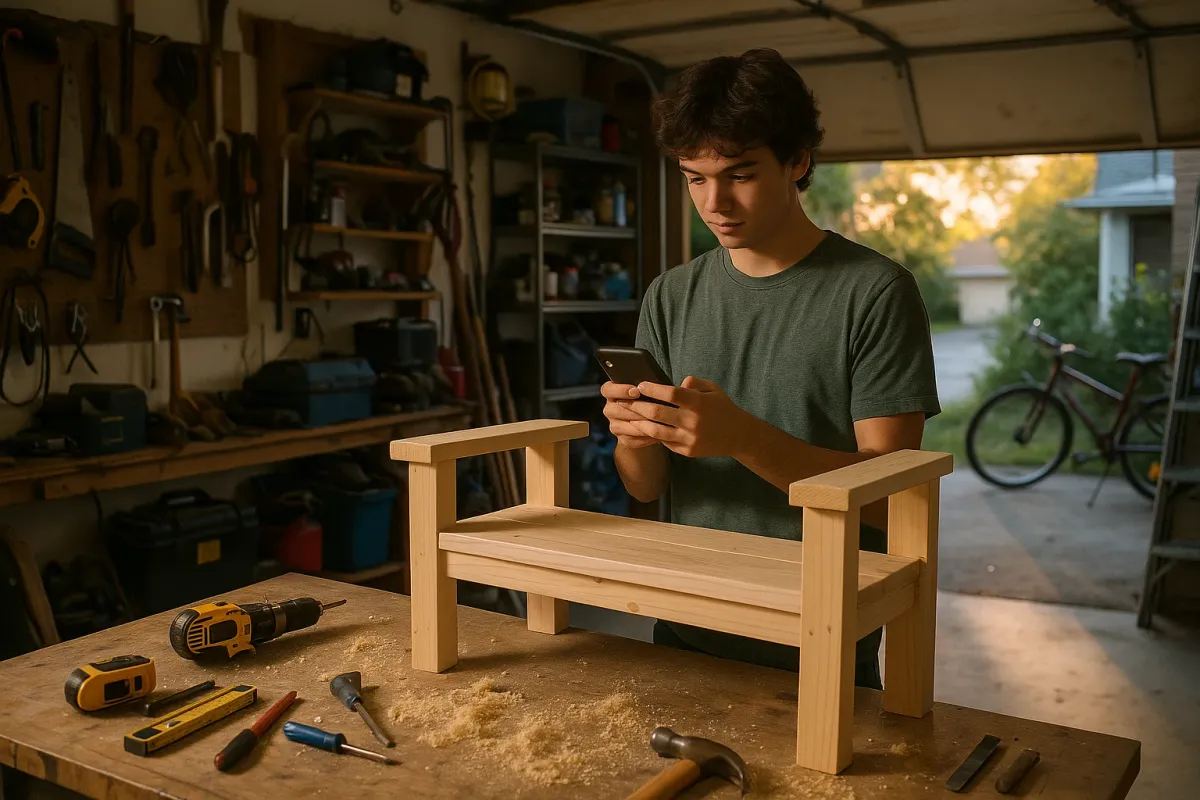
If you’re one of the many feeling inspired by those trending wood projects, this is the ideal time to move from scrolling to doing. Below is a practical, professional guide to help you start (or seriously level up) your DIY woodworking—grounded in how working carpenters and trim specialists actually operate on site. Whether you’re aiming for a simple shelf or your first “wow” piece worthy of a social media share, these five expert principles will keep you safe, accurate, and efficient.
1. Start with “Build-Ready” Designs, Not Just Inspiration Photos
The woodworkers featured in viral galleries rarely improvise everything on the fly—most work from clear plans, even if they later customize. Trying to reverse-engineer a single photo on your phone is how a weekend project becomes a month-long frustration.
How to do this like a pro:
- Choose a project type that fits your current skill level.
- Beginner: wall shelves, cutting boards, planter boxes, simple benches.
- Intermediate: coffee tables, side tables, storage chests, picture frames with miters.
- Advanced: joinery-heavy chairs, sculpted pieces, curved work, inlay.
- Look for projects with full cut lists and measured drawings.
Use reputable sources like Fine Woodworking, Wood Magazine, Ana White, or professional makers who share shop drawings—not just “aesthetic” build videos.
- Assess the joinery before you commit.
If the plans specify mortise-and-tenon, dovetails, or bent laminations and you’re not there yet, look for an alternate set of plans using pocket screws, dowels, or simple dados you can cut with a router or circular saw.
- Print the plans and mark them up.
Pros work off paper in the shop, not off a phone screen. Highlight dimensions, circle tricky steps, and write notes or alternative steps before you make a single cut.
- Do a dry run without tools.
Walk through the sequence: cut list → milling/straightening → joinery → assembly → sanding → finish. If you can’t explain each step in your own words, you’re not ready to start.
Getting your design “build-ready” transforms a viral idea into a clear, repeatable project. That’s how professional carpenters avoid surprises—and blown budgets—on site.
2. Treat Materials Like a Pro: Selecting, Storing, and Prepping Your Lumber
A lot of the jaw-dropping pieces going viral owe their impact to smart material choices: stable hardwoods, well-matched grain, and properly prepared stock. You can’t get pro results out of warped, wet boards from the discount bin.
Here’s how to handle materials the way working tradespeople do:
- Check moisture content, especially in winter and humid climates.
If possible, use a moisture meter and aim for 6–10% for indoor projects. If you don’t have a meter, bring boards home and let them acclimate in the project space for at least a few days before milling.
- Sight every board at the store.
Look down the length for twist, bow, and cup. Reject anything with serious warp, end splits, or big knots right where joinery will go. Pros spend more time selecting lumber than loading it.
- Choose species strategically.
- Practice and utility projects: pine, poplar, construction SPF.
- Furniture: oak, maple, cherry, walnut, ash.
- Outdoor: cedar, cypress, pressure-treated for structural components.
Let the project dictate the wood, not just what’s on sale.
- Rough cut before final milling.
Cut long boards a few inches oversize in length and width. Shorter pieces are easier to flatten and straighten, and you waste less material correcting defects.
- Stay organized with a simple labeling system.
Mark every piece with a pencil: “L front leg,” “R rail,” “Top,” grain direction arrows. Pros don’t rely on memory once stock is broken down.
Good lumber prep is the quiet difference between a project that fights you at every stage and one that assembles cleanly and stays straight over time.
3. Borrow Layout and Measuring Habits from the Jobsite
Construction pros and finish carpenters survive on precision done quickly. The same layout habits that keep doors, trim, and cabinets square will instantly improve your DIY builds and reduce “mystery gaps” that show up at assembly.
Adopt these professional layout practices:
- Use story sticks instead of chasing tape measures.
A story stick is just a straight scrap with all key dimensions marked on it. Once your first piece is perfect, transfer its measurements to the stick and use that for repeats instead of re-measuring. This minimizes cumulative error.
- Mark with knives or sharp pencils, not markers.
A marking knife creates a physical line your saw or chisel can register against, giving crisper joints. When a knife isn’t practical, use a sharp 0.5 mm pencil and a good combination square.
- Establish a single reference face and edge.
Decide which face and edge of each board is your “reference,” mark them with triangles, and always measure and register tools from those sides. This is standard cabinetmaking practice and dramatically improves accuracy.
- Lay out joinery full-scale when possible.
For complex joints, draw them at full size on scrap plywood or cardboard and confirm your math before you commit to real stock.
- Check square constantly, not just at the end.
Use a reliable square after each critical operation: after jointing, after ripping, after glue-up. On site, pros know that catching 1 mm of error early is far easier than hiding 5 mm at the end.
Precise layout is why the furniture in those viral woodworker galleries looks “effortless.” It’s not magic—it’s consistent measuring discipline.
4. Build a Safe, Efficient Workflow Around the Tools You Actually Have
The projects circulating online often feature industrial tools: cabinet saws, big planers, and CNC machines. Most DIYers won’t have that setup—and don’t need it to do real, high-quality work. What you do need is a safe, repeatable workflow that matches your current tool kit.
Here’s how professionals think about tools and process:
- Prioritize a clear cut path and stable work support.
Whether you’re using a circular saw, miter saw, or table saw, set up solid infeed and outfeed support. Uncontrolled stock is where accidents and bad cuts happen.
- Use jigs and guides to elevate “basic” tools.
- Circular saw + straightedge = makeshift track saw for accurate rips.
- Simple crosscut sled = huge boost in table saw safety and precision.
- Drilling jigs or doweling jigs = consistent joinery without expensive machinery.
- Plan your cut order to minimize risk and waste.
Cut large panels first, then smaller components. Break down full sheets on sawhorses with a guide rail before trying to manage them on a table saw.
- Never skip PPE, even for “just one cut.”
Safety glasses, hearing protection, a dust mask or respirator when sanding or cutting MDF, and no loose clothing. On professional sites, this isn’t optional; treat your home shop the same way.
- Do a “dry assembly” before glue.
Pros always do a full mock-up of the build with clamps only. This reveals misalignments, missing clamps, or access issues before a clock is ticking on your glue.
Build your projects around the tools you have now, but use them with professional discipline. That approach delivers cleaner results than buying the newest gadget and using it casually.
5. Finish Like a Professional: Surface Prep, Products, and Timing
Many of the pieces in that Bored Panda woodworking roundup stand out because of their finish: rich color, uniform sheen, and glass-smooth surfaces that showcase the grain. The finishing stage is where DIY projects often fall short—not from lack of talent, but from rushing.
Finish work the way pros do:
- Treat sanding as a process, not a chore.
- Start at 80–120 grit for rough surfaces, then move through 150 → 180 → 220.
- Vacuum and tack-cloth between grits.
- Sand with the grain on the final passes to avoid visible swirl marks.
- Match the finish to the project’s use.
- Indoor furniture: oil-based polyurethane, water-based poly, hardwax oils, or lacquer.
- High-wear surfaces (tables, benches): durable poly or catalyzed finishes.
- Outdoor pieces: spar urethane, exterior oils, or paint designed for UV and moisture.
- Test on offcuts from your actual project.
Species, stain, and topcoat interact. A quick test board will show you true color and sheen before you commit to the real piece.
- Apply thin, controlled coats.
Multiple thin coats with light sanding (320–400 grit) between them deliver a more professional look than one or two heavy coats that run or orange-peel.
- Respect cure times, not just “dry to touch.”
Manufacturers list both dry and cure times. Don’t place heavy objects or stack finished pieces until the finish has fully cured, or you risk imprints and clouding.
Well-executed finishing is what turns a “nice DIY project” into something that looks like it came out of a custom shop—exactly the kind of thing people stop scrolling for.
Conclusion
The renewed attention on woodworking—fueled by viral galleries of intricate carvings and finely crafted furniture—is more than a trend; it’s a practical opportunity. Those projects demonstrate what’s possible when inspiration is backed by good planning, smart material choices, disciplined layout, safe tool use, and serious finishing work.
You don’t need a commercial workshop to join that movement. Start with build-ready plans, treat your lumber like a pro, adopt jobsite layout habits, build efficient workflows around the tools you actually own, and give finishing the time and respect it deserves. The next woodworking project that people share from their feed might be yours—and more importantly, it’ll be something solid, useful, and built by you.