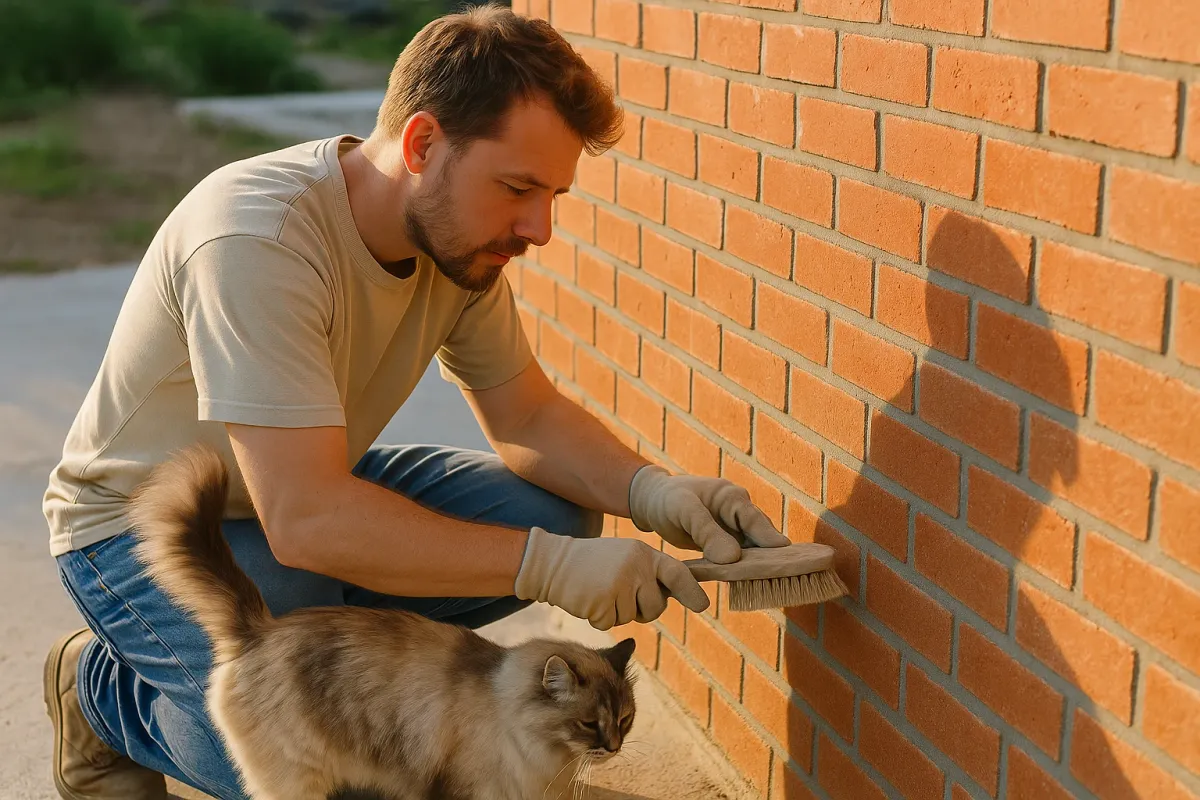
Just as those photos reward the extra care in brushing, trimming, and lighting, masonry work is judged not only on structural performance, but on finish—clean joints, crisp lines, and the small touches that make a wall feel “right.” In a digital landscape where even construction projects are photographed, posted, and reviewed, the craftsmanship of your masonry is more visible—and more shareable—than ever.
Below are five expert-level, practical tips to help both professionals and serious DIYers tighten up their masonry work so that, like those ultra-fluffy cats, your projects stand out for all the right reasons.
Tip 1: Treat Mortar Like a Material With a Deadline, Not a Commodity
Most viral jobsite horror photos in trade forums have the same root cause: bad mortar practice. Mortar is not just “the gray stuff between units”; it is a time-sensitive, performance-critical material with a working window that changes with weather, mix, and site conditions.
Start by matching the mortar type to the application—Type N for most above‑grade residential walls, Type S where higher strength or lateral resistance is required (retaining walls, foundations), and Type O or lime-rich mixes for softer historic brick. Always mix in small, controlled batches that can be placed within 2–2.5 hours, less in hot, dry weather. Re‑tempering (adding water later to “loosen it up”) should be minimized and done only while mortar is still plastic, never after it has begun to set. Monitor water content consistently; a sloppy batch followed by a stiff batch is a guaranteed recipe for inconsistent color and bond. On hot or windy days, shade your mixing area, use cool water, and dampen units before laying to prevent flash setting. On cold days, follow code guidance (like ASTM C270 and cold‑weather masonry provisions), using warm water, shelter, and heat as needed. The more you treat mortar like a fresh, perishable material rather than generic “mud,” the more uniform, durable, and visually consistent your walls will be.
Tip 2: Control Joints Are Your Future Crack Pictures—Plan Them, Don’t Wing Them
Building science and social media both agree on one thing: unplanned cracks always get photographed. Properly designed control joints make the difference between predictable, controlled movement and ugly, random cracking that undermines your professional reputation.
In concrete masonry (CMU), lay out vertical control joints at recommended spacings—typically every 20–25 ft for unreinforced walls, closer for longer runs, openings, or where temperature swings are extreme. Align control joints with changes in wall height, corners, and openings whenever possible to make them visually intentional rather than random saw cuts. Use appropriate joint materials: compressible backer rod and high-quality sealant, or engineered control-joint products, sized correctly for the expected movement. For brick veneer, use movement joints at corners, long runs, and adjacent to openings per Brick Industry Association (BIA) guidelines. Importantly, coordinate joints in your drawings and layout before you snap a single line—don’t “find room for them later.” On site, clearly mark their locations so they don’t get accidentally filled with solid masonry. A well-planned joint layout disappears to the eye while quietly doing its job for decades.
Tip 3: Layout Is Your “Grooming”—Take the Extra 30 Minutes Before You Touch Mortar
Those perfectly posed cat photos trending online don’t happen by chance; there’s grooming, staging, and setup behind every shot. Masonry is no different: clean, plumb, and consistent work starts long before the first brick is buttered.
Begin with a full dry layout of the first course, especially around corners, door and window openings, and transitions between materials. Check bond patterns (running bond, stack bond, Flemish, etc.) against your drawings and adjust unit sizing or joint thickness to avoid “slivers” or awkward cuts at edges. Snap reliable reference lines on the foundation or slab—both face lines and control lines—to keep the wall straight. Use story poles or clearly marked levels to maintain consistent course heights across the entire elevation, not just in one corner. Confirm that your starting surface is level; if it isn’t, correct it with a leveling bed or mechanical grinding instead of trying to “cheat” every course. That half hour of meticulous setup pays off with fewer cuts, faster production, and a finished wall that photographs beautifully from every angle.
Tip 4: Joint Tooling and Cleaning Turn Solid Work Into Showcase Work
In those popular fluffy‑cat threads, lighting and finishing make the fur look even softer and more defined. In masonry, the equivalent is your joint tooling and cleaning process—the step most DIYers rush and most pros know is where reputations are made.
Tool your joints at the right moment: when the mortar has “thumbprint hard” consistency—firm enough to resist deformation, but not so dry that it crumbles or pulls. In exterior work, a concave joint is often the best compromise between water resistance and appearance. Strike vertically first, then horizontally, keeping tool pressure consistent to densify the surface and reduce micro-cracking. Avoid over‑brushing; a light brush to remove crumbs is enough. For cleaning, stay away from aggressive acids unless specifically required and always test on a small area first. Use low‑pressure water, soft brushes, and purpose‑formulated masonry cleaners suitable for your brick or stone type. Protect adjacent materials (windows, metals, landscaping) during cleaning. Finished correctly, joints have a consistent color, tight edges, and a subtle shadow line that makes the whole wall read as intentional, not patchy.
Tip 5: Moisture Management Is the Hidden Structure Behind Every “Perfect” Facade
What the viral photos of cats don’t show is the invisible care—diet, grooming routines, vet trips—that keep them healthy. In masonry, moisture management is that hidden care. You can lay the prettiest wall in the neighborhood, but if it traps water, efflorescence, spalling, and callbacks will follow.
Think in terms of a system, not just a wall. For veneers, ensure a properly detailed air gap or drainage cavity behind the masonry, with weep holes at the base and above flashing locations. Use corrosion-resistant ties (stainless or galvanized) at the correct spacing, embedded to proper depth in mortar joints. Flashing at sills, heads, and base of walls must extend to daylight, be integrated with the WRB (weather-resistive barrier), and be lapped shingle-style so water can’t find a backdoor. At grade transitions, keep masonry a minimum of 4–6 inches above finished grade or landscaping to prevent splash and wicking. Pay attention to cap details on parapets and garden walls: sloped caps with drip edges and sealed joints are critical to long-term durability. When you design and build masonry with water in mind—where it will hit, where it will go, and how it will exit—you turn a nice-looking install into a low-maintenance, high-performance assembly.
Conclusion
The surge in popularity of meticulously curated “fluffiest cats ever” photo groups is a reminder that, in a visual, share-first world, fine details get noticed and rewarded. Masonry is one of the most enduring, visible parts of any building—and increasingly, of any portfolio or social feed connected to your work.
By tightening your approach to mortar handling, control-joint planning, layout, finishing, and moisture management, you move beyond “it stands up” to “it stands out.” Whether you’re a contractor building your next case study project or a serious DIYer tackling a backyard wall, those details are what turn solid masonry into work you’re proud to photograph, share, and stand behind for decades.