Build Around a “Clean Line” Workflow
On efficient job sites, everything orients around a clean, uninterrupted working line—where the actual laying, pointing, or parging happens. Protect that line at all costs.
A clean line means your masons or you, as the builder, can keep hands on the trowel instead of constantly stopping to move tools, hunt for materials, or clean debris. Staging matters: keep full units, half units, and specials within easy reach; position mortar boards at a comfortable height and distance; and pre-stage reinforcement, ties, and accessories so no one has to climb down or backtrack mid-course.
Plan movement flow: helpers bring mortar and units in a single direction and remove debris in another, so traffic doesn’t cross in front of active work. For DIYers working alone, this means pre-stocking your scaffold or work platform with everything needed for at least one full lift of wall, rather than piecemeal loading. The cleaner and more predictable your working line, the more consistent your joints, coursing, and productivity will be.
Treat Weather Like a Material—Not an Afterthought
Experienced masons don’t “work around” weather; they build it into the job plan from the start. Temperature, wind, and sun exposure affect bond strength, curing, and appearance just as much as your mix proportions.
In hot, dry, or windy conditions, masonry units can pull moisture from mortar too quickly, weakening bond. Pre-dampen highly absorptive brick or block (without leaving free water on the surface), shade the work face where possible, and mix smaller batches of mortar more frequently to maintain a consistent feel. Cover fresh work with damp burlap or curing blankets when needed, and protect it from direct sun and rapid drying.
In cold conditions, plan start and stop times around temperature windows. Use insulated blankets or temporary enclosures with safe, indirect heat to keep masonry and mortar above minimum temperatures recommended in your code or standard. Avoid laying on frozen surfaces or with ice on units—this almost guarantees loss of bond and cracking. Treat the forecast like a spec sheet: read it early, adjust your plan, and assign someone the specific responsibility of weather protection for the day.
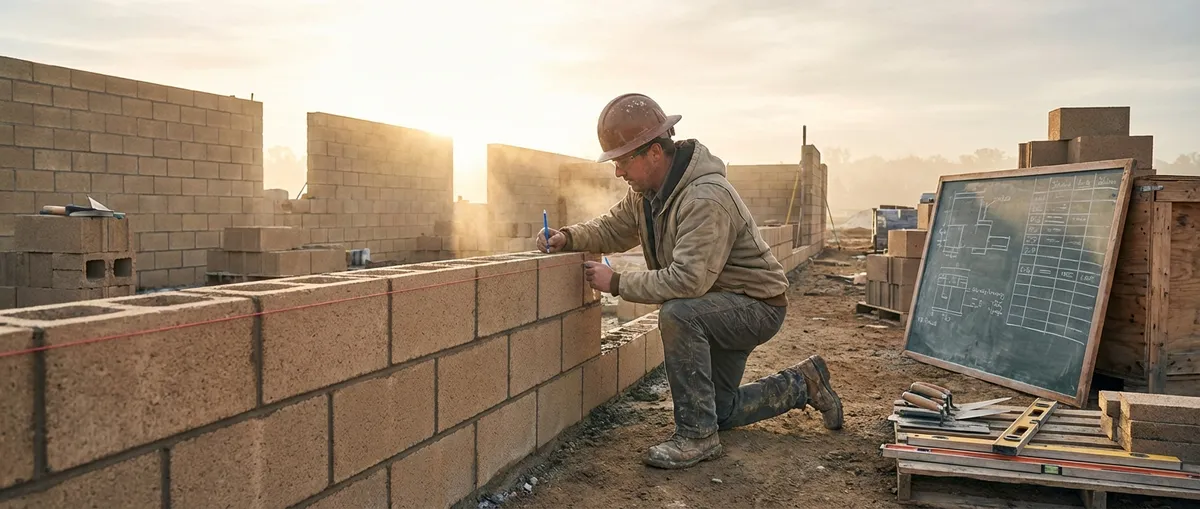
Standardize Your Layout Checks Before You Spread Mortar
The most efficient jobs use a repeatable, almost ritualized sequence of layout checks before the first trowel of mortar hits the line. This habit eliminates many of the “we’ll fix it later” problems that cost time and money.
Start with control lines: snap clear, visible chalk lines for wall locations, face-of-wall, and key openings. Confirm offsets to property lines, structural grids, and adjacent work, and document any field adjustments before building starts. Next, dry-lay critical areas: corners, returns, and around openings. This exposes awkward cuts, bond issues, or alignment problems while changes are still easy.
Use story poles or layout boards marked with course heights, sill lines, and lintel elevations. This keeps multiple workers (or your own work from day to day) tied to the same reference, avoiding creeping course heights that misalign with windows, doors, or structural steel. Finally, confirm plumb and level on your first lift more often than feels necessary. A few extra minutes on the first 3–4 courses can save hours of shimming, grinding, or tearing out misaligned work later.
Make Mortar Management a Daily Discipline
Mortar is often treated as a background task—mix it, wheel it over, and get to laying. On well-run jobs, mortar management is deliberate, with clear rules and simple checks to keep quality and productivity high.
Start with consistent batching: use the same water addition method, same mixing time, and the same crew member responsible for monitoring workability. If you’re using bagged mortar, follow the manufacturer’s instructions on re-tempering limits and open time. With site-mixed mortar, use simple visual and tactile checks (slump, spread, and how it hangs on the trowel) and write down your preferred mix ratios and target consistency for different types of work (structural block vs. brick veneer vs. pointing).
Establish a hard cutoff for discarding aging mortar. The temptation to “make it work” with stiffening mortar can lead to weak bonds, poor tooling, and excessive voids. Keep mortar boards reasonably clean: regularly scrape off dried edges and droppings instead of folding them back into fresh material. For DIY, this can feel wasteful at first, but it’s far cheaper than repairing soft joints or delaminated brick later.
Protect Finished Work As You Go, Not at the End
On most masonry jobs, damage doesn’t happen during the careful moments of laying—it happens later, when other trades move through, scaffolds get shifted, or weather hits unprotected faces. The key habit is to treat protection as part of the installation sequence, not as an optional final step.
As soon as a lift or section is complete and tooled, clean it while the mortar is still “green” enough to respond to light brushing but firm enough not to smear. Then protect it: drape breathable covers over walls exposed to rain, snow, or direct sun; install temporary guards or rails where equipment may bump into fresh corners; and clearly mark no-contact zones for carts and material movement.
Coordinate with other trades early. If electricians or plumbers need penetrations, set sleeves or leave designated openings during the build, instead of letting them core through finished work later. For DIY projects, this means planning access routes for wheelbarrows, ladders, and materials so you’re not dragging equipment along new walls or over freshly parged surfaces. Every hour you invest in temporary protection typically saves multiple hours of cleaning, patching, or arguing about responsibility for damage.
Conclusion
Strong masonry isn’t just about the strength of individual units or the theoretical properties of your mortar mix. It’s the result of disciplined, field-tested habits—clean workflow, weather-aware planning, systematic layout checks, deliberate mortar management, and proactive protection of finished work. Whether you’re managing a crew or taking on a serious DIY build, adopting these practices will keep your projects moving, reduce rework, and deliver work that holds up under both inspection and time.
Sources
- [The Masonry Society – Specification for Masonry Structures (TMS 602)](https://masonrysociety.org/product/tms-602-22-specification-for-masonry-structures/) - Authoritative reference on masonry construction requirements and best practices
- [Portland Cement Association – Masonry Construction](https://www.cement.org/cement-concrete-applications/masonry) - Practical guidance on mortar, units, and field considerations for masonry work
- [International Code Council – International Building Code (IBC)](https://codes.iccsafe.org/content/IBC2021P1) - Code provisions that govern structural and weather-related requirements for masonry
- [NCMA (National Concrete Masonry Association) – TEK Resources](https://ncma.org/tek/) - Technical notes covering layout, construction details, and field practices for concrete masonry
- [U.S. General Services Administration – Masonry: Exterior Brick and Stone](https://www.gsa.gov/technical-procedures/masonry-exterior-brick-and-stone) - Government guidelines on protection, cleaning, and maintenance of masonry surfaces