This guide walks through five field-tested layout tactics that both construction professionals and serious DIYers can use immediately. The tools are basic, but the payoffs are significant: straighter work, fewer surprises, and projects that feel intentional instead of improvised.
Start With a Reference Line, Not a Guess
Every accurate project starts from a known reference, not from “eyeballing it” or working off the nearest wall.
Pick one solid, trusted reference:
- In a room: a straight, full-height wall or the longest wall that’s closest to square
- Outdoors: a property line, string line, or fixed structure like a house foundation
Use that reference to establish clear, visible control lines:
- Snap chalk lines: For floors, decks, tile, and framing, snap chalk lines for your first layout lines. Verify they’re straight with a long level or laser.
- Use a laser level: For cabinets, shelves, and trim, project a horizontal line around the room. Lock that in as your working height.
- Mark datum points: On complex jobs (multiple rooms or levels), mark a common “datum” height (e.g., 48 inches off finished floor) on studs or walls so every trade is working from the same reference.
Before committing, measure from several points (opposite walls, columns, or corners) back to your reference line. If the room is out of square, decide where you want that error to “die out” (for example, at a less-visible wall or under a piece of trim). Pros don’t eliminate every flaw in an existing structure; they choose where to hide it.
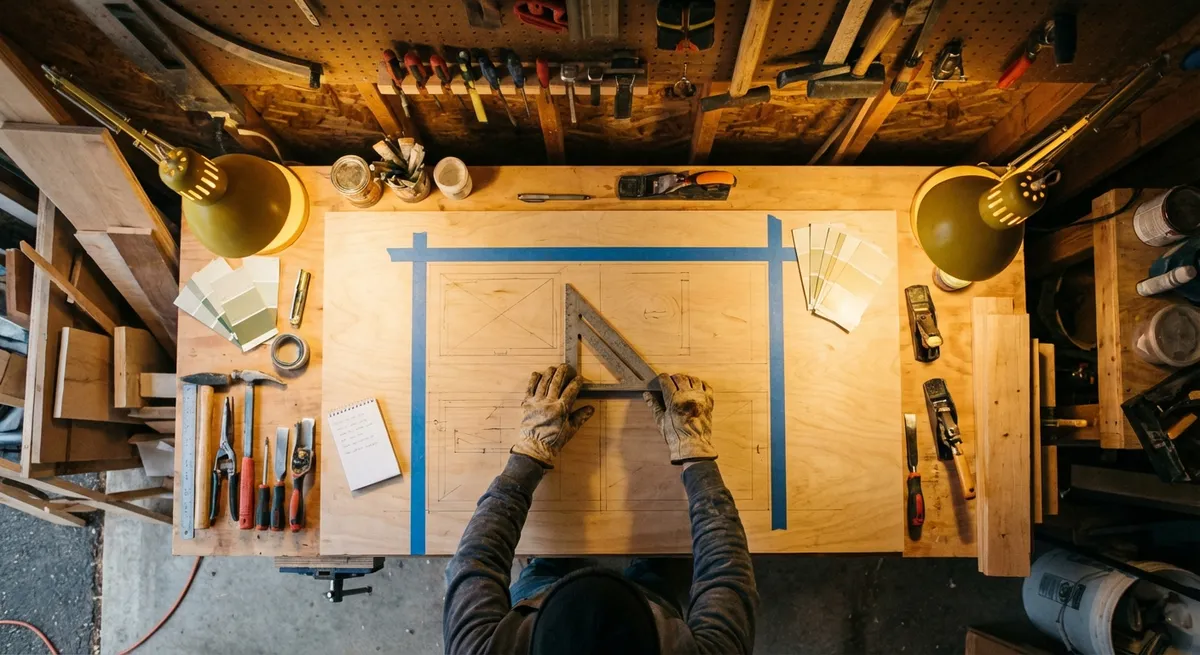
Use the 3-4-5 Rule to Keep Corners Square
Relying on a wall to be square is a common shortcut that leads to crooked decks, racked shed frames, and flooring that drifts off course. A simple geometry check—the 3-4-5 rule—takes minutes and makes a major difference.
Here’s how to use it in practice:
- From your reference line, mark a point that will be your corner.
- On one side, measure and mark 3 feet (or any multiple: 6, 9, 12).
- On the perpendicular side, measure and mark 4 feet (or the same multiple: 8, 12, 16).
- Measure the diagonal between those two marks. If the corner is square, it will be exactly 5 feet (or the scaled multiple: 10, 15, 20).
If the diagonal is off, slightly rotate your second line until the diagonal matches the correct measurement. Then lock in that line with a chalk snap or string.
Apply this to:
- Decks and sheds: Square the first two sides before setting more posts or joists.
- Tile grids: Establish a truly square main grid before you start installing.
- Framing: When squaring walls or floor assemblies on the ground, check diagonals in addition to tape measurements.
Checking square with 3-4-5 (or projected via a laser square) prevents misalignment from compounding across a project. It’s far easier to fix a layout line than to tear apart finished work.
Plan Around Finished Thickness, Not Rough Dimensions
One of the most common layout mistakes—on jobsites and in garages—is forgetting that materials have thickness. Professionals work from finished dimensions backward; DIYers often work from rough framing forward and run into trouble at the end.
Adopt a “finished-surface first” mindset:
- Know your build-ups: Before you mark a single line, list every layer: sheathing, underlayment, finish flooring, drywall, tile, trim, etc. Add up the exact thicknesses.
- Layout at finished height: For cabinets, outlets, and backsplashes, measure from the future finished floor, not the subfloor. If you don’t know the final flooring yet, plan for a safe minimum thickness and note it clearly.
- Account for reveals and clearances:
- Door casing vs. adjacent cabinets
- Trim vs. baseboard heaters or radiators
- Window stool projections vs. future blinds or hardware
Example: If your countertop is 1 ½ inches thick and you’re installing tile above it:
- Mark your desired backsplash top height first.
- Measure down the total height of the tile plus grout lines.
- Confirm where that lands relative to the countertop—adjust the layout before you install so you don’t end up with a thin “sliver” piece at the top or bottom.
By building your layout around finished materials, your reveals look deliberate, hardware fits where it should, and future upgrades don’t create unexpected conflicts.
Dry-Fit and Mock Up Before You Commit
What looks good on paper can look cramped, unbalanced, or visually “off” once it’s in place. Pros reduce that risk by doing quick, low-cost mockups before they start permanent installation.
Integrate dry-fitting into your workflow:
- Tile and flooring:
- Lay out a few full tiles/boards with spacers and transitions in the actual room.
- Check border widths at walls and transitions; adjust your starting line so cuts are wider and more consistent.
- Cabinets and built-ins:
- Clamp or temporarily screw boxes together on the floor to verify clearances for doors, drawers, and appliances.
- Use cardboard or scrap plywood to stand in for missing pieces and check walkways and reach zones.
- Lighting and switches:
- Tape paper templates to walls and ceilings where fixtures and switches are planned.
- Stand in the room and simulate use: opening doors, walking in, working at counters. Adjust locations before you drill.
Document what you learn:
- Mark revised layout lines clearly and erase or “X out” old marks.
- Note any dimension changes on your sketch or plan—don’t assume you’ll remember next weekend.
This habit takes a little extra time up front, but it protects you from having to live with awkward sightlines, poorly centered features, and fixtures that feel “almost right.”
Build a Consistent Measuring and Marking System
Measurement errors don’t usually come from the tape itself—they come from inconsistent habits. Professionals treat measuring and marking as a system they repeat the same way on every job, which dramatically cuts down on mistakes.
Tighten your system with a few simple standards:
- Use the same tape for all critical dimensions on a project. Tapes can vary slightly; one tape per job keeps everything internally consistent.
- Always reference from the same side:
- Measure from left to right (or right to left) consistently when marking studs, brackets, or hardware.
- When spacing repetitive elements (like balusters or screws), pull all measurements from one fixed reference point.
- Adopt clear mark types:
- Use a “V” mark with the tip exactly at the measurement line for most cuts.
- For center marks, draw two small opposing lines that cross precisely at center.
- Reserve bold X’s for scrap or “do not cut” areas.
- Confirm before cutting:
- “Measure twice, cut once” is cliché for a reason—read the tape once, say the number out loud, and recheck it.
- For repetitive cuts, make a story stick (a marked board) and use it instead of repeatedly pulling a tape.
For layout that must align across multiple surfaces—like a handrail line that runs through several rooms—use lasers or long levels, then pencil marks and labeling (“HR 36" AFF”) so you can reconnect the dots even if marks get partially covered.
These small disciplines make your projects more predictable, your joints tighter, and your installations align the way you intended.
Conclusion
Strong DIY work and professional construction share the same backbone: disciplined layout. By starting from a reliable reference line, enforcing square with simple geometry, planning around finished thickness, mocking up before you commit, and standardizing how you measure and mark, you dramatically reduce errors and rework.
None of these techniques require expensive tools or specialized training. They demand consistency and a willingness to slow down at the layout stage so that the rest of the job can move faster and cleaner. When your layout is right, cuts fall into place, assemblies go together with less persuasion, and your finished projects look intentional from every angle.
Sources
- [U.S. Department of Energy – Building America Solution Center](https://basc.pnnl.gov/) - Practical construction details and best practices that inform professional layout and sequencing
- [Fine Homebuilding – Layout Articles](https://www.finehomebuilding.com/tag/layout) - Field-tested techniques for accurate building layout, squaring, and planning around finishes
- [Journal of Light Construction – Framing & Layout](https://www.jlconline.com/how-to/framing/) - Trade-focused guidance on framing, squaring, and control lines in residential construction
- [Concrete Construction – Construction Layout Basics](https://www.concreteconstruction.net/how-to/construction/construction-layout-basics_o) - Overview of control lines, reference points, and geometry used in professional site layout