This guide focuses on five field-proven practices that dramatically improve consistency, reduce callbacks, and extend the life of your work. Each one is simple, but together they separate durable concrete from the kind that starts failing before the final invoice is paid.
1. Plan the Pour Backwards From the Finish Line
Most concrete problems start before the first shovel of material hits the subgrade. Working backward from your finished surface forces you to confront the real constraints: time, access, weather, and crew capacity.
Begin by mapping out the final performance requirements: load (vehicles, foot traffic, equipment), exposure (freeze-thaw, de-icing salts, standing water, chemicals), and desired finish (broom, trowel, exposed aggregate, stamped). From there, define your target strength, air content, and slump range with your ready-mix supplier or mix designer, not on the jobsite when you’re already behind.
Plan logistics around those decisions. Can the truck access the placement area directly, or do you need buggies or a pump? How long is the run, and how will that affect setting time and finishing sequence? Identify choke points where concrete might sit too long in buggies or forms. Assign specific people to critical roles—one person focused on placing, one on screeding, one on bull floating, and one watching edges and joints.
Lock in the sequence: where the pour starts, how the slab or element will be broken into manageable sections, and at what points you’ll stop and form construction joints if something goes wrong. Build in “plan B” for weather: shade, wind breaks, curing materials, and a clear decision point for canceling if conditions become unfavorable. Treat the pour like a controlled operation, not a casual event.
2. Control the Subgrade Instead of Accepting What You Find
Concrete performs only as well as what it rests on. A well-finished slab over a weak or inconsistent subgrade will telegraph those defects within months. Instead of accepting existing ground conditions, treat the subgrade as part of the structure.
Start with uniformity. Excavate to a consistent depth and remove organic material, soft spots, and topsoil. If what’s left is variable—some hard, some soft—use a compactable base (like well-graded gravel) to create a consistent platform. Moisture condition the subgrade: bone-dry soil will suck water from your concrete; saturated soil can’t support it. Aim for firm, damp, and non-pumping under foot or equipment.
Compaction is non-negotiable. For residential and light commercial work, mechanical compaction using a plate compactor or jumping jack is usually sufficient for granular materials. Make passes in overlapping patterns and check with a probe rod or simple test hole to ensure the base is firm to the depth you need. On larger or critical projects, follow project specifications for compaction and verify with field density tests when required.
Pay attention to transitions: backfilled utility trenches, edges near existing slabs, and areas near retaining walls. These are common failure points because they settle differently from undisturbed soil. Where transitions can’t be avoided, consider thicker sections, reinforcement, or dowels to help bridge potential movement. Getting the subgrade right is less visible than a perfect broom finish, but far more important to long-term performance.
3. Treat Water as a Controlled Ingredient, Not a Fix
Adding water on site is one of the fastest ways to ruin good concrete. It’s also one of the easiest mistakes to avoid with disciplined habits. Every extra gallon of water per cubic yard can significantly reduce compressive strength and increase permeability, cracking, and scaling potential.
Start by ordering the right mix for the work and conditions. Discuss slump, admixtures, and expected site conditions with your ready-mix supplier before the pour date. If you need more workability, request water-reducing admixtures or superplasticizers—these improve flow without sacrificing strength the way added water does.
On site, designate one person as the decision-maker for any water addition. Reject the idea that “just a little more” is harmless. If adjustment is truly necessary, measure the amount of water added and record it. Keep in mind that workability can often be improved by proper consolidation and placing technique rather than thinning the mix.
Pay attention to environmental factors. Hot, dry, windy conditions accelerate surface drying and tempt crews to overwater to keep concrete workable longer. Instead, manage the environment: start earlier in the day, use wind breaks and sunshades, and have curing materials (like evaporation retarders and curing compounds) ready. In cold weather, make sure mix temperatures and set times are appropriate, and protect concrete from freezing during early strength gain rather than watering it to “help it cure.”
The rule of thumb is simple: treat water like a chemical admixture with structural consequences, not like a casual adjustment. Once it’s in, you can’t take it back out.
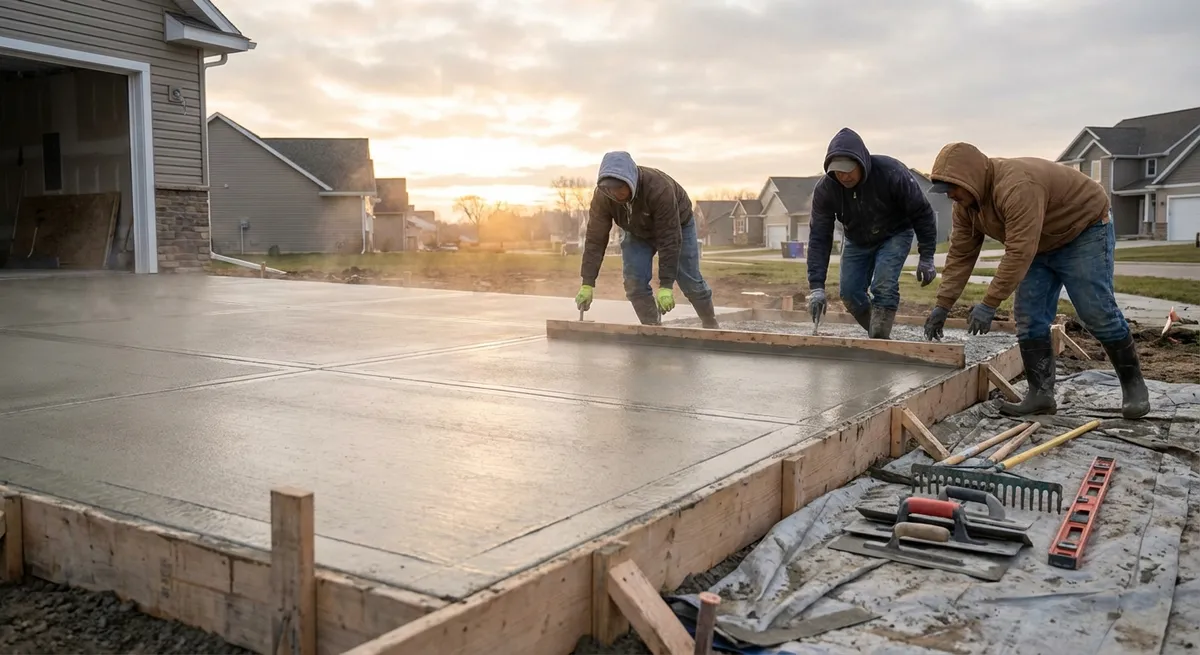
4. Place and Consolidate With Intent, Not Just Muscle
How concrete enters the form and what happens in the first few minutes largely determines its internal integrity. Voids, honeycombing, and weak edges are often traced back to rushed or careless placement and consolidation.
Begin placement as close as possible to the final location. Avoid dropping concrete from excessive heights, which can cause segregation (heavier aggregate settling away from paste). Use chutes, buggies, or pumps carefully to deliver material evenly across the placement area, rather than dumping in one spot and dragging it long distances.
Match your consolidation method to the element. For slabs, consolidation is often achieved through proper vibration at edges and around penetrations combined with effective screeding and bull floating. For walls, columns, and deep forms, internal vibration is critical. Insert vibrators vertically, at regular spacing, and allow them to sink under their own weight rather than forcing them. Hold briefly until air bubbles stop rising, then withdraw slowly to avoid creating voids.
Avoid over-vibration, especially with high-slump or highly flowable mixes, which can cause segregation and paste migration. Make sure vibration from one insertion overlaps the area affected by the previous one so the entire form is treated. Pay particular attention to congested reinforcement zones, form corners, and under embedded items.
Edges require extra care. Weak, poorly consolidated slab edges are prone to chipping and spalling under traffic and plow blades. As soon as concrete is stiff enough, run edgers to compact and shape the edge. For elements that will see direct impact or traffic at corners, consider slight chamfers instead of sharp 90-degree corners, which are more prone to damage.
5. Finish and Protect the Surface Based on Its Actual Job
Finishing concrete is more than making it look smooth. The finish you choose has to match the surface’s real-world use and exposure. Many premature failures—especially scaling, delamination, and excessive wear—come from mismatched finishes and poor early protection.
Decide on the finish with function first: broomed for exterior slabs where traction is critical; troweled for interior floors where cleaning and appearance matter; textured or exposed aggregate where aesthetics and slip resistance are both priorities. Respect timing: start finishing only once bleed water has evaporated. Working the surface while bleed water is present traps water and air under a densified top layer, a common cause of delamination and weak surface skin.
Avoid overworking the surface, particularly in freeze-thaw climates. Repeated troweling of air-entrained exterior concrete can close surface air voids that help manage freezing water, making the surface more vulnerable to scaling, especially under de-icing salts. For air-entrained exterior slabs, target a modest, even finish rather than a glassy, hard-troweled surface.
Curing is part of finishing, not an optional extra step. As soon as finishing is complete and the surface can be walked on lightly, implement a curing strategy: curing compounds, wet coverings, or plastic sheeting, depending on the project. The goal is to keep moisture in the slab long enough for proper hydration and strength gain, especially in the first 7 days. Protect against rapid drying from sun, wind, or low humidity, which can cause plastic shrinkage cracking in hours, not days.
Finally, guard the surface from premature use and harsh exposure. Keep vehicles and heavy equipment off new slabs until they reach adequate strength for the intended load. For exterior work in cold regions, avoid de-icing salts during the first winter, and verify that the mix and air content were appropriate for freeze-thaw exposure before assuming the slab can handle aggressive conditions.
Conclusion
Durable concrete isn’t about expensive products or perfect conditions; it’s about disciplined habits at every stage. When you plan the pour from the finish backward, build a reliable subgrade, treat water as a structural ingredient, place and consolidate deliberately, and match finishing and curing to real-world use, you drastically reduce surprises and callbacks.
These practices pay off for both professional crews and serious DIY builders. They don’t add much time to a job, but they add years to the life of the work—and that’s what clients, inspectors, and your own reputation will remember.
Sources
- [Portland Cement Association – Concrete Basics](https://www.cement.org/learn/concrete-technology/concrete-construction/concrete-basics) - Overview of concrete materials, placement, and finishing fundamentals
- [American Concrete Institute (ACI) – Free Topics: Concrete Basics in Construction](https://www.concrete.org/topicsinconcrete/topicdetail/concretebasicsinconstruction.aspx) - Professional guidance on specifying, placing, and finishing concrete
- [U.S. Department of Transportation, FHWA – Concrete Pavement Field Reference](https://www.fhwa.dot.gov/pavement/concrete/pubs/07027/) - Practical field advice on subgrade, consolidation, curing, and durability
- [National Ready Mixed Concrete Association – CIP Concrete In Practice Series](https://www.nrmca.org/association-resources/cip-concrete-in-practice/) - Short, technical bulletins on slump, curing, finishing, and common field issues
- [U.S. Army Corps of Engineers – Concrete Materials and Practices (EM 1110-2-2000)](https://engineering.erdc.dren.mil/em1110-2-2000.htm) - Detailed engineering manual on concrete properties, placement, and quality control