Start with the Subbase: Stable Ground, Stable Concrete
Concrete performance starts below the slab. A well-prepared subbase spreads loads, manages moisture, and limits settlement that leads to cracking.
Begin by stripping organic material: topsoil, roots, and debris must go. These materials compress over time and create voids. For drives, patios, and shop slabs, aim for a compacted granular base (often crushed stone or gravel) 4–8 inches thick, depending on loads and soil conditions. On soft or expansive soils, you may need a thicker base or engineered fill.
Compaction is non-negotiable. Use a plate compactor or rammer in lifts (usually 2–4 inches at a time). Walk the area after each pass—if your footprints leave more than shallow impressions, you need more compaction. Check grade with a string line, laser, or straightedge, allowing for proper slope (often about 1/8–1/4 inch per foot away from structures) for drainage.
Consider a vapor retarder under interior slabs where moisture-sensitive flooring, equipment, or storage will be used. Use a polyethylene vapor barrier with sealed seams, but understand it can lead to more shrinkage cracking if not paired with appropriate reinforcement and curing practices. For exterior work, focus more on drainage and frost considerations than on vapor barriers.
Mix Design and Water: Control the Slump, Control the Performance
Many concrete problems start with “just a little extra water.” Water improves workability but weakens the hardened concrete by increasing porosity and shrinkage.
When ordering ready-mix, provide realistic performance requirements and placement methods: exposure conditions (freeze-thaw, deicing salts), required strength, thickness, and whether you’ll pump or hand-place. Specify air entrainment for exterior concrete in freeze-thaw climates and use mixes designed for your region.
On site, resist adding water without checking slump and consulting the batch ticket or ready-mix supplier. If the mix is too stiff, consider using a water-reducing admixture (plasticizer) rather than a hose. Contractors commonly work with slumps in the 3–5 inch range for flatwork; higher slumps may be needed for complex placements, but rely on admixtures rather than raw water wherever possible.
For bagged mixes, measure water accurately. Use a consistent container rather than guessing. Mix until uniform—dry pockets and aggregate clumps can cause weak spots. Let the mix rest briefly, then remix to improve workability without more water. In hot weather, use cool water and shade to keep concrete workable longer.
Always verify compatibility of admixtures, fibers, and supplementary cementitious materials (like fly ash or slag) with your supplier. These can significantly improve durability, workability, and finish quality when used correctly, but they change set times and finishing windows.
Reinforcement and Joints: Controlling Cracks Instead of Chasing Them
Concrete will crack. The goal is to control where and how it cracks so performance isn’t compromised. Proper reinforcement and joint layout work together to manage shrinkage, temperature changes, and loads.
For slabs-on-grade, reinforcement options include welded wire reinforcement (WWR), deformed rebar, and synthetic fibers. Fibers help reduce plastic shrinkage cracking and improve toughness, but they do not replace steel when structural reinforcement is required. Place mesh or rebar roughly in the upper third to middle of the slab thickness, supported on chairs or dobies—lying flat on the subbase does little good.
Joint planning should happen before you form the slab. Contraction (control) joints encourage cracking along predetermined lines. A common rule of thumb is to space joints at 2–3 times the slab thickness in feet (for a 4-inch slab, 8–12 feet between joints), and to keep panel shapes as close to square as practical. Avoid long, narrow strips where cracks are hard to control.
Cut joints as soon as the concrete is strong enough to saw without raveling and no later than 6–18 hours after placement, depending on mix, temperature, and equipment. For tool-formed joints, groove during the initial finishing phase. Aim for a joint depth of at least 1/4 of the slab thickness.
Isolation joints separate the slab from fixed elements such as walls, columns, and footings, allowing independent movement and reducing stress concentrations. Use appropriate joint fillers and sealants in areas exposed to water, chemicals, or heavy traffic to protect edges and manage moisture infiltration.
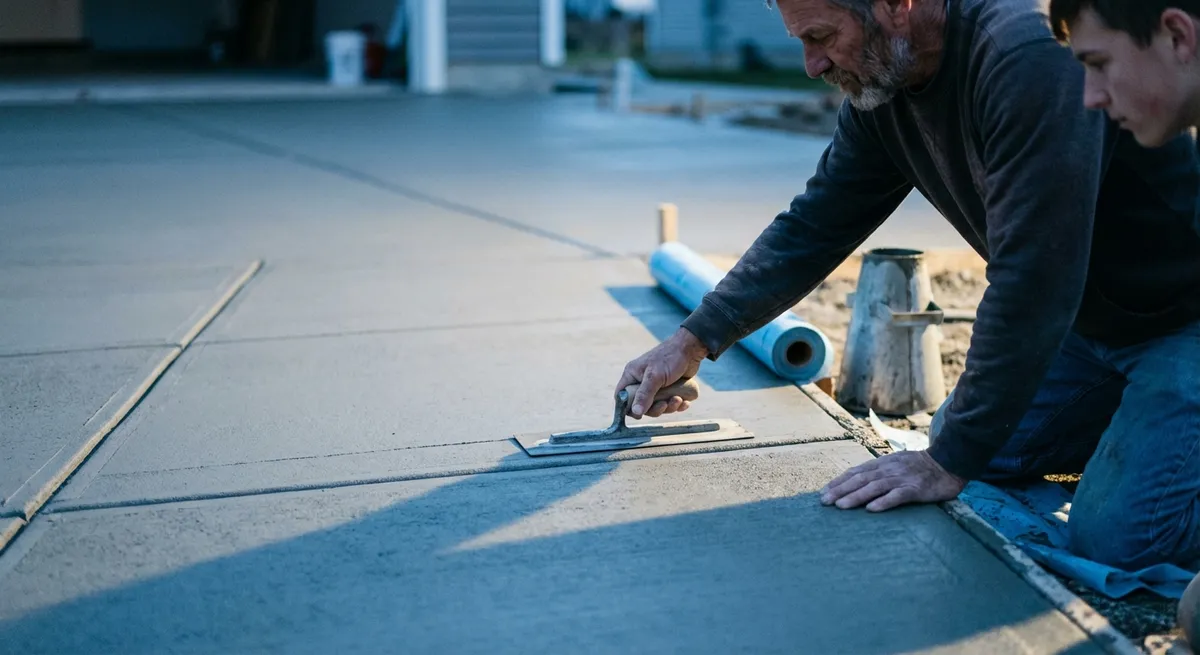
Placement and Finishing: Timing Matters More Than Technique
Even a good mix on a solid base can be ruined by rushed or mistimed finishing. The sequence—place, strike off, bull float, rest, then finish—is simple, but the timing is critical.
Place concrete as close as possible to its final position to minimize rehandling and segregation. Use shovels and rakes designed for concrete to pull mix into place rather than drag it aggressively, which can separate paste from aggregate. Immediately after placing, strike off with a straightedge or screed, working in a sawing motion to establish elevation and remove excess.
Bull float right after screeding to embed larger aggregate and bring up a paste for finishing. Keep the bull float flat to avoid creating low spots or trapping bleed water. Then wait. Allow bleed water to rise and evaporate naturally. Do not finish, trowel, or dust dry cement into the surface while bleed water is present—this traps water, weakens the surface, and often leads to scaling and dusting.
Once the surface has lost its sheen and can support light pressure without excessive indentation, proceed with additional finishing: hand or power floating, edging, jointing, and troweling as needed. For exterior flatwork, avoid a polished, slick finish in wet or freeze-thaw climates. A broom finish, light texture, or exposed aggregate surface can improve slip resistance and long-term performance.
In hot, windy, or low-humidity conditions, surface drying can outrun set, leading to plastic shrinkage cracks. Prepare in advance with windbreaks, sunshades, evaporation retarders, and extra labor so you can place, finish, and start curing promptly.
Curing and Protection: The Phase Most Often Rushed or Ignored
Curing is not just “letting it dry.” It’s a controlled process of maintaining proper moisture and temperature so the cement can hydrate and develop strength. Inadequate curing leads to weak surfaces, increased permeability, and more cracking.
Start curing as soon as the surface can be covered or treated without damage. For slabs, use one or a combination of the following:
- Water curing: Ponding, sprinkling, or saturated coverings (like wet burlap or curing blankets) to keep the surface continuously moist.
- Curing compounds: Spray-applied membrane-forming materials that reduce moisture loss. These are common for large exterior slabs and roadways; verify compatibility with sealers, coatings, or flooring adhesives you plan to use later.
- Sheet materials: Polyethylene sheeting or specialized curing covers placed over the slab, keeping edges sealed to limit evaporation.
Maintain curing for at least 7 days for many general-purpose mixes, and longer for high-performance or low water-cement ratio concretes, especially in cool weather. Protect young concrete from early traffic: foot traffic is often delayed 24–48 hours; light vehicles 7+ days; full design loads typically 28 days or per engineer’s guidance.
Temperature control is equally important. In cold weather, prevent freezing during the early hydration period with insulated blankets, heated enclosures, or controlled heat. In hot weather, use cool mixing water, shade, and night pours if feasible. Rapid temperature swings can damage fresh concrete and induce early-age thermal cracking.
For exterior concrete exposed to freeze-thaw cycles and deicing salts, consider a breathable sealer after the concrete has fully cured and dried. Follow manufacturer recommendations for timing and surface preparation. Sealers help reduce moisture ingress and scaling, but they are not a substitute for proper air-entrained mix design and curing.
Conclusion
Reliable concrete work is less about “tricks” and more about disciplined control of each phase: solid support, appropriate mix and water content, intentional reinforcement and joints, well-timed placement and finishing, and disciplined curing and protection. Whether you’re managing a crew on a commercial project or placing a driveway at home, these practices transform concrete from a gamble into a predictable building material that performs as designed. Treat each step as part of a system, and your slabs, footings, and pads will reward that attention with strength, durability, and fewer costly callbacks or repairs.
Sources
- [Portland Cement Association – Concrete Basics](https://www.cement.org/learn/concrete-technology/concrete-construction/concrete-basics) - Overview of concrete materials, mixing, placing, finishing, and curing practices
- [American Concrete Institute (ACI) – Concrete in Practice Series](https://www.concrete.org/store/productdetail.aspx?ItemID=CIPPACKSET) - Practical guides on mix design, curing, hot/cold weather concreting, and cracking control
- [U.S. Department of Transportation, FHWA – Concrete Pavement Technology](https://www.fhwa.dot.gov/pavement/concrete/) - Technical information on concrete pavement design, joints, and durability
- [NRMCA – Concrete In Practice: CIP 11 Curing In-Place Concrete](https://www.nrmca.org/association-resources/cips/) - Detailed guidance on curing methods and their impact on performance
- [Concrete Construction Magazine – Subgrades & Subbases for Concrete Slabs](https://www.concreteconstruction.net/how-to/subgrades-and-subbases-for-concrete-slabs_o) - Practical discussion of base preparation, compaction, and slab support