This guide focuses on five expert-level practices that reliably improve concrete performance and finish quality, without relying on specialty tools or expensive additives.
Understand Your Mix Instead of Just “Buying Concrete”
Most concrete problems start before the truck or mixer ever arrives. Knowing what you’re ordering—or mixing—gives you control over strength, workability, and durability instead of leaving it to chance.
For ready-mix, specify the compressive strength (commonly 3,000–4,000 psi for general flatwork, higher for structural or heavily loaded areas) and air entrainment if the concrete will see freeze–thaw cycles. In cold regions, air-entrained concrete (typically 5–7% air) dramatically improves resistance to surface scaling and deicing salts. For DIY bag mixes, read the technical data: some mixes are designed for fast set, others for higher strength or deeper sections. Don’t just grab the cheapest bag on the shelf.
Water–cement ratio is critical. Extra water added “to make it easier to work” is the most common way to weaken concrete and increase shrinkage cracking. If the mix is too stiff for accurate placement, consider a plasticizer (water-reducing admixture) instead of more water. Keep track of slump when possible: a 4–5 inch slump is common for flatwork, but very high slump without admixtures is usually a red flag. If you routinely order concrete, build a relationship with your ready-mix supplier and be precise about your job conditions; their mix design suggestions are often worth listening to.
Prepare the Subgrade Like It Actually Matters (Because It Does)
Concrete is only as stable as what’s beneath it. Many slabs that “mysteriously” crack or settle were poured over poorly prepared subgrade or inconsistent fill.
Start by removing all organic material, soft topsoil, and debris. Concrete should rest on compacted, uniform, and well-draining material—commonly compacted granular fill or undisturbed native soil. If you’re building over imported fill, compact in thin lifts, using a plate compactor or jumping jack, until it’s firm underfoot and does not pump or deflect. Soft spots should be dug out and replaced rather than “forgotten.”
For driveways, patios, and walks, a 4–6 inch layer of compacted gravel or crushed stone often provides better drainage and reduces frost heave potential in cold climates. Use a laser level, string line, or rotary laser to establish consistent thickness—thin spots are where slabs crack and break. If you’re in a region with expansive soils or significant frost, consider consulting local codes or a structural engineer; local best practices for subgrade depth and base material are often well documented and worth following.
Formwork and Reinforcement That Keep Slabs Where You Put Them
Forms and reinforcement don’t just shape the slab; they control movement. Poor formwork and misplaced rebar or wire mesh can undermine an otherwise good mix.
Use straight, sound form boards and secure them with stakes at appropriate intervals to prevent bulging or bowing under the concrete’s weight. Check alignment and elevation carefully with a level or laser—small deviations show up as visible waves or dips in the finished slab. Treat the inside of forms with a commercial form-release agent or light oil when appropriate so they strip cleanly without tearing edges.
Reinforcement should sit in the correct position, not on the bottom of the pour. For slabs-on-grade, reinforcement (rebar grid or welded wire mesh) typically belongs in the upper third to mid-depth of the slab, depending on design. Use chairs, dobies, or supports to keep it in position during the pour; pulling mesh up with a rake “as you go” rarely keeps it consistent. For crack control, sawcut control joints at the right spacing and depth, following local guidance or the common rule of joints spaced at 24–36 times the slab thickness (in inches). Proper reinforcement and jointing don’t prevent all cracks, but they control where cracks form and limit how much they open.
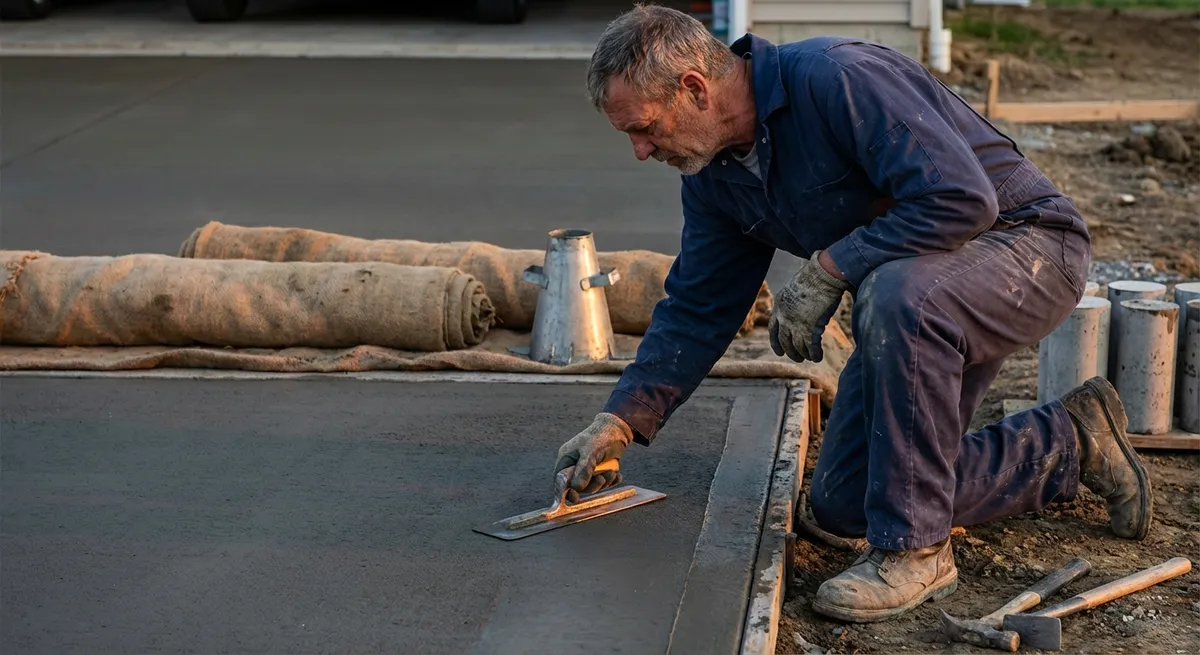
Place, Consolidate, and Finish with Timing—Not Just Technique
Concrete placement is a race against time. Getting the sequence and timing right matters as much as knowing how to use a float or trowel.
Plan access for the truck or mixer before you start. For large areas, work in manageable sections so you can place, strike off, bull float, and edge before the concrete sets too far. Avoid placing concrete from excessive heights or in big piles—this can cause segregation, where coarse aggregate sinks and paste rises, weakening the structure and making the surface more prone to scaling.
Light internal or surface consolidation (rodding, tapping forms, using a pencil vibrator when appropriate) helps remove entrapped air and improves contact with forms and reinforcement, but over-vibration can also cause segregation. Strike off with a screed board or straightedge using a sawing motion, then bull float immediately to embed aggregate and bring up a thin paste layer for finishing. Crucially, do not start steel troweling or stamping while bleed water is present. Working bleed water back into the surface increases the water–cement ratio at the top, which can lead to dusting, weak surface layers, and scaling. Wait until the sheen disappears and the concrete holds a light footprint before doing final finishing.
Protect the Surface from Its Biggest Enemies: Water Loss, Weather, and Use
Concrete doesn’t reach its potential strength and durability without protection in the early days. The period right after finishing is when your decisions have the longest-lasting consequences.
Implement proper curing immediately after finishing. This can be as simple as applying a curing compound, covering with wet burlap and plastic sheeting, or using curing blankets in cold weather. The goal is to prevent rapid moisture loss from the surface and maintain a favorable temperature. For most mixes, keeping the slab moist and within the recommended temperature range for at least 7 days significantly improves long-term strength and durability, even if it feels “hard” much sooner.
Protect fresh concrete from rain, direct sun, high wind, and freezing. Sudden rain on uncured concrete can damage the surface; be prepared with plastic sheeting or tarps. In hot or windy conditions, consider using windbreaks, sunshades, or fogging/misting (not adding water directly on the surface) to slow evaporation. Avoid heavy loads and deicing salts on new exterior slabs for the first winter when possible; young concrete is more vulnerable to salt and freeze–thaw damage. Once fully cured, a quality, breathable sealer suitable for your climate and exposure can provide additional protection against moisture, salts, and staining.
Conclusion
Concrete work rewards attention to fundamentals far more than flashy tools or trendy mixes. When you control your mix requirements, build reliable subgrades, place reinforcement correctly, respect the timing of placement and finishing, and cure properly, you dramatically increase the odds that your slab or structure performs the way it should in the real world.
These five practices are repeatable on small DIY projects and large professional jobs alike. Treat each step as part of a single system, not isolated tasks, and your concrete will be far more likely to stay strong, stable, and good-looking for the long haul.
Sources
- [Portland Cement Association – Concrete Basics](https://www.cement.org/learn/concrete-technology/concrete-construction/concrete-basics) - Overview of mix design, placement, and curing fundamentals
- [American Concrete Institute (ACI) – Guide to Concrete Floor and Slab Construction (ACI 302.1R)](https://www.concrete.org/store/productdetail.aspx?ItemID=3021R21) - Industry-standard guidance on slabs, subgrades, reinforcement, and finishing practices
- [U.S. Department of Transportation – Concrete Pavement Field Reference](https://www.fhwa.dot.gov/pavement/concrete/pubs/07027/) - Practical field recommendations for placement, consolidation, and jointing
- [National Ready Mixed Concrete Association – Curing Concrete](https://www.nrmca.org/education-resources/curing-concrete/) - Technical explanation of curing methods and their impact on strength and durability
- [ConcreteNetwork – Air-Entrained Concrete](https://www.concretenetwork.com/concrete/air-entrained/) - Clear explanation of air entrainment and its role in freeze–thaw resistance