This guide focuses entirely on curing—what actually matters, what’s myth, and how to apply five practical, field-ready habits that improve every concrete job, from garage slabs to patios and shop floors.
Why Curing Matters More Than You Think
Concrete doesn’t “dry”; it hardens through a chemical reaction called hydration. Cement particles react with water to form a dense, stone-like matrix. If the mix loses moisture too quickly or is exposed to extreme temperatures, that reaction is interrupted—and the finished concrete will be weaker and more vulnerable to damage.
Most mixes reach only about 40–50% of their 28‑day design strength during the first week. That early window is when the surface is most at risk from:
- Rapid moisture loss (sun, wind, low humidity)
- Temperature swings (hot days, cold nights)
- Early loading (walking, equipment, vehicles)
- Poor protection (no curing, or stopped too soon)
Good curing keeps the concrete moist and within a workable temperature range long enough for it to gain strength, reduce internal stresses, and resist shrinkage cracking. Done correctly, it improves:
- Compressive strength
- Surface hardness and abrasion resistance
- Resistance to freeze–thaw cycles and de-icing salts
- Long-term durability of slabs, driveways, and flatwork
The following five habits are used by experienced crews to consistently get better results with the same bag or truck of concrete.
Tip 1: Plan Curing Before You Order the Concrete
Strong concrete starts in the planning phase—not when you’re rinsing off the tools. Before the truck is scheduled or the bags are purchased, decide exactly how you’ll cure and protect the slab.
Key planning steps:
Check the weather window
- Ideal: 50–77°F (10–25°C), overcast, light wind. - Risky: Hot, dry, windy, or below 40°F (4°C) at night. - If you must place concrete in marginal conditions, adjust your approach (more aggressive curing, blankets, wind breaks).
Choose your curing method in advance
At least one of these should be ready on site: - Water curing (soaker hose, sprinkler mist, or gentle flooding) - Wet coverings (burlap, towels, geotextile, kept continuously damp) - Plastic sheeting (white or clear preferred for slabs in sunlight) - Curing compound (spray-on, meeting ASTM C309 or C1315)
Stage materials and labor
- Have hoses, nozzles, sprayers, plastic, and weights on site before placement. - Assign one person to “own” curing—this is especially important on DIY projects where attention drifts once the slab is finished.
Coordinate with finishing timing
- You can’t start curing until finishing and final troweling/brooming are done. - Plan enough daylight and manpower so curing starts as soon as the surface can handle it without marking.
The best crews treat curing as part of the placement plan, not as an afterthought.
Tip 2: Control Moisture Loss, Not Just Surface Appearance
A smooth, hard-looking surface can mislead you into thinking the concrete is “done.” It isn’t. Underneath, the hydration reaction continues for weeks. Your job during curing is to slow down water loss so the mix can fully develop.
Practical methods to manage moisture:
Water curing (best for toughness and surface strength)
- After finishing and initial set, keep the surface continuously damp for at least 7 days (or as specified by your mix design or engineer). - Use: - Light sprinkler mist that doesn’t erode the surface - Soaker hose looped across the slab - Gentle ponding on flat surfaces with edge forms - Avoid blast-style garden nozzles that pit or mark the slab.
Wet coverings (when water supply is limited)
- Use clean burlap, cotton sheets, or non-woven fabric. - Saturate the covering before placing it on the concrete. - Keep it wet for the entire curing period—set reminders to re-wet in hot or windy conditions.
Plastic sheeting (effective but requires care)
- Place as soon as the surface is hard enough to avoid pitting or sticking (usually once finishing sheen is gone and initial set is reached). - Use white or clear polyethylene in hot sun to limit heat buildup. - Seal edges with boards, sand, or tape to prevent wind lifting. - Watch for condensation patterns; dry spots under the plastic mean poor contact and uneven curing.
Curing compounds (fast and practical on busy sites)
- Use a sprayer to apply evenly right after finishing and bleed water have stopped. - Confirm compatibility with planned sealers, coatings, or adhesives (not all curing compounds are). - Follow manufacturer coverage rates—too thin and it won’t form a proper membrane.
The goal is consistent moisture retention across the entire surface. Patchy curing leads to uneven strength, color variations, and early cracking.
Tip 3: Respect Temperature—Hot or Cold Can Ruin a Good Mix
Concrete strength and durability depend heavily on curing temperature. Too hot and the surface dries or “cooks” too fast. Too cold and hydration slows or stops, and water in the mix may freeze.
Working in Hot Weather
Above roughly 77°F (25°C)—especially with wind or low humidity—you need to treat the slab like it’s under stress:
- Cool what you can
- Store bagged mix out of direct sun.
- Use cool water in the mix if possible.
- Dampen the subgrade and formwork before placement (not dripping wet).
- Finish quickly and cure sooner
- Don’t over-trowel; it can trap bleed water and weaken the top layer.
- Start curing as soon as finishing is complete and the surface will not be marked.
- Provide shade and wind protection
- Temporary shade cloths, tarps, or wind breaks reduce evaporation dramatically.
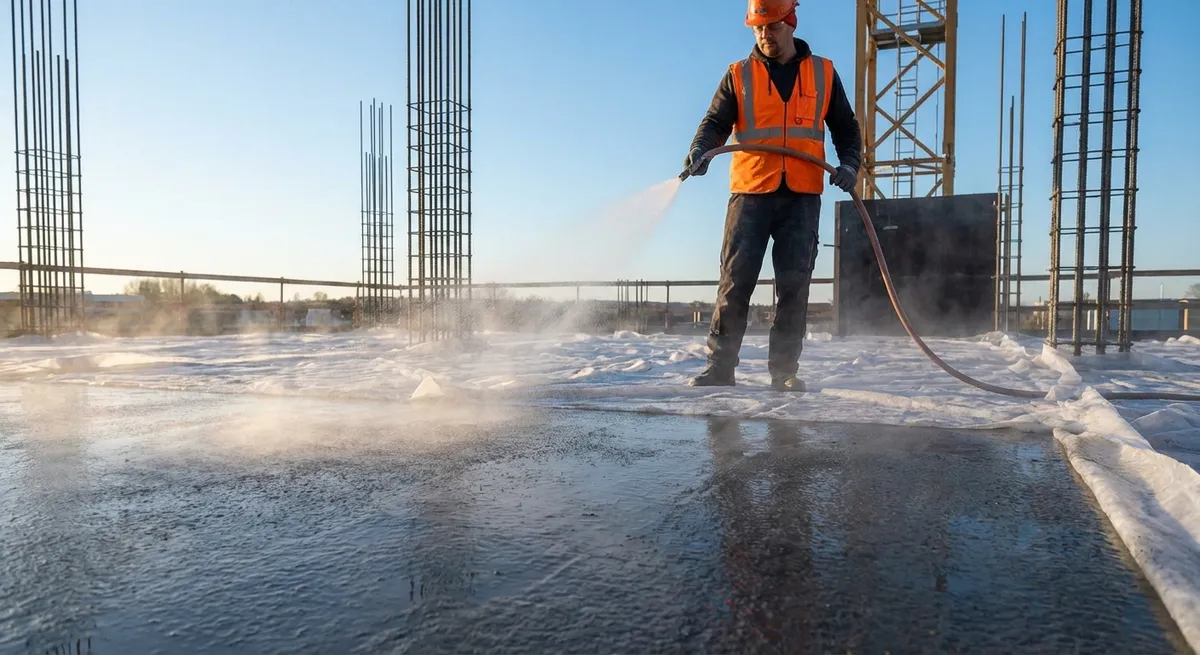
Working in Cold Weather
Below about 50°F (10°C), hydration slows sharply; below freezing, trapped water can expand and damage the paste:
- Use cold-weather admixtures or mixes where appropriate
- Accelerators can help early strength gain—but follow manufacturer and code guidance.
- Pre-warm contact surfaces
- Avoid placing concrete on frozen subgrade or ice-covered forms.
- Insulate the slab
- Use insulating concrete blankets, foam boards, or straw (kept dry) to hold heat.
- Keep the slab protected from freezing for the entire recommended period (commonly 3–7 days, depending on mix and conditions).
- Delay de-icing chemicals
- Newly cured exterior slabs are particularly vulnerable.
- Avoid de-icers the first winter if possible—use sand for traction instead.
Smart temperature control during curing prevents microcracking and surface damage that may not show up until months later.
Tip 4: Protect the Surface from Early Loads and Abuse
Freshly placed concrete is most vulnerable not during placement, but when it "looks" hard and people start using it. Premature loading is a common cause of invisible internal damage, long-term cracking, and wheel ruts.
Guidelines for early use (always defer to your specific mix, specifications, or engineer):
- Foot traffic
- Light foot traffic is often acceptable after 24–48 hours for many mixes, but this is only for necessary access, not prolonged or heavy use.
- Hand tools and light equipment
- Wait at least 3 days before rolling light equipment or tool carts, assuming good curing and moderate conditions.
- Vehicles and heavy loads
- Typical guidance:
- Passenger vehicles: often 7 days or more
- Heavy trucks: 14–28 days or after design strength is verified
- For structural or critical slabs, rely on cylinder tests or engineer sign-off, not rules of thumb.
- Protection from impact and point loads
- Use plywood or sacrificial planks where ladders, scaffolding, or concentrated loads must be placed.
- Keep heavy stockpiles (blocks, pallets, tools) off new slabs until they reach adequate strength.
- Avoid surface contamination
- Don’t store bags of fertilizer, salt, or harsh chemicals on young concrete.
- Paints and coatings can trap moisture or interfere with curing—follow manufacturer wait times.
Treat new concrete like a structural element still in fabrication. Just because it looks solid doesn’t mean it has the internal strength to handle abuse.
Tip 5: Don’t Overlook Joints and Edges During Curing
Most cracks show up along edges, corners, and around penetrations—not in the middle of a well-placed slab. Proper curing has to cover those weak zones as carefully as the field of the slab.
Key practices around joints and edges:
Cure right up to all edges
- Wind and sun hit edges harder, so they dry faster. - When using plastic or wet coverings, wrap or fold material over edges instead of just covering the top.
Protect control joints
- Saw-cut or tooled joints relieve shrinkage stress, but they are also thin sections more prone to rapid drying. - After cutting, resume curing immediately—especially in hot or windy conditions. - Do not leave saw-cut joints open to direct sun and wind without overall surface curing in place.
Around columns, posts, and penetrations
- These details often involve re-entrant corners where cracks like to start. - Make sure curing materials are snugged close around posts, pipes, and embeds.
Curb edges, steps, and exposed faces
- Vertical surfaces lose moisture too. - If using curing compound, spray all exposed faces, not just the top. - If using wet coverings, pre-wet and wrap them around steps and edges.
Monitor and adjust
- In the first 24 hours, walk the perimeter and joint lines. - Look for early hairline cracks or drying, and respond by increasing moisture or improving coverage.
Well-cured joints and edges help control where cracks form and whether they remain hairline or grow into visible failures.
Conclusion
Curing is where concrete earns—or loses—its long-term performance. The mix design, reinforcement, and formwork all matter, but without deliberate curing, you’re leaving strength and durability on the table.
By:
- Planning curing before the truck arrives
- Controlling moisture loss with a clear method
- Managing temperature during the curing window
- Protecting young concrete from loads and abuse
- Paying special attention to joints and edges
you turn standard concrete into a long-lasting structural asset rather than a maintenance problem waiting to happen.
For construction professionals, this is about delivering predictable, durable work. For advanced DIY builders, it’s how you close the gap between “good enough” and the kind of slab you’d be comfortable staking a building—or your reputation—on.
Sources
- [Portland Cement Association – Curing In-Place Concrete](https://www.cement.org/learn/concrete-technology/concrete-construction/curing-in-place-concrete) – Technical overview of curing methods, timing, and field practices
- [U.S. Bureau of Reclamation – Concrete Manual, Chapter on Curing](https://www.usbr.gov/tsc/techreferences/mands/mands-pdfs/ConcrWork/chap18.pdf) – Detailed engineering guidance on curing procedures and effects on performance
- [American Concrete Institute (ACI) – Guide to Curing Concrete (ACI 308R)](https://www.concrete.org/store/productdetail.aspx?ItemID=3081&Language=English) – Industry-standard reference for curing requirements, methods, and recommended practices
- [National Ready Mixed Concrete Association – Hot Weather Concreting](https://www.nrmca.org/application/files/8916/8218/9582/hot-weather-concreting-cip12.pdf) – Practical recommendations for curing and protecting concrete in high temperatures
- [National Ready Mixed Concrete Association – Cold Weather Concreting](https://www.nrmca.org/application/files/4716/8218/9590/cold-weather-concreting-cip27.pdf) – Guidance on concrete placement and curing when temperatures drop