This guide focuses on field-ready layout habits that construction professionals and serious DIYers can apply on everything from a short garden wall to a full veneer. The emphasis is on clean, repeatable methods, not tricks that only work once.
Start with Control Lines, Not Just a Tape Measure
Too many jobs begin with someone “pulling a quick measurement” and snapping a single line. That’s how you end up chasing out-of-square corners and oddly sized closures at the end of a run. Instead, treat control lines as your project’s backbone.
Begin by establishing a baseline along the longest, most visible face of the work—often the front of a wall or the face that ties into existing construction. Use a string line and snap a chalk line on a clean, dry surface. From this baseline, lay out a true 90-degree corner with the 3-4-5 method (or any 6-8-10 multiple for longer runs) so your second line is square, not just “eyeballed.” Check diagonals between layout points; if diagonals match, you’re square.
Transfer these control lines up and around the project. On slabs, mark lines with permanent marker or cut shallow reference notches that won’t wash away. On vertical work, continue lines using a laser level or a spirit level and plumb bob so every face of your masonry knows where “true” is. Once control lines are fixed, every course, corner, and opening references them—reducing on-the-fly guessing and corrections.
Expert Tip 1: Lock in reference points early. Set permanent layout nails or masonry screws at corners and key intersections so you can quickly re-pull string lines if they’re disturbed during the workday.
Plan Full Units, Joints, and Closures Before You Mix Mortar
Bond lines that “die” into tiny slivers at corners or openings look amateur and create weak spots. A little planning with dry units and a tape can prevent that. Before you open a bag of mortar, dry-lay a representative course on the ground or slab, including realistic joint widths.
Measure a full module: unit length plus the intended joint (for brick, often 3/8"). Then see how many modules fit the run between control points. If you end up with an odd-sized closure, you have options: adjust your joint widths slightly across the run, center the layout so both ends get similar closure units, or shift the bond so closures land where they’re least visible (behind a column line, under a cap, or at a side return).
Apply the same thinking to window and door openings. Centering units over and beside openings often looks better and reduces cuts. For structural masonry, coordinate with lintel lengths and required bearing, so your bond layout isn’t fighting the steel. For veneer, align course heights with adjacent claddings or trim so transitions land cleanly.
Expert Tip 2: Use a “story stick” for vertical planning. Mark course heights (including joints) on a straight board or level. Stand it against the wall to see exactly where courses align with sills, headers, and finished grades before you ever set a brick.
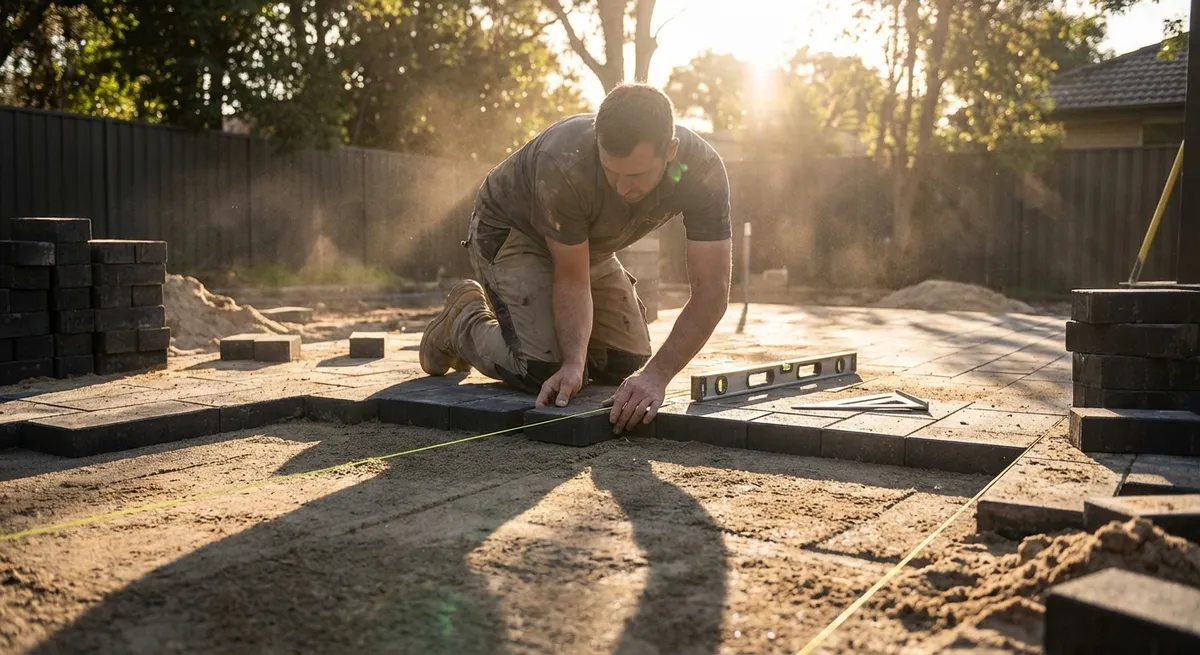
Use String Lines and Profiles Like a Pro, Not a Suggestion
String lines are more than a rough guide; they’re your enforcement tool for straight, true work. Sloppy line use leads directly to wavy walls, bellies, and inconsistent joint lines that clients notice from across the yard.
Set masonry profiles (corner poles) at all free-standing corners and critical height changes. Use sturdy steel or aluminum profiles and secure them so they cannot move—brace to the ground or framing, not just a loose pile of block. Mark course heights on the profiles based on your story stick and design elevations. Run your line from profile to profile at each course, using line blocks or snap-on clamps to ensure consistent positioning.
Keep the string taut. If it sags, your units will follow it. When units need to be buttered slightly past the line, think of the string as a “no-go” zone—bring the work to the line but don’t bury it. Check line position frequently as sunlight, temperature swings, and jobsite traffic can loosen or stretch it. On longer runs or on windy days, add intermediate line pins or deadmen to control vibration and bounce.
Expert Tip 3: Keep a dedicated “layout kit.” Store line blocks, mason’s line, clamps, a small hammer, and a marker in a single bucket or pouch so your profile/line setup is fast and consistent from day to day.
Respect Plumb and Level: Field Checks That Actually Stick
A wall can be straight in plan and still lean, twist, or wave in elevation. That’s where methodical plumb and level checks earn their keep. Don’t wait until the top of the wall to find out your corner is drifting out of plumb.
Use a quality 4-foot level for local checks and a longer straightedge or aluminum screed board for reading across several units. At corners, a plumb bob or laser level provides a reference that doesn’t lie. Check each corner for plumb every few courses; minor corrections are easy early and painful later. When correcting, feather the adjustment over several units instead of trying to “jack” one brick or block drastically.
Horizontally, check levels not just at the top of units but along the full face of the course. If a course starts to climb or fall, backtrack and correct right away. For veneers, constantly reference back to fixed elevations—door thresholds, siding breaks, and grade—so you don’t discover a mismatch when you’re one course from tying in.
Expert Tip 4: Establish “control corners” first. Bring key corners up several courses ahead of infill sections, checked for plumb and level. Then run string lines between these “trusted” corners; infill simply follows the controlled geometry.
Integrate Layout with Drainage, Flashing, and Finishes
Layout doesn’t live in a vacuum. Poor planning around flashing, weeps, and finishes is a common cause of callbacks—even when the wall looks straight and square. Integrate these elements into your layout so they’re built in, not patched on.
Before starting, identify all water-management components: base flashing at foundations, through-wall flashing at shelf angles, lintel flashings, and any weep systems. Mark these elevations on your profiles or story stick. Plan course heights so flashing laps fall under a full course whenever possible, not half buried behind cuts. For veneers, coordinate weep hole spacing with bond layout so weeps align cleanly with head joints and don’t end up clustered at awkward points.
Similarly, plan your layout to meet caps, coping stones, siding, and trim cleanly. If a cap has a fixed overhang or reveal, adjust course count or joint thickness very slightly over the wall height to land at a clean, full-joint interface at the top. On retaining walls, factor in batter (intentional lean) into layout by adjusting string lines and profile markings, not by “eyeballing” the face.
Expert Tip 5: Draw a simple elevation sketch with real dimensions. Even a quick hand sketch with course counts, flashing locations, and finish heights can expose conflicts before you mix mortar—saving rework and unhappy surprises.
Conclusion
Layout is the quiet work that rarely makes a highlight reel, but it’s what separates clean, durable masonry from projects that require constant correction. When you treat control lines as non-negotiable, plan units and joints before you start, use string lines and profiles with intention, enforce plumb and level through the build, and integrate drainage and finishes into your layout, you reduce guesswork and prevent many of the failures that show up years later.
These habits don’t slow a crew down; they let professionals and serious DIYers move faster with fewer corrections. Build them into every project—small or large—and your masonry will not only look better on day one, it will perform better for the long term.
Sources
- [Brick Industry Association – Technical Notes](https://www.gobrick.com/resources/technical-notes) – Detailed guidance on brick masonry design, construction, and detailing, including layout, flashing, and weeps
- [National Concrete Masonry Association – TEK Solutions Center](https://ncma.org/tek-solutions-center/) – Technical publications on concrete masonry unit (CMU) construction, layout practices, and structural considerations
- [U.S. General Services Administration – Masonry (Guides and Specs)](https://www.gsa.gov/real-estate/design-construction/engineering-and-architecture/design-excellence-program/design-excellence-policies-and-resources/design-guides/pbs-p100-facilities-standards-and-design-guides) – Federal design standards and guidance touching on masonry walls, detailing, and performance
- [Portland Cement Association – Masonry Construction](https://www.cement.org/cement-concrete/applications/masonry) – Practical information on masonry construction methods, including layout, workability, and field practices
- [International Code Council – International Building Code (IBC) Overview](https://www.iccsafe.org/products-and-services/i-codes/2018-i-codes/ibc/) – Reference to code requirements that influence masonry layout, support, and detailing