This guide focuses on practical, pro-level techniques you can use on almost any DIY home project—whether you’re framing a wall, pouring a small slab, installing tile, or building storage. These are the habits construction professionals live by on real job sites, translated into straightforward steps any serious DIYer can apply.
1. Start With a Scope, Not Just an Idea
Professionals rarely start a project with just “Let’s build a shelf” or “Let’s redo this wall.” They define the scope first: what’s included, what’s excluded, and what “finished” actually looks like. Before you pick up a tool, write down in a notebook or digital doc what you’re building, where it begins and ends, and what conditions must be met to call it done. Include dimensions, required load (how much weight it must hold), and any interfaces with existing structures—like tying into a masonry wall or matching an existing floor height.
Once you have a scope, break it down into stages: demolition (if any), prep, layout, rough work, fine work, and finish. Under each stage, note the materials and tools you’ll need. This lets you spot issues early—for example, realizing that you need a masonry bit, not just a regular drill bit, before you start anchoring into concrete. Treat scope as a living document; update it when conditions change instead of improvising mid-project. This practice dramatically reduces wasted trips to the store, mid-project redesigns, and structural shortcuts.
2. Treat Surface Preparation as a Separate Phase
On professional jobs, preparation is its own line item—not something rushed through in an hour. For DIY projects involving masonry, concrete, tile, paint, or adhesives, surface prep directly controls how long the work will last. For example, trying to bond new mortar to a dusty block wall, or painting over glossy trim without scuffing, is asking for premature failure. Build time into your plan specifically for cleaning, repairing, and conditioning surfaces before any “visible” work begins.
Start by cleaning: vacuum, brush, and degrease as needed. Use a stiff brush or wire brush on masonry to remove loose particles, and a scraper for old caulk and flaking paint. Next, assess for defects: cracks, hollow spots, rot, delamination, or moisture. Address these individually—fill structural cracks with appropriate repair compounds, replace damaged wood, and let damp areas fully dry before proceeding. Finally, use the right primer or bonding agent for the material and environment: masonry primer for block walls, bonding agent for fresh concrete over old, or proper underlayment over questionable subfloors. By making prep its own phase, you reduce callbacks on your own work—no peeling, popping, or crumbling six months later.
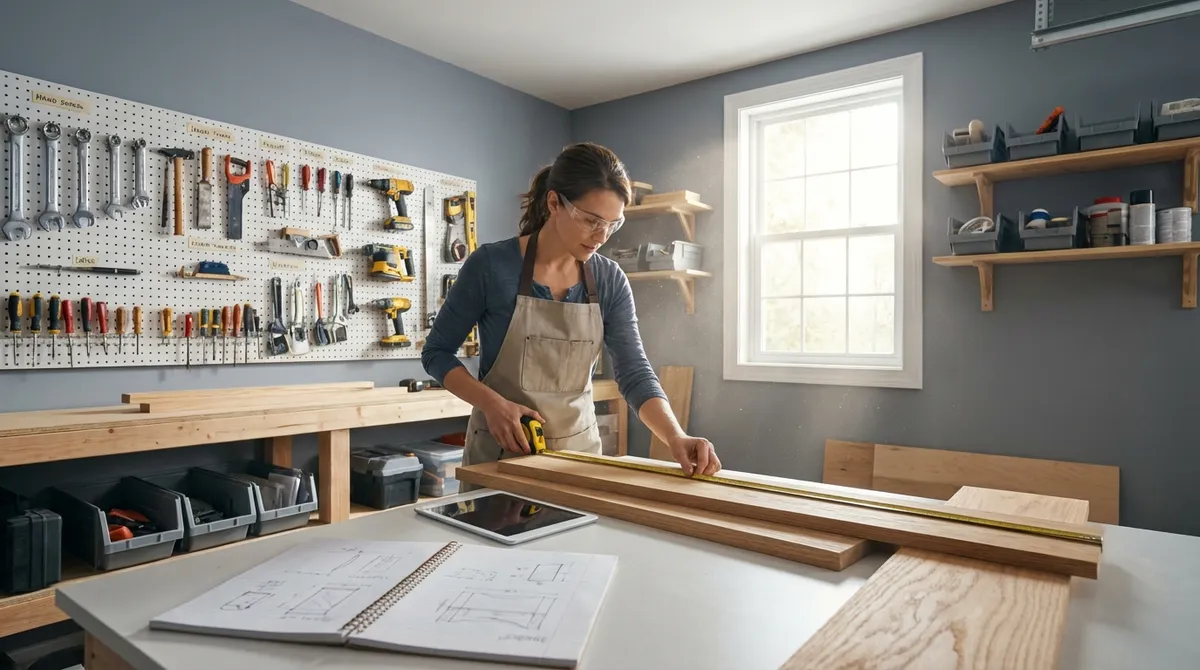
3. Use Layout Lines Instead of “Eyeballing It”
Professional crews rely heavily on layout lines, not intuition, to keep projects straight, plumb, and square. For DIYers, adopting the same discipline immediately tightens up the quality of your work. Whether you’re framing a wall, setting tile, mounting cabinets, or laying out a patio, begin with reference lines snapped or drawn on the substrate. These lines act as your “truth” when materials warp, walls are out of square, or the room visually tricks you.
Start by finding and marking a level reference line with a laser level or a long spirit level. In older homes where floors slope, a level line is more reliable than any existing surface. Use a chalk line to snap long, straight layout marks for stud locations, tile grid centers, or deck joist positions. Check corners for square using the 3-4-5 rule (or any multiple of it) instead of assuming the room is built correctly. When you’re tempted to “just line it up by eye,” force yourself to check against your layout lines. Over the course of a full project, this habit prevents cumulative error—tiny deviations that add up until the last piece no longer fits cleanly.
4. Standardize Fasteners and Anchors for Safer, Stronger Builds
On a professional site, fasteners and anchors are chosen as carefully as lumber or cement. DIYers often grab whatever screws are in the bucket, which can lead to structural weaknesses, corrosion, or failures under load. Make it a habit to match fastener type to material and environment. For example, use exterior-rated, corrosion-resistant screws for any outdoor structure, or anything in contact with treated lumber. Use appropriate masonry anchors—sleeve anchors, wedge anchors, or concrete screws—when fastening into concrete or block, not generic plastic wall plugs meant for drywall.
Create a simple fastener “standard” for your own shop. Choose a core set of sizes and types you consistently stock: for instance, structural screws for framing and ledger work, trim screws for finish carpentry, and specific anchors for masonry. Label storage bins with size, coating, and intended use. Before you start any project, verify the fasteners and anchors are compatible with both the base material and what you’re attaching. For heavier loads—like hanging cabinets on a masonry wall—confirm both the anchor capacity and the spacing required; spread the load across multiple points rather than relying on one or two oversized anchors. This approach brings professional reliability to your DIY structures and greatly reduces the risk of pull-outs or sagging over time.
5. Build in Inspection Points Before You Cover Anything Up
Experienced builders know that the worst surprises are the ones hidden behind drywall, tile, or insulation. They design “inspection points” into their process—moments where they stop and confirm that what has been built so far meets standards before it gets buried. DIYers can adopt the same discipline by scheduling deliberate checks before any irreversible step: before pouring concrete, before closing up a wall, before grouting tile, or before final finishing coats.
For structural or semi-structural work, document critical steps with photos and notes: rebar layout before a small slab pour, screw patterns and blocking locations before drywall, or waterproofing membrane coverage before tile. Use a checklist to verify key items: fasteners driven correctly (not overdriven or stripped), proper edge distances on anchors, level and plumb framing, correct slope on drains or exterior surfaces. If anything looks marginal, fix it now rather than hoping it won’t matter later. This practice not only saves money and time on future repairs, it trains your eye to spot issues early—one of the most valuable professional skills you can develop as a serious DIYer.
Conclusion
Solid DIY work isn’t about copying flashy projects; it’s about adopting the quiet, disciplined habits the trades rely on every day. Defining scope, respecting surface prep, trusting layout lines over guesswork, standardizing fasteners, and building in inspection points will improve every project you touch, from a simple storage build to more involved masonry and carpentry work.
If you treat your home projects with the same structure and care as a small job site, your results will start to look—and last—like professional work.