This guide breaks down five expert-level habits you can apply to almost any DIY construction project. Each one is practical, repeatable, and designed to save you from the kinds of mistakes that show up only after the paint is dry and the tools are put away.
Start With a Scope Sheet, Not a Shopping List
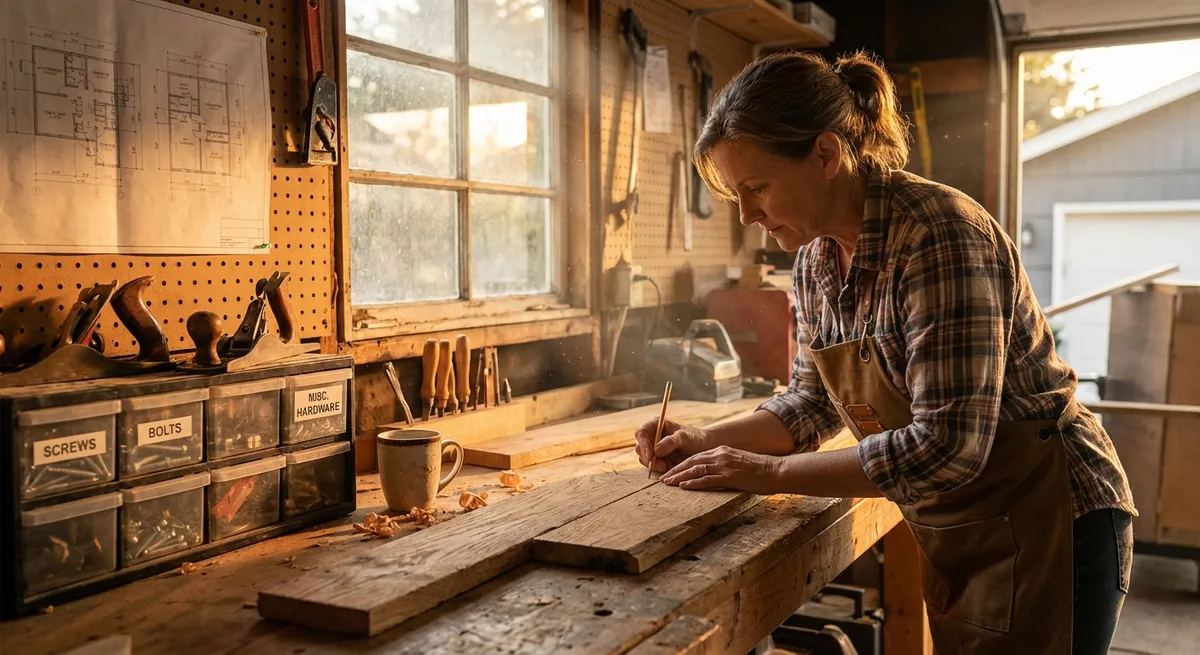
Most DIY builds go sideways before the first cut or mix—usually at the planning stage. Pros start with scope, not materials, and you should too.
Create a one-page “scope sheet” before you buy anything. At the top, define the goal in one sentence: what you’re building, where it lives, and how it will be used (for example: “Build a weather-resistant, wall-mounted storage rack for outdoor tools on the north side of the garage”). Below that, list three constraints: budget range, maximum time available, and any physical limits (space, access, existing structure).
Next, sketch the project in simple elevation and plan views, even if you’re not comfortable drawing. The objective isn’t art; it’s forcing yourself to think in dimensions: heights, depths, clearances, and attachment points. Add rough measurements directly to the sketch. Once that’s done, build a step-by-step sequence: site prep, layout, structure, finishes, cleanup. Write each major step as a verb-based line item: “Mark stud locations,” “Set posts in concrete,” “Seal all cut ends,” and so on.
Only after this sheet is complete should you build your materials list. Working this way prevents you from overbuying, under-specifying fasteners, or forgetting things like blocking and sealants. It also gives you a reality check: if the step list looks like a full week and you have one weekend, you can adjust the design now instead of halfway through.
Treat Structure, Weather, and Movement as Non-Negotiable
The projects that last are designed around three realities: load, water, and movement. Professionals build with these in mind from the first measurement; experienced DIYers should do the same.
For load, assume people will overuse whatever you build. Shelving will be overloaded, benches will be stood on, and anchors will be pulled. That means checking both the capacity of the structure you’re attaching to (studs, masonry, joists) and the rated strength of fasteners and connectors. When in doubt, step up a size in structural screws or opt for manufacturer-tested brackets instead of improvising.
Weather management is just as critical, even for “small” outdoor projects. Anything exposed to rain or condensation needs a way to shed water and dry. That means sloping horizontal surfaces slightly, orienting boards so that water doesn’t sit in end-grain pockets, and avoiding unsealed penetrations into walls or slabs. Where fasteners enter exterior walls, use sealant or proper flashing details instead of relying on caulk alone.
Movement is the silent destroyer of well-intentioned work. Wood swells and shrinks with humidity; concrete shrinks as it cures; buildings flex slightly under loads and temperature change. Bake expansion and contraction into your plan: leave small gaps between decking boards, use appropriate anchors for brick versus concrete, and avoid rigidly tying dissimilar materials together without a transition detail. When you assume things will move, your work stops fighting the building and starts cooperating with it.
Build Temporary Guides So Your Work Can’t Drift
Pros rarely trust their eyes alone. They use temporary guides, jigs, and references so the work physically can’t wander out of alignment as the day gets long and fatigue sets in.
This starts with layout. After taking measurements, establish control lines using chalk lines or tightly stretched string. For anything that must be straight or aligned—fence runs, deck edges, door openings—snap reference lines and then work to them, rather than re-measuring from different points each time. Check diagonals against each other so you know a rectangle is actually square, not just “close enough” at each side.
Temporary guides can be as simple as a straight scrap board screwed in place to act as a fence for repeated cuts or as precise as a plywood jig for drilling holes in exactly the same spot every time. For installations like shelving or cabinets, use support cleats or adjustable stands so you’re not trying to hold weight and find level at the same time.
Where projects meet gravity—posts in concrete, freestanding frames, small walls—brace early and generously. Clamp or screw temporary braces to keep things plumb while fasteners are driven or while concrete sets. Instead of “holding it straight,” arrange clamps, shims, or wedges so that the work stays put even if you let go. This is what professionals do to get repeatable accuracy without burning time and energy fighting the material.
Control Your Workflow, Not Just Your Tools
The best tool in the world won’t save a poorly sequenced day. Construction professionals think in terms of workflow: what must happen first, what can run in parallel, and what depends on curing, drying, or inspection. Managing your project this way sharply reduces frustration and rework.
Start by identifying all “time-lock” tasks: concrete curing, adhesive setting, paint drying, or anything that needs to sit before you can move forward. Arrange your day so these tasks happen as early as possible. While they’re curing, shift to prep work for later stages instead of waiting idle or jumping randomly between tasks.
Batch similar operations together. If you have twenty cuts to make, set up once, fine-tune your saw, and cut everything in one run instead of cutting piecemeal as you go. The same applies to drilling, sanding, pre-priming end grain, or test-fitting hardware. Every time you change tools or reconfigure a setup, you pay a time and accuracy penalty; batching minimizes that cost.
Build in verification checkpoints. Before you commit to a step that’s hard to undo—fastening a ledger, pouring mix into forms, drilling into masonry—stop and verify critical dimensions and alignments. Use the “two-tool” rule on important measurements: confirm tape measurements with a story stick or actual part, confirm level with both a spirit level and a plumb reference or laser. Pausing for these checkpoints feels slow in the moment but is reliably faster than tearing out work that doesn’t fit.
Choose Materials and Fasteners for the Environment They’ll Live In
Matching materials to their environment is one of the most overlooked professional habits—and one of the easiest for DIY builders to adopt. Projects don’t usually fail because the basic lumber or concrete was wrong; they fail because the wrong grade, treatment, or connector was used for the conditions.
For anything exterior or in damp locations (basements, near concrete slabs, unconditioned garages), pay close attention to corrosion and moisture ratings. Fasteners, brackets, and hangers should be compatible with both the material they’re in contact with and the exposure they’ll face. For example, pressure-treated lumber can be corrosive to standard galvanized hardware; many applications require hot-dip galvanized or stainless steel connectors.
Consider the vapor and temperature environment as well. Interior-grade plywood, MDF, and standard drywall are poor choices in spaces that may see periodic moisture, temperature swings, or condensation. Where the risk exists, look for moisture-resistant or exterior-rated panel products, cement board, or treated framing members. Choosing the slightly more durable option up front is almost always less expensive than doing the same work twice.
Finally, think about maintenance access. Even when you select appropriate materials, sealants and coatings are sacrificial layers. Design projects so that fasteners and critical joints can be inspected and re-sealed without dismantling the entire build. Providing a removable trim piece, an access panel, or a small gap to see a flashing edge is unnecessary on paper but invaluable in practice when you need to verify that your project is still performing a few seasons down the line.
Conclusion
Strong DIY work doesn’t depend on having a trailer full of commercial tools. It depends on a small set of professional habits: clear scope, respect for structure and weather, physical guides that keep work true, deliberate workflow, and material choices tuned to real-world conditions.
Adopting even two or three of these practices will immediately change how your projects feel to build—and how they hold up once they’re in service. Each new project then becomes an opportunity not just to make something, but to refine the way you build so your next job starts smarter and finishes stronger.
Sources
- [U.S. Department of Housing and Urban Development – Residential Rehabilitation Inspection Guide](https://www.hud.gov/program_offices/administration/hudclips/guidebooks/2004gb) - Offers professional-grade guidance on evaluating structural, moisture, and material conditions in residential work
- [American Wood Council – Prescriptive Residential Wood Deck Construction Guide](https://www.awc.org/codes-standards/publications/dca6) - Details best practices for load paths, fasteners, and weather-exposed wood construction that translate well to DIY projects
- [Simpson Strong-Tie – Fastener and Connector Selection Resources](https://www.strongtie.com/resources) - Provides technical information on structural connectors, corrosion resistance, and choosing hardware for different environments
- [Portland Cement Association – Concrete Basics](https://www.cement.org/cement-concrete/concrete-materials-properties/concrete-basics) - Explains curing, shrinkage, and durability concepts that underpin small-scale DIY concrete work
- [Oregon State University Extension – Selecting Lumber and Structural Materials](https://extension.oregonstate.edu/forests/wood-composites/selecting-lumber-home-projects) - Covers how to choose appropriate lumber grades, treatments, and products for specific project environments